About 9 years ago I spent 12 months and a lot of money attending audio engineering school. Although it didn’t lead to recording bands, learning the basics of soldering has been very useful as a dj. Fortunately, you don’t need to spend $40k on an education to learn soldering, just read on after the break and we will take you through the basics. But why in the world is this important to djs? Well here are just few good thing you will be able to do:
- fix a broken audio cable for nothing
- build a really nice cable for $5 instead of paying $40 at the store
- When something small breaks on your controller- fix it instantly
- comfortably explore the exciting world of DIY midi
- make yourself super valuable to a club
Its so easy…


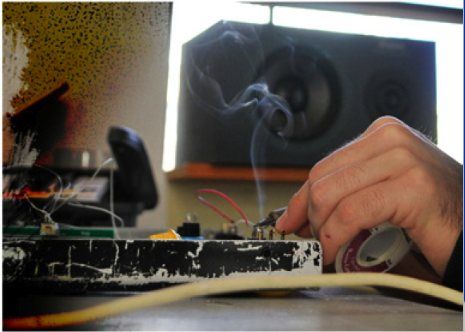
Learning the basics
Taking it to the next level

Here are some advanced soldering tips from our resident hardware expert Fatlimey:
If you have to connect lots of stripped wire ends to stuff and you don’t have the necessary three hands, flux is your friend.
- Take the stripped wire end and dip it into a pot of solder flux to very lightly coat the exposed metal part of the wire.
- Position the coated wire end against the contact you want to solder it to.
- With your coil of solder laying on the table in a “hands free” manner (free end sticking up), tap the tip of your iron against the solder so that a small blob melts and is transferred to the tip of your iron. The rosin core of the melted solder will quickly burn off as smoke. This is exactly as designed.
- Holding the coated wire against the contact, solder as usual and hold the wire still until the solder sets. You will find that as the tip of the wire heats up, the flux coating melts and the solder almost jumps off the iron onto the wire and fills gaps easily – the reason for this is that the flux breaks the surface tension of the melted solder and the soldering iron tip (now that the original flux core has burned off) is slightly repellent.
- Job done. Repeat for the next N-hundred joints…
So, go get yourself rosin some flux. Solder with a flux core is great if you can position the iron on the component and tap the flux against the newly heated contact – the flux embedded in thesolder does the job of breaking the surface tension. If you find that you don’t have enough hands to work like this then coating the receiving part with a tiny bit of flux does the same job but doesn’t require you to melt the solder at the joint itself.
Oh, and don’t bother with ROHS lead free “silver” solder for hobbiest projects. It melts too hot and is a royal PITA to use. Normal Tin/Lead solder will make soldering a lot easier, melts cooler (protecting your components) and generally causes a lot less burned boards, melted plastic and swearing at things.