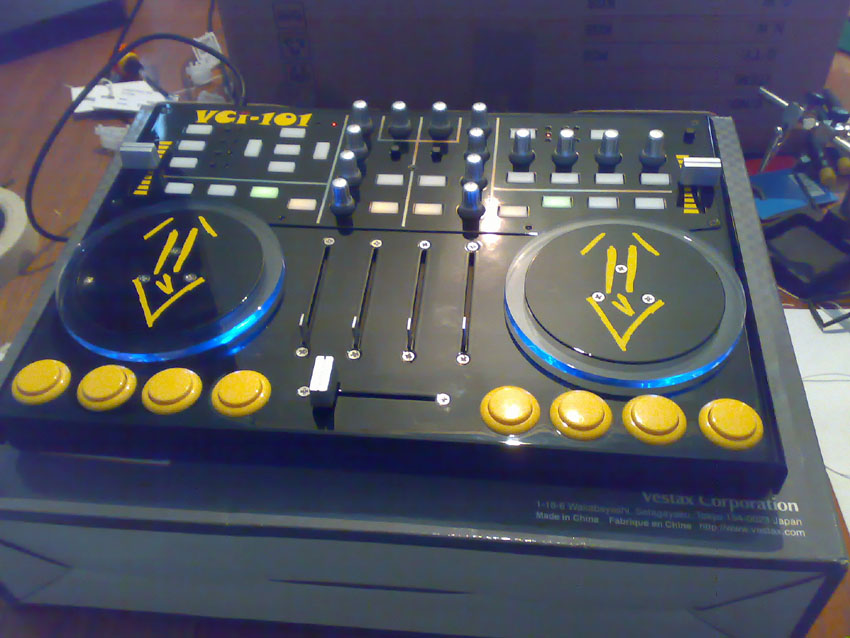
This post and video is outdated. For the updated version please visit this page:
http://djtechtools.com/2009/07/27/vci-100-diy-arcade-mod/
- your going to need a cut guide for the buttons. Please email ean from the about page and ask for the latest version.
- There is also a lip on the top/front edge of the VCI-100 base piece that needs to be cut away. I dont have pictures but its fairly obvious. Not the entire lip (the part in front of the cross fader can stay) just the parts that sit where the buttons are going. The lip is only about 1/4 inch wide so its a easy cut.
- you dont need to shave the lip if you use the Sanwa 24mm snap in buttons
- }}}Lead wires- 16 about 3-4 inches long (can be cut from microphone cable)
- }}}Diodes- 8 50 PRV 200ma switching diodes
- }}}Shrink sleeve- get about 2 feet so you can professionally protect your connections and not do it the ghetto way (like I did) with electrical tape. Shrink Sleeve is a plastic tube that shrinks down to enclose an exposed wire when heat is applied. Some people have heat guns but a match or lighter works fine.
- }}}Electrical tape
- }}}8 Arcade switches from Happ controls– they are the shallow micro arcade switches under the pushbutton section.
- }}}Some spray paint to make it a cool color (auto trim paint works well) SAND THE UNIT FIRST!
- }}}Phillips screw driver- One medium and one small tip-
- }}}Wire stripper
- }}}Solder
- }}}Solder Iron
- }}}Find a machinist in your area (there are a lot of them usually) send them the included diagram and say you need these holes cut out of 1/8″ aluminum. Try for around $50 if possible.
thats just about it! Enjoy your custom bad-ass VCI-100 and post photos when its done!
Good Luck,
Ean Golden


