On Monday we published a article introducing Bento’s new smart mixing pack to the Dj TT community. The smart mixer is a very powerful tool that can make basic mixing very smooth and super easy. The concept of smart mixing may be easy to grasp but the actual mechanics behind this technique are a bit more complex. Dj TechTools prides itself on teaching your the fundamentals of new concepts so here is the 2nd half of that article where we will go into the nuts and bolts of creating and modifying a smart mixer on your own.
Ableton’s see saw
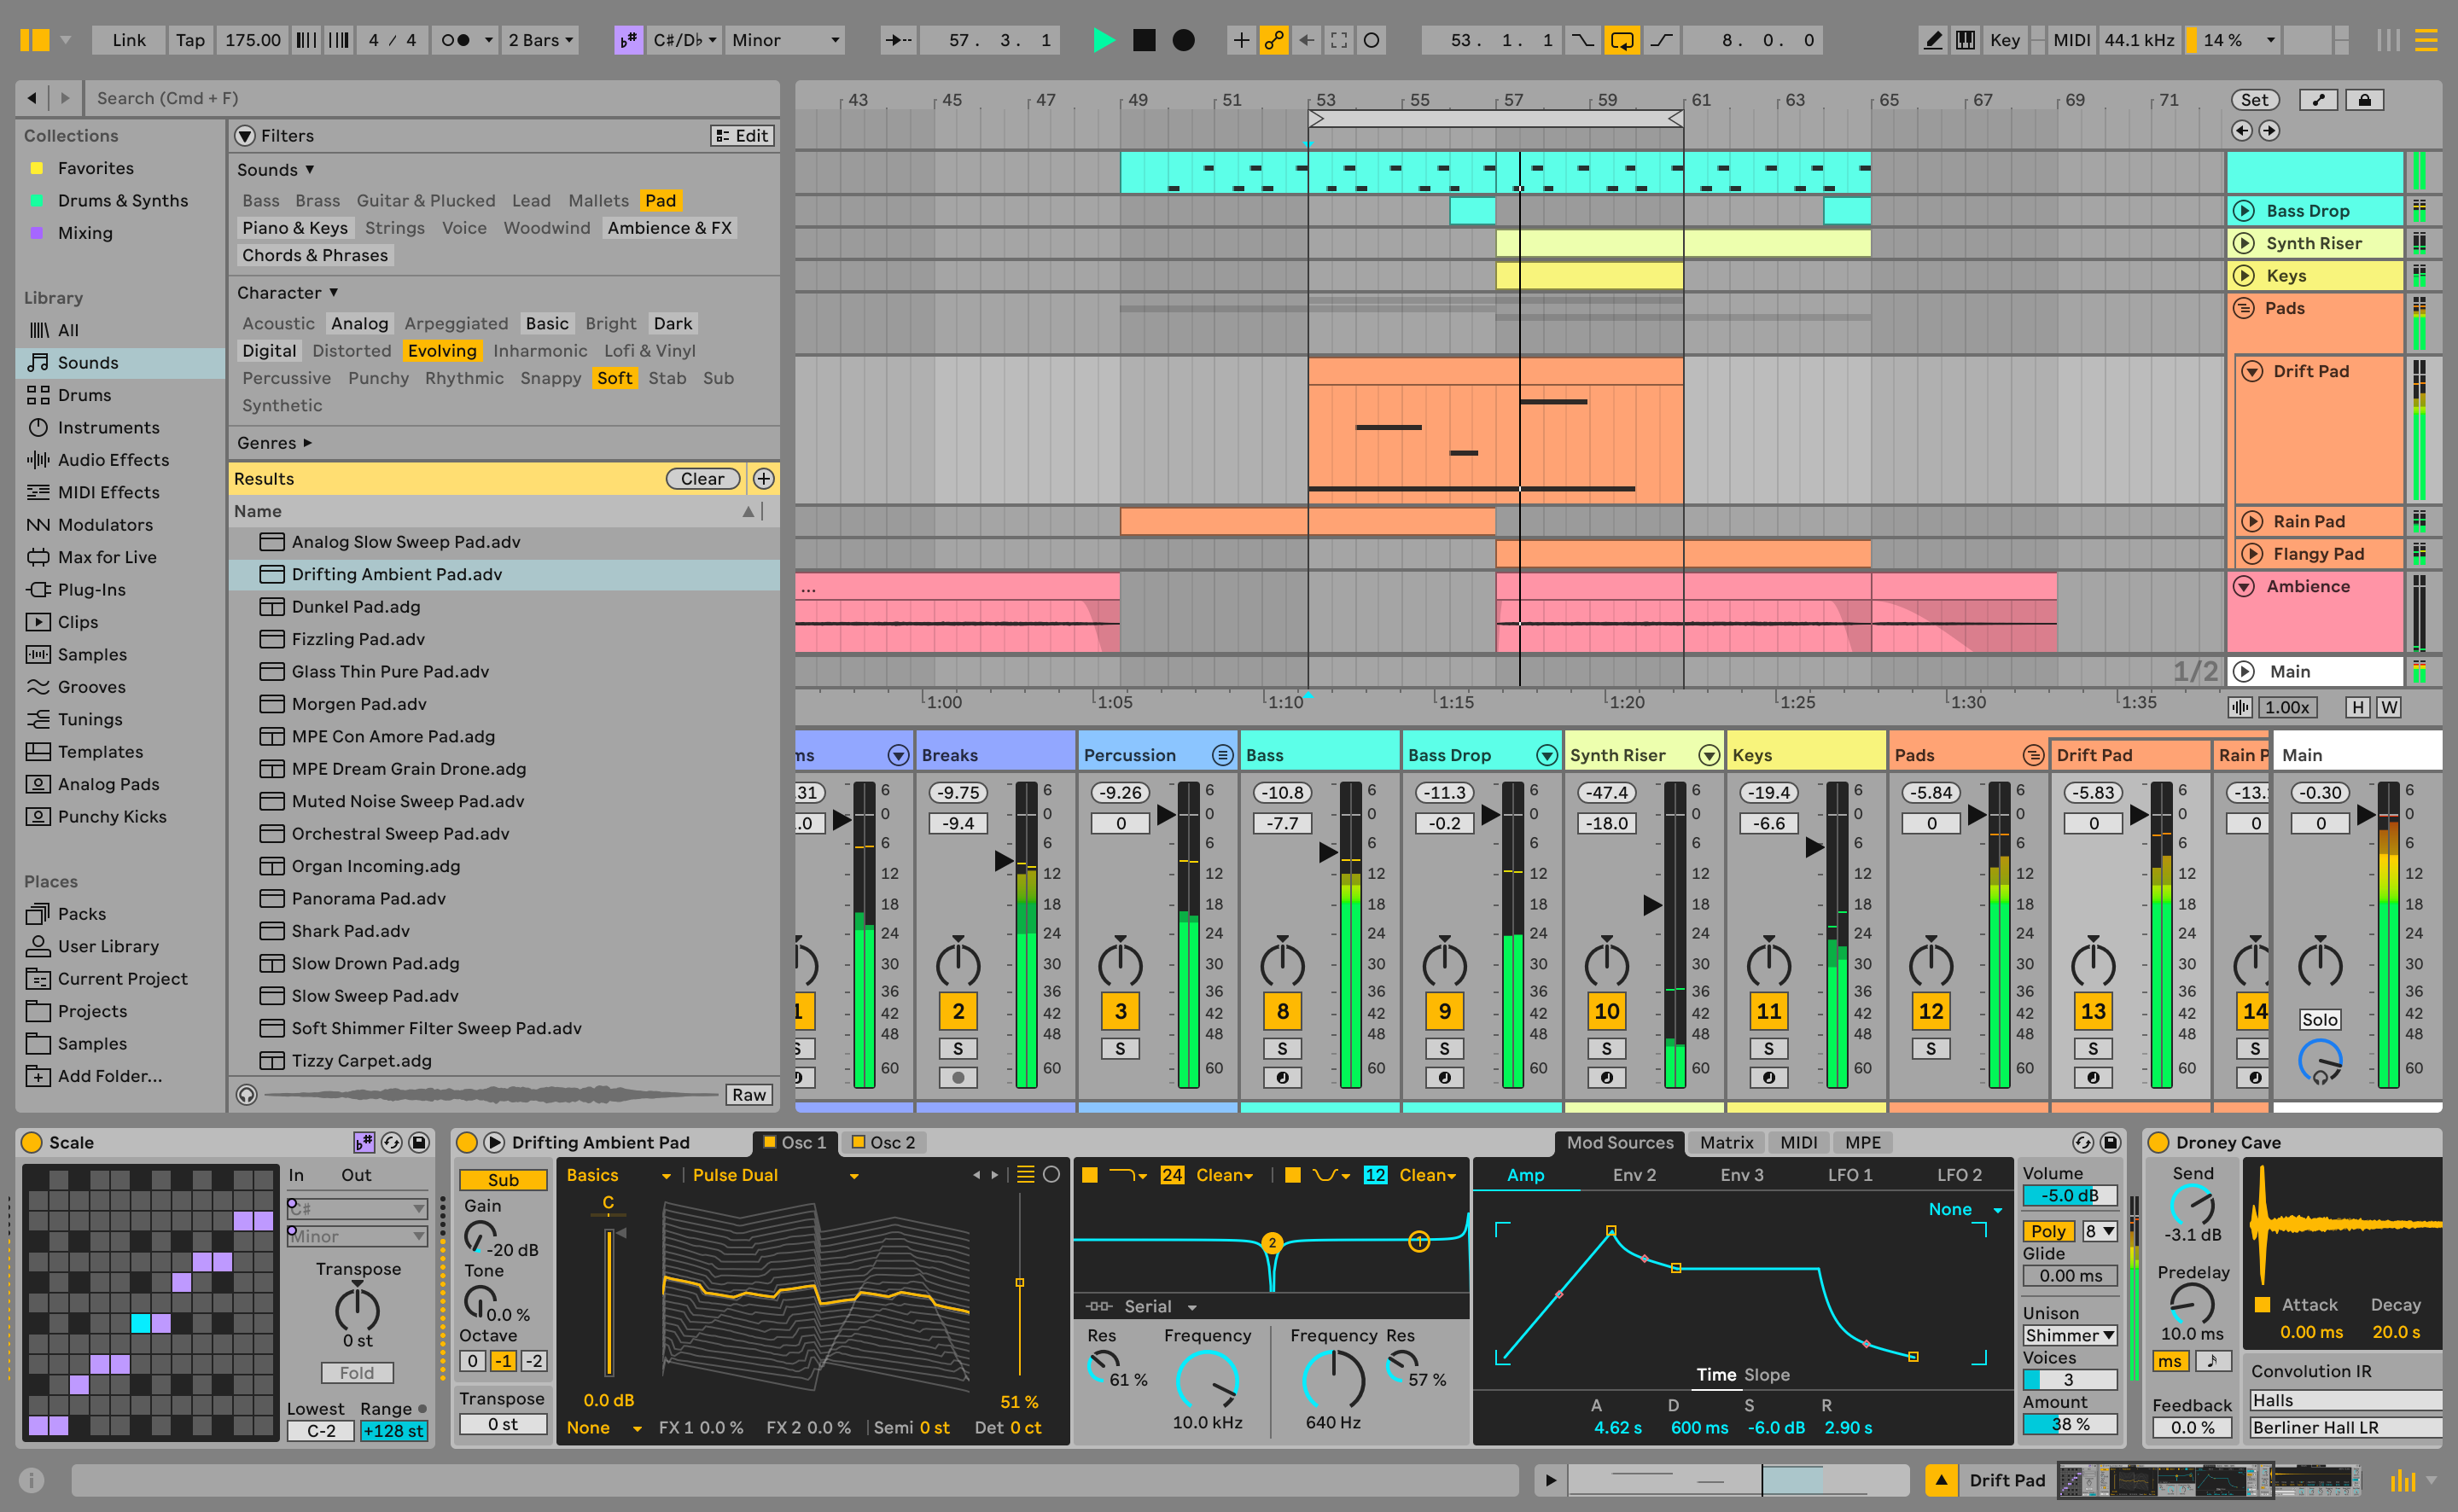
To understand Smart-Mixing we must first look at the Ableton effects unit that makes all these mysterious on-the-fly changes. This effect unit is called the side-chain compressor and can be grouped with other compressors to form a smart-mixer group that works on several frequencies at once. The side-chain compressor can be configured to create a see saw effect.
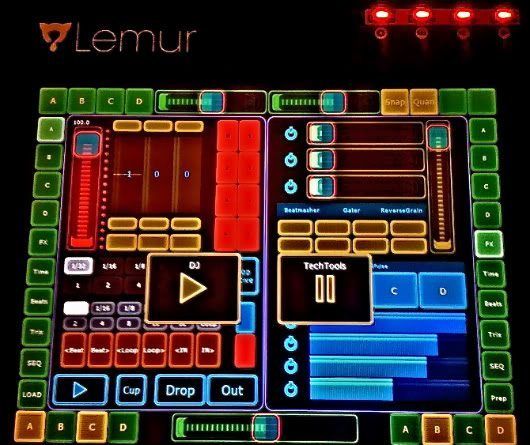
Smart Low\High Amount Knobs –
The smart-low and smart-high amount knobs control the amount of the see-saw effect that is applied to the mix.
Low\High Band Select Buttons –
If both people are trying to push up on the see saw their efforts will cancel one another out and nothing will move. This is where the band-select buttons come in and save the day. These handy tools dictate if person deck A is going to push down deck B or if deck B is going to push down on deck A.
The band select button sends a midi message that turns off one of the side-chain compressors while turning the other side-chain compressor on at the same time. A very useful side effect of this is that you can then use this button to select which bass-line is playing with the simple touch of a button – a task that would usually take you two hands on both of the low EQ knobs!
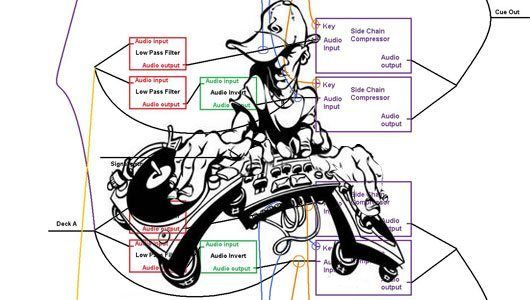
The Signal Path
*Simplified for easier understanding – Volume faders, crossfader not visible in diagram.
Taking it Further: Smart Cueing
To prepare the smart mixing you first make sure that no tracks are being cued, now press both cue buttons at the same time and release them. The signal coming though your headphones should now be both channels playing at the same time.
Now that you can hear both channels in your headphones you can start tweaking with the smart-mixing controls. Because we want Deck B to come in with its bass-line roaring we press the Low dominant frequency swap button so that Deck B”s low frequencies reducing Deck A’s bass line.
Turn up the low compression amount knob and more and more of the low frequencies will be removed from deck A. Because these settings dont effect the master audio, you can continue tweaking the settings and get your mix sounding good before its ready to go.
Now when the time to mix comes and you start to blend the 2 decks with the cross fader the same compression you heard in the headphones will apply to the master mix. In this manner, one hand can litterally do the job that required at least 3 before.
FAQ:
No, you can delete the channels labeled CueA and CueB if you do not wish to cue.
The position of the frequency splitter knob depends on the frequency ranges of the bass material in the song that you are playing and your taste. Its not recommended to push this knob to either of its extremities, instead try finding a nice sounding balance around 11 o’clock on the knob. You can leave this unmapped if you have found a sweet spot that you like but i recommend finding the right balance from mix to mix.
You can rather route your audio into channels Deck A and Deck B from an outside source like a pair of Cdj’s, Turntables, Deckadance VST, Traktor or whatever you like. Or if you want to launch use clips inside of Ableton you can just put your music inside of these same channels. Make sure not to put any clips into Channels SCA, CueA, SCB or CueB unless you wish to dive into dummy clips.
You can rather choose to put EQ’s into channels Deck A and Deck B or alternatively you can EQ your material before hand but this is purely a personal preference. You wont be making as many EQ changes as you usually would while mixing using smart-mixing but they are handy to have as another sound sculpturing tool. Smart-Compression isn’t made to replace the EQing process but instead to compliment it as another tool in your belt.
I personally do not recommend mixing externally using the smart-mixer, however it is possible. If want to mix externally you will still need to use the internal gain, volume faders, cross-fader and cue buttons. Leave the volume faders all the way up and leave the cross-fader in the middle on the external mixer at all times. This way you can still use the EQ’s and analogue summing on your mixer while still utilising the features the smart-mixer has to offer. Its also important to cue from your sound card and not the mixer, so have your headphones plugged into your sound card and not the external mixer. The disadvantages of mixing externally using this approach is that you will not be able to monitor any of your mixers effects or EQ changes that you make on your mixer, also EQ changes that are made will not effect the smartmixing process like if an EQ was put pre-smartmixing.
No, only a midi controller is capable of making the necessary changes to multiple channels inside Ableton at once. The main smart-mixing controls for instance are controlling 4 different effects racks at the same time which is impossible to do with a mouse.
Try turning your channel fader up, if that doesnt work make sure you have everything mapped properly and if that doesnt work make sure you have your soundcard setup according to the Ableton manual.
Yes this is possible but isnt recomended as the smartmixing process requires volume levels in order to apply the correct amount of smartmixing to the tracks in the cue channel. Otherwise the cue channel sidechain compression will allways sound as if both volume faders are all the way up when this may not be the case at all. If you still wish to proceed then simply unmap the channel faders on channels CueA, CueB and leave both of the volume faders are the default position which is +0db of gain.


