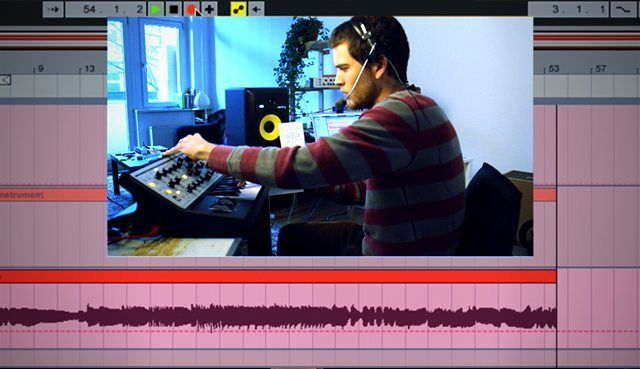
Integrating a hardware synth into an Ableton Live production workflow can really improve your workflow, as well as create some awesome and powerful sounds. In today’s tutorial, Mad Zach covers three techniques that he uses with his Moog Sub Phatty when working on a project.
Here’s a bit more on the techniques mentioned in the video:
Technique 1: Send Basic MIDI Loops To The Synth while playing a Drum Loop

This is the quickest way to start using a hardware synthesizer with a Ableton – we’re including it here because it’s the building blocks of tons of interactions between computer and synthesizer. The main steps here are:
- Connect your synth (MIDI out of the computer/soundcard to synth, Audio back in from the synth)
- Create a new MIDI track with an External Instrument on it and set up the MIDI/Audio settings
- Make a new MIDI clip and enter a sweet melody
- Hit play!
This enables you to tweak all of the controls on the synth while playing back the same notes – a great way to learn how your synth works and discover new sounds. Especially perfect for techno, house, and other loop based music.
Technique 2: Record A Noodling Session + Chop The Best Parts In Ableton

Experimenting on a synth leads to sounds that sometimes seem wildly unique. Recording yourself and the progression of playing around with the patches and manipulating the synth gives you a great palette to pull from. Having the session in audio format also allows for additional types of manipulation which are not possible with just midi.
You’ll want to create a new audio track in the arrangement view of Ableton that records your synthesizer audio, but since the synth is still being monitored in the MIDI track, mute your new audio track. Record yourself for at least a few minutes so that you get plenty of material to work with. I usually recommend turning the lights down low and getting “lost” with the synth for however long you are into it. You can also use effects to spice things up.
When you’ve finished, chop up your favorite parts in time with a drum playing – try duplicating clips of audio and reversing them, as well as adding some effects automation on top of that for serious flair.
Download Mad Zach’s sub phatty session and chop it up yourself.
Technique 3: Use MIDI Clip Automation To Control Synth Parameters

This technique works well especially with MIDI tracks that you’ve already put a lot of work into. In the video, I show a project I’m working on with G Jones. I’ve put together a cool-sounding bass line, and then (as in technique 1), run it through the hardware synth.
When you do this, look for specific parameters on the synth that sound good consistently. These will be the ones you select to be controlled with MIDI automation. Every synth as a unique set of MIDI input codes that correlate with the hardware controls – so open up the manual and find the correct code.
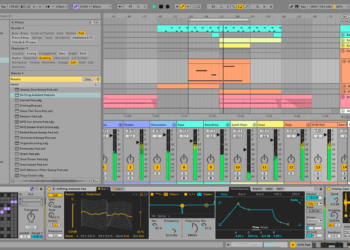
In the individual MIDI clips that you want to automate, open up the envelop controls and select “MIDI Control” and the correct CC code for the synth parameter. Then you can draw in automation in the clip just as you would if it were a software synth!
Note: Make sure you have “Remote” enabled in the Audio/MIDI preferences for your synth in order for this to work.


