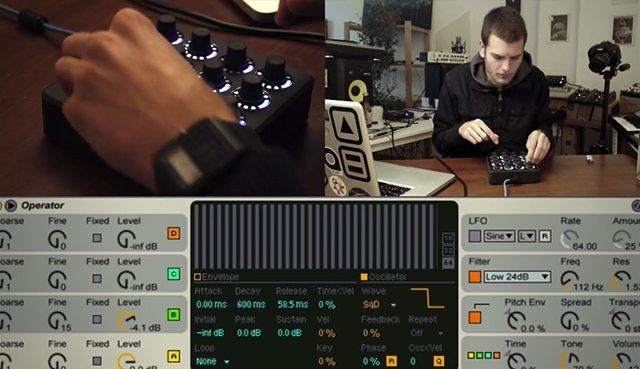
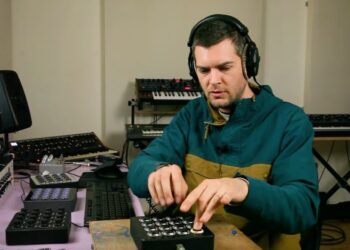
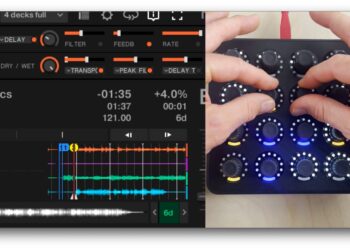
Mad Zach invites us into his Berlin studio and shows how he’s been using the Midi Fighter Twister in a production workflow with Ableton Live. Beyond the Twister just being a formidable companion for in-studio work, Zach also shows off how its sequencer can be used in a live performance setting. Watch to the end of the video for a spectacular performance using Twister, Ableton, and four Moogerfoogers.
TECHNIQUE 1: CONTROL ALL ABLETON DEVICES AUTOMATICALLY
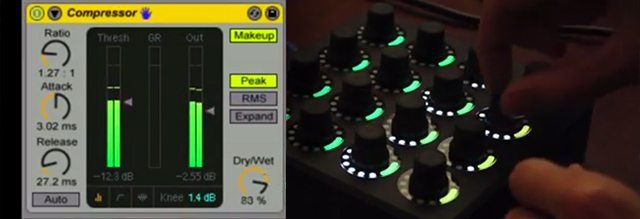
Mad Zach has created a small Live script for Twister which automaps to Ableton devices, allowing you instantaneous, hands-on control over your audio effects and virtual instruments.
Pro Tip: If you aren’t happy with the default controls indicated by Live, you can easily create your own set of eight macros, which will automap to the device instead. Just create an effects rack, load up any and all FX you want to control, and assign the parameters you actually want to control (or even multiples) to the macros in the effects rack, and Twister will automap to those parameters instead.
Benefits: Music is about listening, and so is production. Now you can close your eyes and quickly tweak a device’s parameters to dial in the perfect sound just by ear. When you are looking at a screen, it is easy to get lost in the world of numbers, visuals, and generally ideas about which values are the right values to use. The difference is incredible and you’ll discover new ways of tweaking your devices you might not have discovered otherwise, adding a hardware feeling to your digital devices.
TECHNIQUE 2: CONTROL A SOFTWARE SYNTH
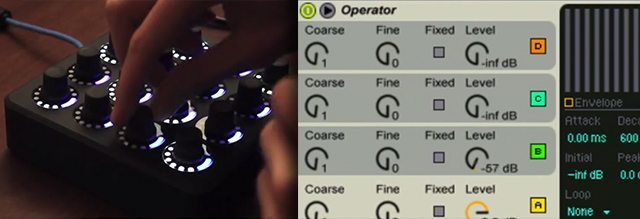
A synth, first and foremost, is an instrument and a sound design tool (maybe those are the same these days). And like any instrument, it is best when played. Staring at your laptop looking at a picture of a synth while moving tiny knobs one at a time on a screen can be a little uninspiring. Oftentimes it’s easiest to just load up a preset and change a few values with the mouse. In the video, MZ demonstrates how he’s mapped the Twister to control an instance of the Ableton software synth Operator.
Throw on a beat, take your eyes off the computer, and get lost in the more tactile world of knobs. This makes synthesis more of an exploration and discovery process, which not only allows for faster synthesis learning, but also empowers a skilled synthesist to blast through patches like a true audio animal. Map it to any synth you like, and start jamming instead of clicking.
Tips: Depending on the type of synth you plan on using, you might want to map to some of these classic parameters and see what happens!
- Filter Cutoff
- Filter Resonance
- Filter Envelope
- Filter Envelope and Amount – ADSR
- Oscillator 1, 2 volume and pitch (with fine tune)
- Amp Envelope – ADSR
- Wavetype
- Pitch Envelope – ADSR & Amount
TECHNIQUE 3: DRUMRACK STEP SEQUENCER + EXTERNAL FX PEDALS
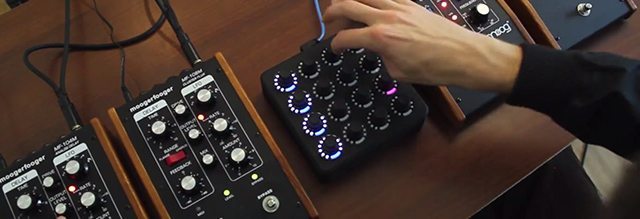
In the final part of the video, MZ shows his favorite use for the Twister: as an analog-style step sequencer for a Live drumrack. To add a bit of spice, he routes the drum rack out of his audio interface and through a series of Moogerfooger FX pedals.
Tips: You can map the bottom row of knobs on the Twister to control various parameters of the sounds in that column. For example, on the kick (which is a sub-driven 808-style kick) he’s mapped to the amplitude sustain, allowing him to dynamically change the energy of the beat from drop to build.
If you’re assembling your own rack, make sure to load up any sounds that could replace each other in the rhythm in the same column on your rack, and use the top knob of that column to move through sounds as the beat plays. This makes it possible to constantly vary the sound and feel of the beat, creating builds, alternate parts, etc.
You can also set up the velocity to map to the pitch of samples if you have Ableton’s sampler (not Simpler, unfortunately) and create melodies out of one-shots. In this performance, MZ has used this technique on a rim shot and some 808-style toms with the sustain pulled down and some compressed reverb.


