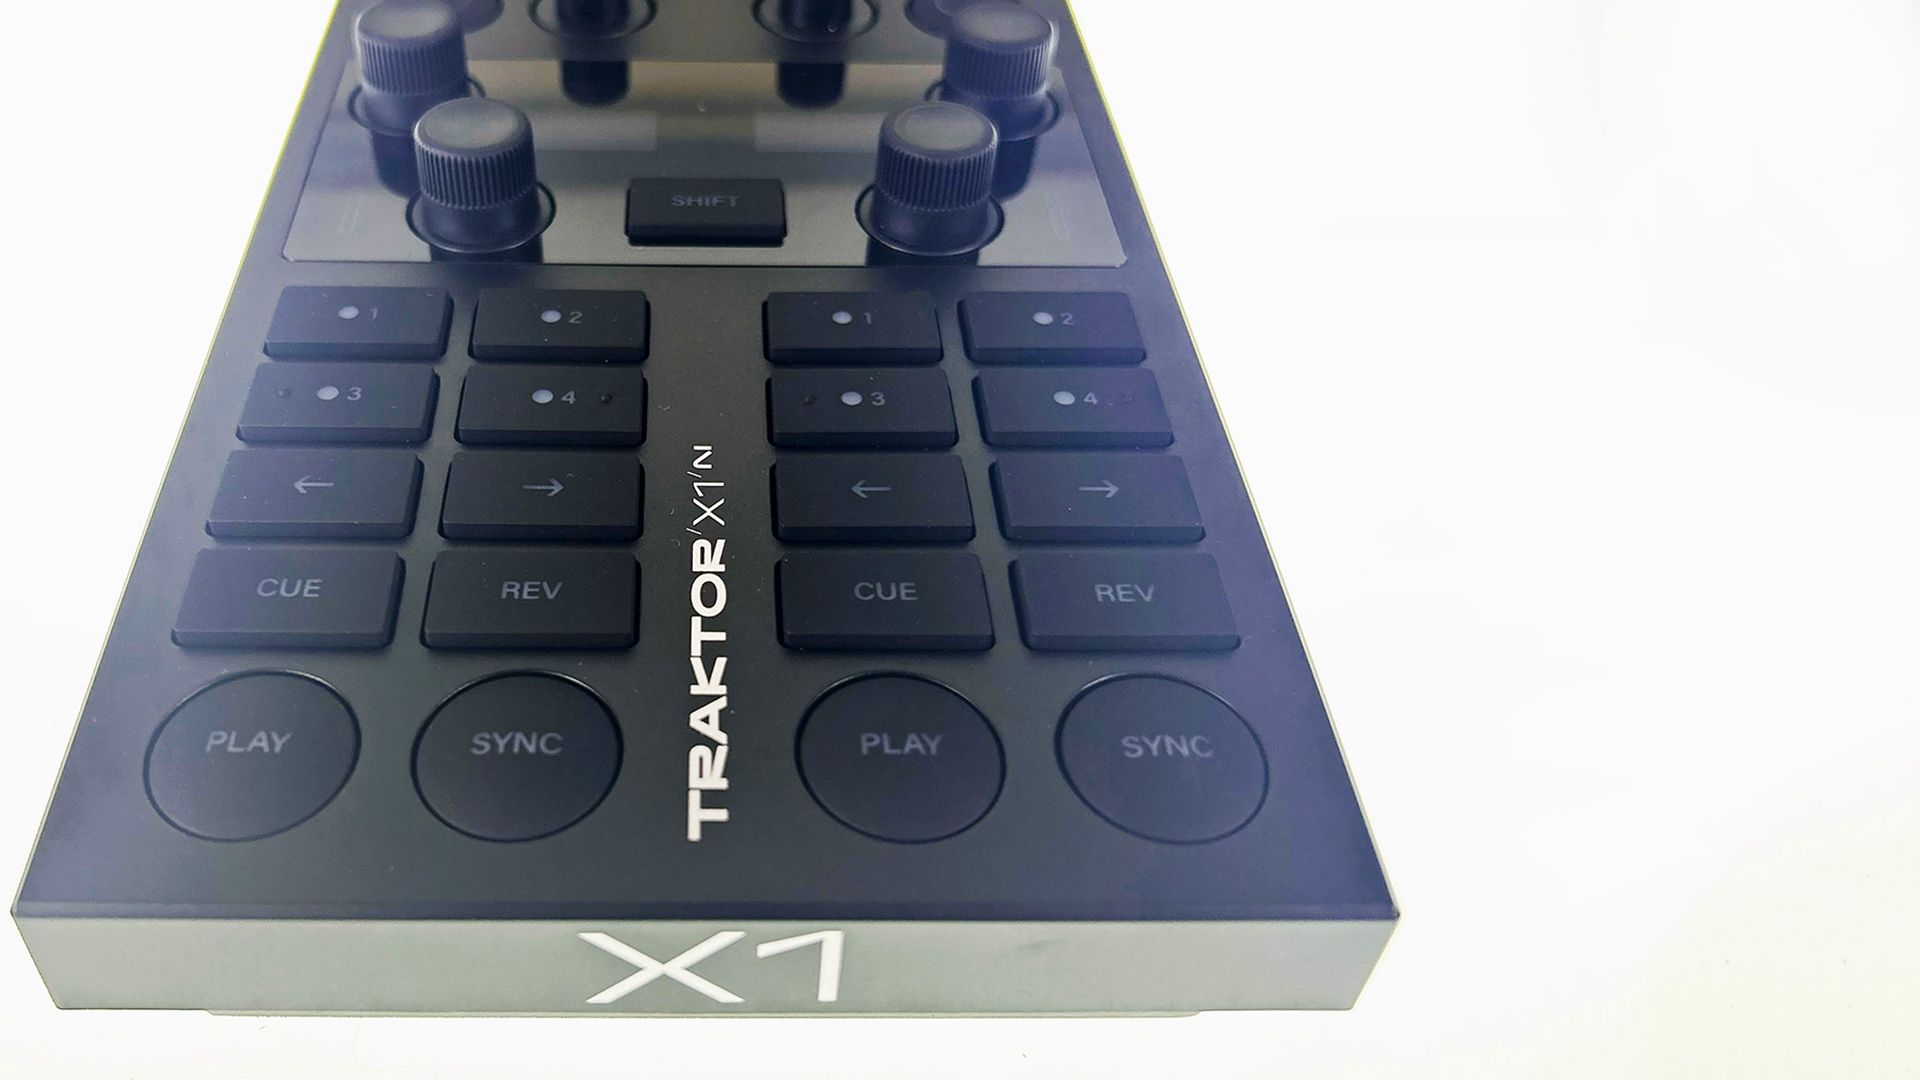
One of the most powerful features of Traktor is it’s midi mapping capabilities. Midi mapping allows DJs to create custom controller mappings that are unique to their workflow or performance and it is what has made things like the Midi Fighter Instant Gratification mapping possible with Traktor. It can be intimidating to create a mapping so today Ean Golden is going to walk through the basics of making a simple midi mapping.
Midi mapping is really the secret sauce for Traktor and there are a lot of cool things that can be done with mappings. For more advanced midi mapping tips and tricks check out these great articles:
- How To Read A Midi Mapping File
- Midi Mapping 101: The Traktor Modifier (Re-Explained)
- How To Midi Map Traktor Vu Meters To A DJ Controller
What Is A Midi Controller?
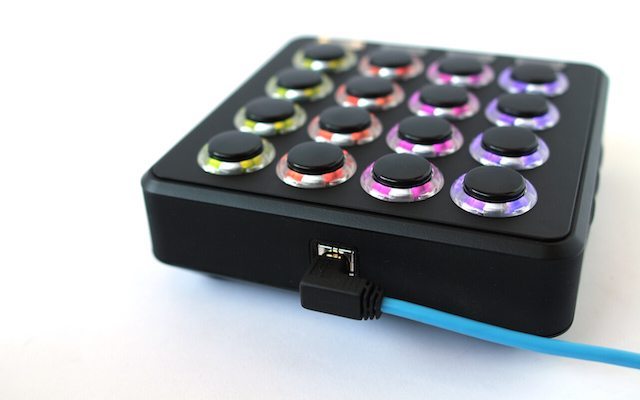
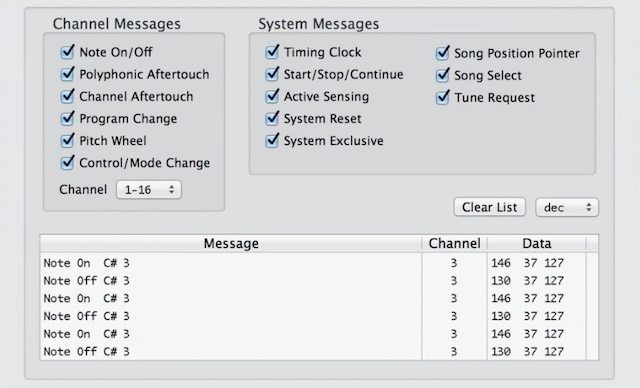
Midi controllers (such as the Midi Fighter 3D) send a series of control messages or notes, these messages can be used to control software that supports midi such as Traktor, Serato, Ableton and many other DJ software/DAW. Using a program like Midi Pipe you can see the messages that a midi controller sends, each button sends a unique message/value so that it doesn’t conflict with other commands.
No Midi Controller? No Problem
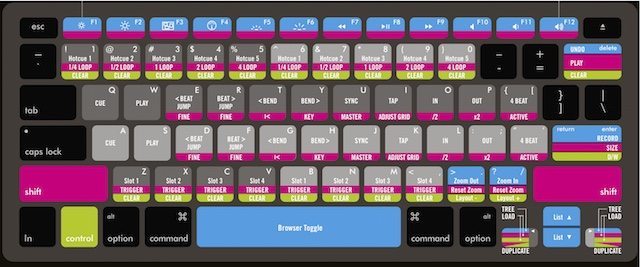
If you don’t have a midi controller it’s possible to follow along by creating a new keyboard mapping in Traktor. The keyboard can be used in the same way as a midi controller with Traktor. There are a lot of keys to work with making it a great place to start creating a mapping. When you do pick up a controller the process is very similar to mapping the keyboard so you can quickly get started making a mapping with a controller.
Starting Simple Traktor: Simple Keyboard Mapping
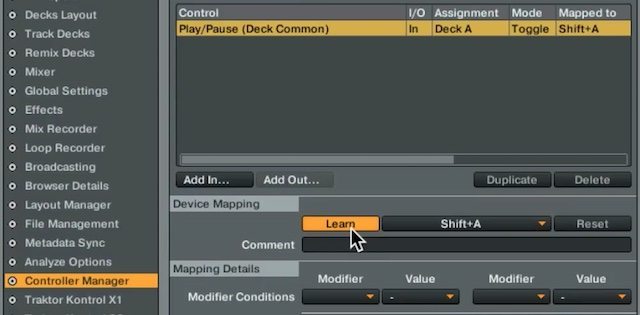
To get started, add a new keyboard mapping to Traktor, through the controller manager. The controller manager is where all mappings are managed and where new commands can be assigned. To start we’re going to create a command that will load and play a song. There are a lot of commands that can be mapped in Traktor but we’ll start simple. After a command has been added to a mapping, click “Learn”, then click any key on the keyboard to assign the command. Once the command is mapped, click “Learn” again the key will trigger “Play”.

Mapping Details: Interaction Mode + Assignment
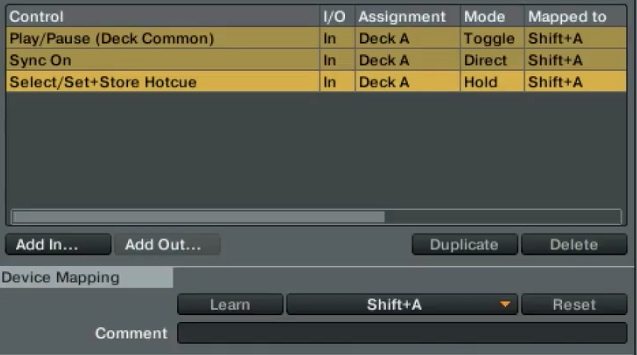
There are 2 important functions that will need to be assigned for each command, the Interaction Mode and Assignment. The interaction mode consists of hold, toggle, and direct. Hold will only trigger the command as long as the key is being held (ex. track play will only play as long as key is held down), toggle triggers the command on/off (press key to play, press it again to pause), and direct which assigns the key to a specific state (pressing key can only be assigned to one value ex. play or pause). For buttons toggle is usually the best choice so that buttons or on/off switches in Traktor can be turned on/off with one button/key.
Assignment determines which deck (or FX bank in the case of FX) the command is assigned to. This makes it easy to split the keyboard or controller into groups or sections of Deck A and Deck B commands. So one row of keys could be assigned to Deck A commands and another could be assigned to Deck B commands.
Safety Measures: Creating Shift Commands
One of the dangers of using the computer keyboard for mappings is that it can be easy to accidentally trigger commands when trying to search for a track. To prevent this from happening we can assign mappings to shift command, so the mapping will only be triggered when we have shift held and we press a key.
Advanced Mapping: Multiple Commands, One Button
So far we’ve only assigned one command to one key which is pretty basic. The real power of midi mapping comes from mapping several commands to one key or button, which can help speed up the workflow and reduce the amount of buttons that need to be pressed to achieve a desired result. A great combination of commands to map to a button would be Play (toggle), Sync (direct), Select/Set+Store Hotcue (hot cue 1). Most DJs set the first cue point at the very start of this track. With this combination of commands DJs can throw in a new track, press a button and the track will start playing, in sync, and jump to the beginning of the song.
Create And Share Your Mapping
One of the greatest parts about being part of the DJ TechTools community is having access to “Maps“. Members of the community can upload/download custom mappings created by other DJs, this is a great way to breath life into an old controller and add some new functionality to it. So start creating your own mapping today and share it with the world.
Looking for your first controller?
Check out midi controllers in the DJTT Store!


