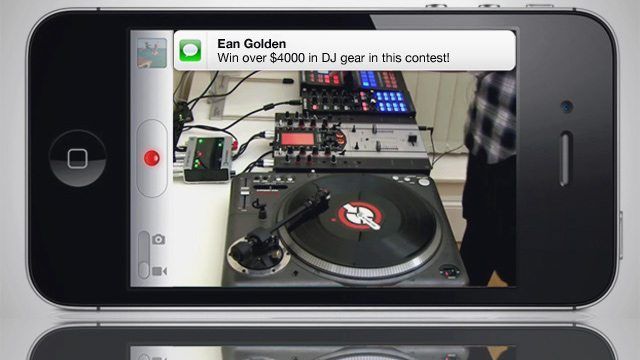
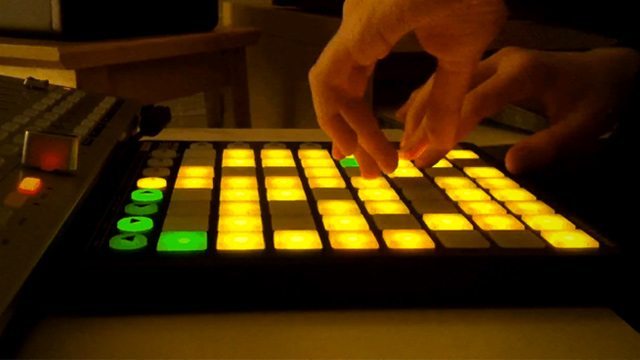
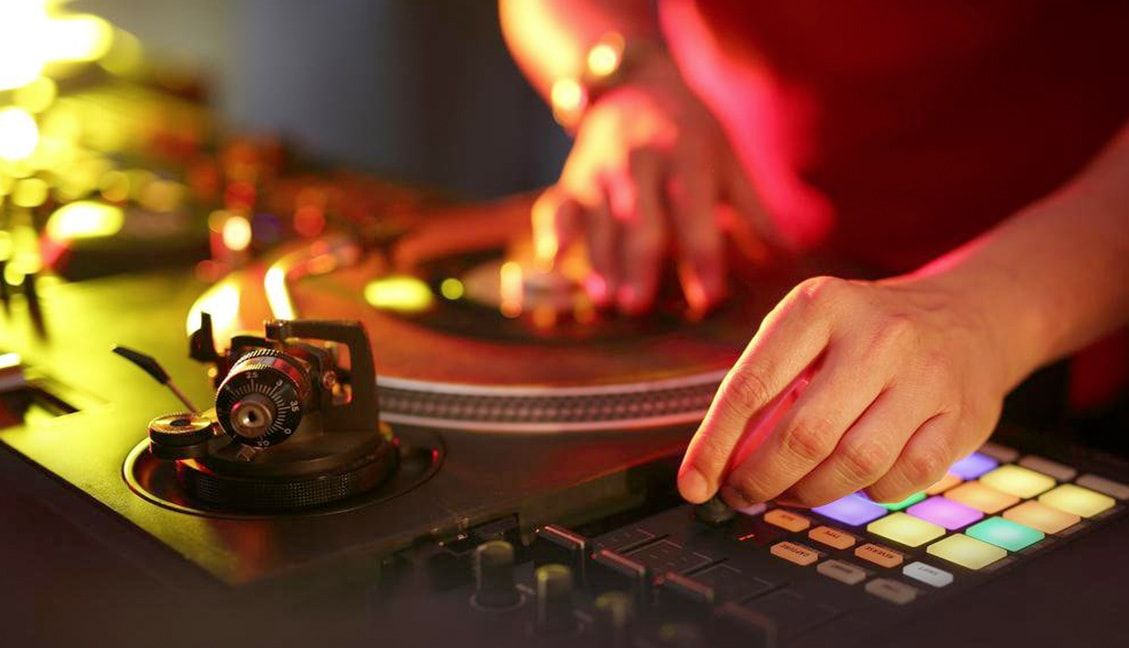
YouTube has become the easiest way to share your DJ creativity with others online, but most people aren’t exactly born with the knowledge of how to produce a great performance. Over the last five years, I’ve recorded over 100 videos with close to 20 million views to date, and now I’m going to share my secrets with you. Take the following tips and use them to enter this months Dj Video contest with nearly $4k in prizes!
-Ean Golden
The essentials of a great DJ routine video can be broken down into these components (by importance):
- The Musical Arrangement
- The Audio Quality
- The Performance Engagement
- The Video Quality
- The Video Editing
THE MUSICAL ARRANGEMENT
Madeon’s Pop Culture video (pictured above), is arguably one of the more successful “DJ” videos in the last year (nearly 12 million views and counting) Boasting just a single camera angle and no editing – it excels in amazing arrangement and musical content. The first and main thing you want to practice with your music video is how the musical arrangement of your performance flows. You might be shooting a video, but this is really all about the music.
- Shoot at least 4 draft videos of you improving on the routine
- Edit those drafts together and comp together the best arrangement
- It’s OK to loop or repeat sections that really shine
- Listen to that arrangement over and over again
- Try to structure the arrangement in a cohesive pattern that is musical!
- For video 2 minutes or less is ideal.
- Memorize the routine arrangement – and once it can be reliably played you are ready to shoot
Check out Riccardo Betti, the winner of our last contest. His simple video had a great musical arrangement which really set him apart from the other contestants (at the time of publication, his video had 1.2 million views):
“Technique-wise, your routine might be cutting edge, but if it sounds like raking fingernails across a chalkboard, scrap it. Never sacrifice musicality for technicality.” – DMC competitor and judge Jay Slim in “An Open Challenge To All DMC Competitors”
THE AUDIO QUALITY

Most casual viewers may not even notice, but the audio quality of your video is one of the first things they pick up when making snap judgements about a video.
FACT: Viewers decide if they are into a video within 10-15 seconds on YouTube.
Audio quality is definitely one of the main elements our brains scan when deciding: “Should I invest my time in this content?” “Is this something good?”
Here are the common ways to capture audio (from most ideal to least ideal):
- Right in the software, capture a digital version of the performance – you will need to sync this up with video later
- Run a line output from your DJ mixer into a digital recorder
- Route your mixer’s output back into the computer to record in digital land
- Use a high quality mic in the room (large diaphram condensor or bi-naurel are best)
- Use the built-in mic on the camera
(Recently here at DJTT HQ, we’ve found the Zoom H4 Recorder (check it out on Amazon) to be a versatile solution handy for exactly this purpose.)
If you have nothing else, the built-in mic on a cell phone or flip cam will do – but it’s only going to capture a narrow spectrum of the audio field in a very compressed format. This will be further compressed by any editing AND YouTube, with the end product being fairly grainy.
CRAZY TIP: When bouncing your video out, export the highest quality audio possible so it’s not encoded to MP3 twice
THE PERFORMANCE ENGAGEMENT
This is where the medium starts to matter. If people are watching a video, they expect to see things happen and to be entertained or wowed. At the very least there needs be a strong connection between what people are seeing and hearing. Head bopping, dancers, movement and camera tricks have very little connection to what’s really happening in the music.
Here in NI’s most recent Traktor / Kontrol F1 promo video, we see a good example of great production quality but little performance engagement:
In the following video I performed for the S4 launch – the production quality is noticeably lower, but we are always seeing a strong performance connection between the audio and physical motion.
Five ways to improve performance engagement:
- Have a static overhead shot that can always be used in a pinch
- Get lots of close ups of the hands at work
- Avoid using music video tricks and editing techniques to add false excitement. Keep it real.
- Don’t be afraid to really get into the performance and move with the music. Show us your enthusiasm!
- Be authentic with your performance, as an audience can pick up on a fake show designed to impress. If you are serious and minimal – then shoot it that way.
THE VIDEO QUALITY
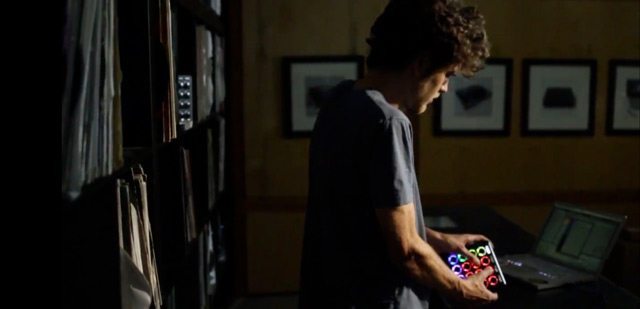
After you have nailed the first two categories of performance, audio and arrangement then you can move on to upgrading the video quality. Don’t invest time and money in this class until you have passed the previous ones!
The easiest way to upgrade your video production is by simply upgrading your video production tools – buying a dedicated camera that isn’t embedded in your laptop can be a great first step. (Many readers ask us what cameras we use in the DJTT studi0 – we have a pair of Canon Rebel T2i digital SLRs) But many mediocre cameras can work well with basic lighting. The frame above from this video, is a good example of the deep focus effects you can get from a SLR camera.
Here is a typical upgrade path you would follow when stepping up your video rig
- Built-in camera on a computer (free!)
- Flip Cam (These are so affordable and very good quality HD) $99
- Canon PowerShot – These little “consumer” cams can shoot some excellent video with focus control. $199-$299
- Basic SLR Camera – For the Sexy Deep focus shots and great low light, you need a SLR. The basic ones with HD video now run for about $399-$599
- High End SLR with a Great Lens. This starts to get into the really sexy territory but can set you back about $2k!
LIGHTING IS KEY..
Every camera needs basic light to function but with great light, they really start to shine. If you are shooting with basic gear then it’s best to try day time shoots with lots of natural light for easy, good quality results. The following video was the very first DJ TechTools performance/tutorial in 2007 and it was shot with a single Canon powershot with basic daylight. Yes, the headband is regrettable in hindsight but we all had to start somewhere.
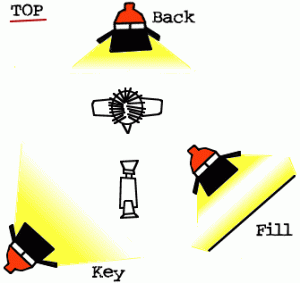
If you are ready to step up and add some lighting to your rig, it can be in-expensive and easy! The “Cowboy Lighting” kit only costs $199 and will easily light any DJ setup. Follow the DIY route and collect lights from around the house arranging them in the following setup:
SIMPLE CLEAN EDITING
While many music videos and television shows rely on great editing to keep them interesting – DJ performances seem to demand the opposite:
Really show the action and let us follow the performance without jarring transitions.
The general rule of thumb we follow is to make a cut when it’s required to really see the action. Is something interesting happening in software – switch to the screen. Is the front shot not showing the action, cut to a closeup and so on.
Less is more, and generally it pays to pick a great angle and just leave it. If you really want to keep people interested set up two shots and alternate between them to keep things interesting. Spend a lot of time setting up a great shot that really shows the action so you don’t have to fix that later in post.
BIG TIP: Avoid complicated programs like Final Cut unless you are a professional. Basic tools like iMovie produce easy, fast results so you can focus on the performance.
EXTRA CREDIT – Screen Capture
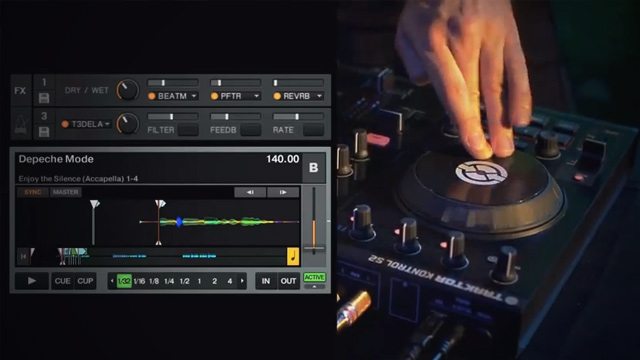
Since many of your viewers will be DJs they really want to see what is happening and now that everyone uses computers, showing what the software is doing can help explain and pull people into the performance. Some producers put screen capture throughout the video, but we like to highlight interesting aspects of the performance with screen capture, revealing details that make the audience appreciate any hidden effort the DJ might be putting forth. Sometimes it’s nice to leave out screen capture entirely, as it can be distracting but if you do choose to include it – use this tool sparingly.
Here are some great options for screen recordings!
- Camstudio (Windows) is free.
- Camtasia (Windows/Mac) has a free 30-day trial.
- For basic screen recording on a Mac, just use Quicktime! Check out this article, under “Screen recording in QuickTime Player.”
- Screenflow (Mac) is a paid application that Ean swears by – it allows you to edit your video very easily, and you can add other video sources in as well!
BIG TIP: Create movement with your screen capture to break up static screens. Zoom in on key elements and move the screen around
Additionally, if you’re a whiz at Adobe After Effects (or better yet, if your video-editing friend is), you could consider incorporating some extra synesthetic content from your screencapture, like the floating sample icons in the DJ Shiftee F1 video.
GRADUATING CLASS CONTEST
Alright, class is over – it’s time for your homework! We want to see what you’ve learned, so we’re having a contest to see who in the DJTT community can make the best DJ routine video. As usual, we will be giving away fabulous prizes. Here are the rules of the contest:
Must be a digital DJ routine OR tutorial on how to do something cool with DJ software.Upload your masterpiece to YouTube with “DJ TechTools Video Contest: (Name of your Video)” in the titlePost your entry to this page as a comment!Vote up the comments that contain videos you enjoyEntries will be judged by DJTT staff on the quality of the video, using this article as a guideline.
Ean Golden is the founder of Dj TechTools and a worldwide Dj specializing in controllers and new performance technology.
Follow Ean on: Twitter Facebook SoundCloud YouTube


