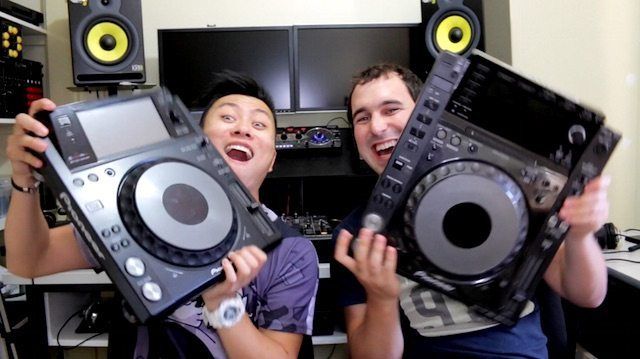
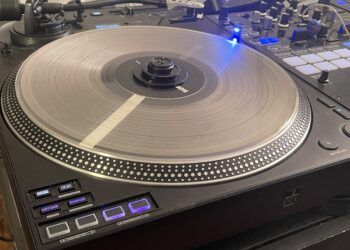
Pioneer CDJs are the industry standard found in DJ booths and on festival stages around the world. Although they’re industry standard we noticed that there aren’t many great tutorials out there showing how to get more out of the Pioneer CDJs. So DJ TechTools reached out to a couple CDJ pros, DJ Ravine and DJ Cotts, to share some cool tricks that DJs can use the next time they find themselves performing with CDJs. Keep reading for some easy scratching tips and cool ways to use slip mode on the CDJs.
1. Update Your Firmware
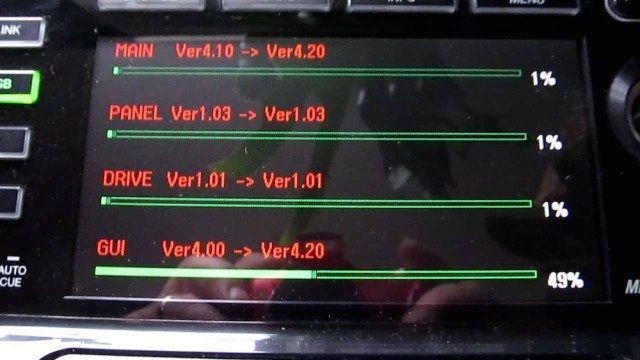
To ensure that CDJs have the latest features and best compatibility with other CDJ players it’s always recommend to check and update your firmware. DJs can find the latest firmware updates and instructions for all CDJ models over at Pioneer DJ. You’ll need a USB flash drive or external hard drive to load the firmware (learn how to flash your USB drive).
2. Cue + Pitch Scratch
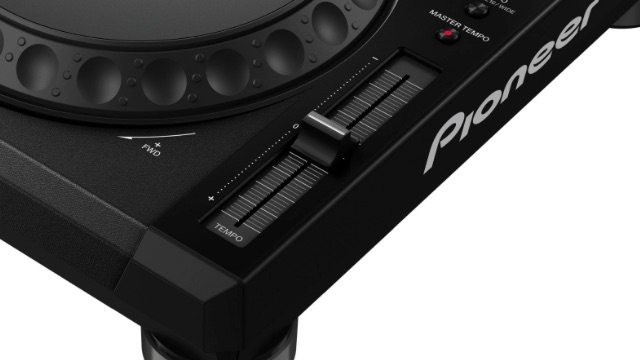
Most people when they think of scratching imagine turntables and vinyl. But CDJs can be used for scratching too and in unique ways that make it more accessible for people that are fairly new to scratching.
The first tip involves using the cue button and pitch fader (make sure the tempo range is set to “Wide”, which gives a range of +/- 100%). This gives a wide range of pitch variation to work with. Set a cue point at the beginning of a sample. Now trigger the cue point and move the pitch fader at the same time to create a similar sound/effect to scratching with a turntable. This movement is a little easier compared to the complex movement of cutting with the crossfader while scratching a record, since the cue button will always trigger the sample at the start.
3. Cue + Jog Scratch
Another way that DJs can scratch with the CDJs is by triggering the cue button then moving or scratching the CDJ platter. Again this is easier compared to a turntable where the DJ would need to make sure they spin the record back to the start of the sample (unless they’re using DVS and cue points). With the CDJ the start of the sample can easily be triggered with the cue button.
These tricks are also applicable to the upcoming Pioneer XDJ RX.
4. Slip Turntable Brake
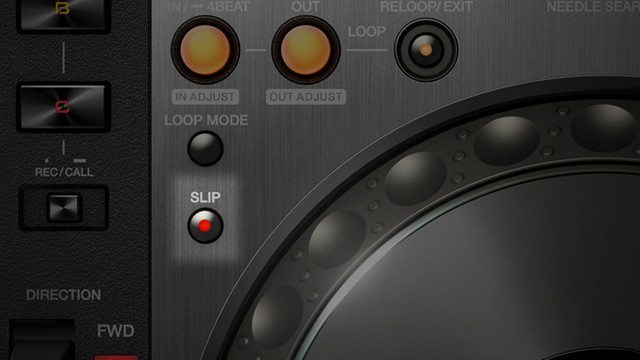
After all these years the turntable brake remains a classic sound and can still have a huge impact when used in a DJ set. The turntable brake sound occurs when a DJ stops the turntable and the record slows to a stop, which creates a “winding down” sound.
With Slip mode DJs can recreate this classic effect to stop a track, then bring it back on the first beat after a big breakdown/buildup. Normally with a turntable the track would start playing back from where it stopped. Slip mode allows DJs to trigger cue’s, loops, scratch, or stop the track and then bring the song back to where it would have been if they didn’t do anything. To achieve the turntable brake trick, turn on slip, adjust the stop speed knob to 12 o’clock, pause your track, then press play when the first kick comes back for a dramatic impact.
To see some of these tricks in action check out Kutski on the Pioneer CDJ 2000 Nexus.
5. Slip Spinback
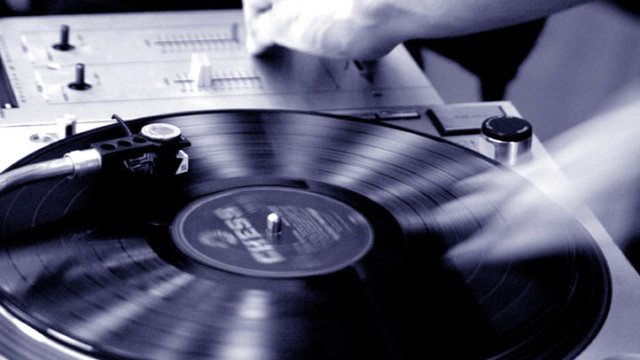
Slip mode also affects the CDJ platter, so DJs can scratch or spinback the platter and once they’ve let go or when the platter stops spinning, the track will continue playing back from where it would have been if the platter hadn’t been touched. Using this trick DJs can do another classic trick, “the spinback”.
For those unfamiliar a spinback is when the DJ grabs the record and quickly spins it backward, usually as an effect to transition to the next song. With slip mode DJs can quickly spinback the platter and have the song start at the position where it would have been without the spinback. Note: for this to sound good you’ll need to stop the platter from spinning on one of the beats so that the track continues playing back in time.
It’s important to note that slip mode isn’t available on every CDJ. Learn more about each CDJs features and which CDJ is best for you.
6. Slip Loop Recall
Slip can also be used with the “Reloop” function to jump back to earlier sections from a track. For this to work you’ll need to ensure that Quantize is enabled on the CDJs. First you’ll need to place a cue at the section you’d like to go back to. Once the track has been marked DJs can hit the “Reloop” button to jump back to that section and when Reloop is toggled again it will jump back to where the track would have continued playing. DJs can also use the “Call” buttons on the CDJs to expand the loop or phrase of the track. This is a little tricky to understand so check out a demo at the 4:03 mark in the video.
About our teachers, who will be back in a few weeks with part 2 and more fun techniques.
Ravine an Australian Youtuber and DJ with over 280,000 subscribers. Active since 2006, he’s led the forefront of DJs sharing their talents on Youtube and around the globe. His channel consists of DJ mixes, reviews and tutorials, all compressed by his off camber humour and demeanour. Stay up to date with Ravine on YouTube, Facebook, Twitter, Soundcloud, and Instagram.
In early 2002 Cotts became addicted to the sounds of what we now know as UK Hardcore. Hooked on driving beats, euphoric melodies and a genre which re-invents its sound every few years what’s not to love? Stay up to date with Cotts on djcotts.com, Facebook, YouTube, and Soundcloud.
Got some cool CDJ tips and tricks?
Share them in the comments below!


