In the first part of our series on how to get started DJing in Ableton Live, we took a look at the possibilities opened up by Live for DJs and learned how to warp an electronic dance track with a steady tempo. But not every track you’ll want to work into your sets will be as simple as that – what happens when you have a live drummer or a track with serious tempo changes? Here, we look into warping more “difficult” songs with a non-constant tempo.
As we’ve noted in the past, most current club tracks produced on modern DAWs, whether house, techno, dubstep, electro or hip-hop, are based on tightly quantized drum patterns. These songs will have a pretty much constant tempo all throughout, with minimal drift. Warping these tracks is very easy, and in many cases, will only require you to set 2-4 Warp Markers to have the song ready for a DJ set.
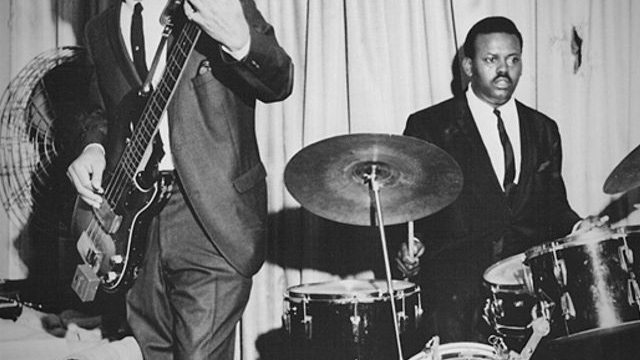
However, many older dance tracks, as well as music from non-electronic genres such as rock, soul or reggae, feature live drummers or samples of live drumming. This means that the tempo will drift throughout the song, making it difficult to do extended blends or mashups. If you wish to play one of these songs in an Ableton Live DJ set and have them perfectly beatmatched with other tracks, you will have to make sure the entire song is properly warped.
WARPING “DIFFICULT” TRACKS

While warping music with drifting tempos takes more time than new dance tracks, the process is still fairly simple and shouldn’t take more than a few minutes for most club-ready songs. This kind of warping will be typical for soul, funk, disco, reggae, rock, and other genres based on live drum recordings. Songs with beats created on drum machines and software will likely need less Warp Markers, though many older records will have a lot of tempo drift compared to contemporary club music.
Whatever the genre of music you choose to play, the warping process and the principles behind it remain the same. Remember that this is simply one tried and tested way of approaching warping, and over time, you will develop a technique that suits your preferred work flow. Here are the seven simple steps to acing those tricky songs!
1. SET UP YOUR WARPING TEMPLATE
As with any process, making sure you’ve got the right workspace for the job is critical. Let’s make a few adjustments to the default Ableton setup that will make the sometimes tedious warping process a bit simpler.
Create one audio track for the songs you’ll be warping. You can use either the metronome, a MIDI drum clip or a simple, warped drum loop for your reference beat. I like to simultaneously have the metronome on as well as a steady kick loop running in a MIDI channel when warping.
Additionally, set global quantization to 1 bar if it’s not already there (keyboard shortcut: command-9 or control-9).

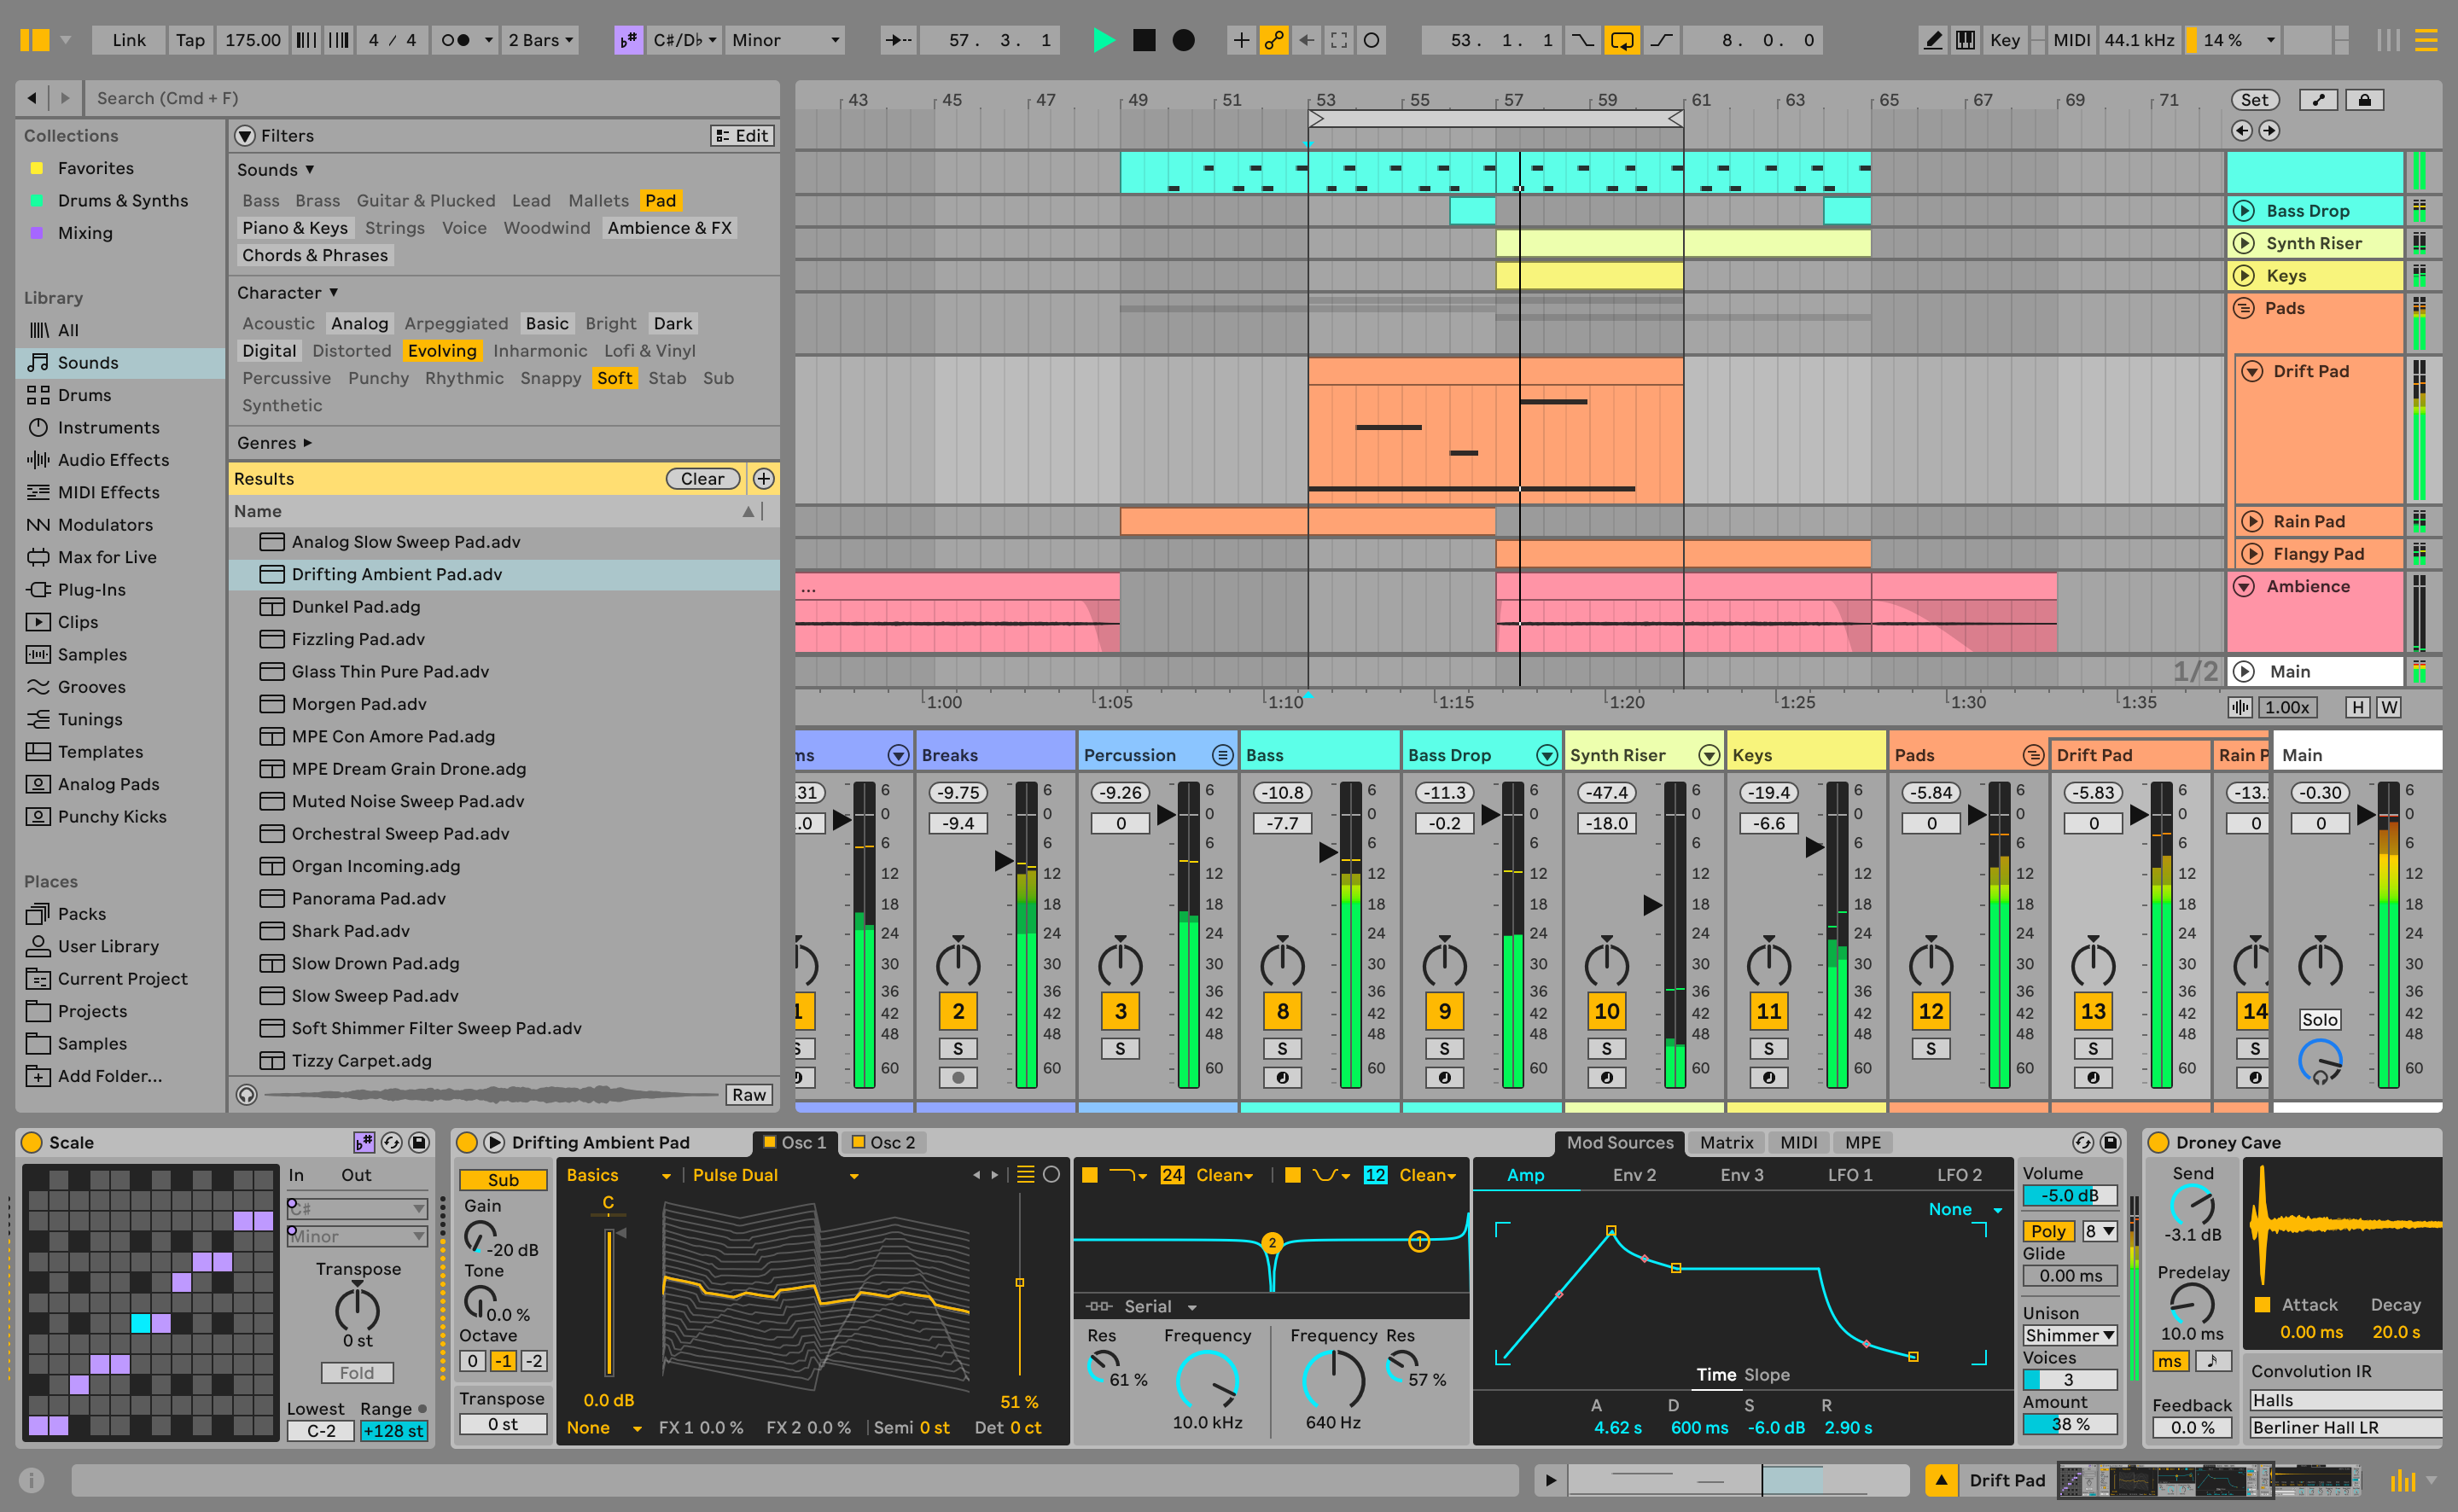
You can easily create a MIDI drum loop with Ableton’s native Impulse drum machine. Simply drag an Impulse from the device browser into an empty MIDI track and load up a nice, clean kick sample into the first slot. Double click on the topmost clip slot in the MIDI track and go into the MIDI editor box. Pencil in evenly spaced kick drum hits to create a 1-bar loop, as shown above, and play this alongside the metronome as you warp your song.
Save this Live Set as your DJ warping template.
2. BRING THE UN-WARPED TRACK IN

Drag your un-warped song into the empty audio track in Session View (the non-linear clip view). Ableton will then analyze the file, and automatically warp it if you have this option checked under Live’s preferences. Most Ableon users we know choose to disable automatic warping because of a distrust of the accuracy of the results – this is even more often the case with drifting tempo tracks!
To remove Ableton’s predicted warping, click on one of the Warp Markers, right click to select all and delete the automatic Warp Markers. You’ll want a clean slate to work on.
3. FIRST DOWNBEAT AND LOOP
Make sure that looping is activated in the Sample box. Set the loop length to 1 bar (the boxes under Length should read 1:0:0), and the start of the loop to 1.1.1.
With the metronome and/or your reference kick loop running, start playing the song. Zoom into the waveform and look for the first downbeat- use the gray Pseudo-Warp Markers to spot the kick drum transients. These are usually the largest transient spikes in the waveform. Drop a Warp Marker on the first kick sound by double clicking on the Pseudo Warp Marker that appears as you hover over the small arrow marking out the transient. Right click on the Warp Marker you just created, and set the 1.1.1 bar position at that point. A 1-bar loop should now be playing – but it still needs the second warp marker to make it sound just right (see the next step).
Creating loops this way will allow you to steadily progress through the song and warp it piece by piece. The loop braces will also serve as a guide for where the Warp Markers you’ll be creating should be. We use 1-bar loops in this example, as the song used has a lot of tempo drift. However, you might be able to get away with a 2-bar, 4-bar or 8-bar loop. The steadier the tempo of the song, the larger the loop that can be used.
4. DROP A MARKER AT THE END OF THE LOOP
Zoom in and look for the downbeat which should be relatively close at the start of the second bar, assuming the detected tempo is close – but this is not always the case. Count out the beats while the track plays if necessary, and again, use the Pseudo Warp Marker to find the downbeat. Double click on this to create a Warp Marker.
5. DRAG TO PERFECTION
Drag the new Warp Marker at the end of the loop so it lines up with the nearest whole number on the ruler. You should now have a warped loop that sounds smooth.
Depending on the complexity or looseness of the drumming in the song, you may need to go into the middle of the loop and “correct” the timing of the beats there. You can do this by creating Warp Markers on 1-2 of the downbeats, and dragging these so they line up with the adjacent bar numbers along the ruler. Listen closely to see if the loop syncs up with the metronome and/or your reference loop.
6. MOVE DOWN THE LINE

Click on the loop brace in between the loop start and loop endmarkers. The loop brace should turn black. Press the up arrow key to move the loop forward by the global quantization amount. The loop will now start at the bar where it previously ended.
Again, zoom into the waveform and look for the downbeat at the end of the loop. Create a Warp Marker there and drag this to line up with the nearest whole number on the ruler.
Repeat this process for the entire track, moving the loop from bar to bar. Always listen closely and check if each loop syncs up with the metronome or kick track. If the track drifts less, you might find you can work with larger loop lengths to speed up the process- but for purposes of extreme accuracy, one bar is best.
7. LISTEN TO YOUR TRACK + SAVE

When you are done, make sure to click on Save in the Sample box. This saves the warping information to an .als file that is associated with your song file, which will be recalled each time you drag the song into Live.
Set global quantization to 1 bar and try launching the song from different points- it should always fall in time with the metronome. You now have a properly warped track!
SHOW ME HOW: VIDEO WALKTHROUGH
While the written steps might work for some, I’ve also gone ahead and made a video showing this process in action. It’s nothing fancy, but it allows you to see exactly how this warping process works.
Overall, warping tracks with drifting tempos can be very tedious – not too different then trying to mix in a track in a traditional DJ setup with a live drummer. The main difference is that an Ableton workflow requires you to take care of that headache before you start your set, opening up time that you would have spent beatmatching for even more creative types of performance.
What Ableton DJing concept do you need to learn more about? Let us know in the comments, and we’ll write up the highest voted ideas!


