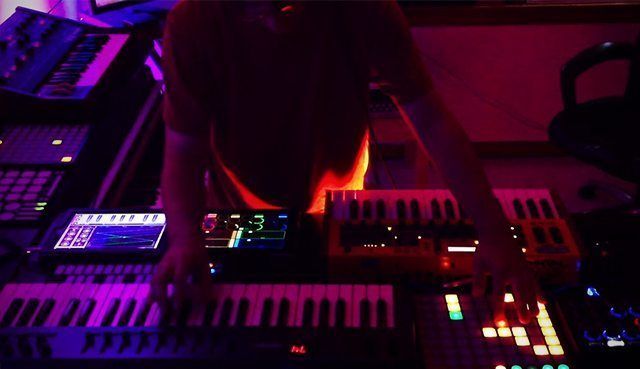
Rheyne, known on YouTube for his jam sessions with iPad production apps, hardware synths, and MIDI controllers, has put out his 100th live jam. In celebration, it’s a full hour-long performance, featuring all kinds of gear in his setup. Watch the full video below, and check out our quick interview with Rheyne about this jam, his gear, and the process behind his performances below.
Click here to read Rheyne’s roundup of 14 great iPad apps for live performers.
1. What’s all of the gear used in this video?
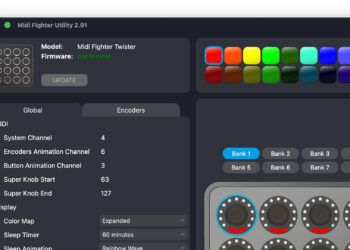
- DJ TechTools Midi Fighter 3D
- Novation Launchpad / S
- Dave Smith Instruments MoPho
- M-Audio Oxygen 49
- Keith McMillen QuNexus, QuNeo, and 12-Step
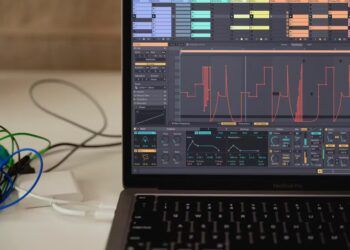
- iPads running Lemur and Animoog
- iConnectivity iConnectMIDI4+
- Moog Prodigy
- Fender Rhodes
- MXR Wylde Overdrive
- PreSonus 1818VSL
- Macbook Pro (2011)
- Alienware PC (2008, Core2Quad, EVGA GTX 470)
- Mackie HR-824
- Yamaha MG12/4
- Enttec DMXIS
For lighting, I used 5x Chauvet Slim Par 56 LED, and 2x American DJ MegaBar 50 RGB LED. These were chained off of the Enttec DMXIS.
2. How are the visuals controlled?
3. What are your favorite pieces of gear in this set up, and why?
4. How do you approach making an hour-long jam like this? was some of it pre-PLANNED (not recorded), or was it all completely improvised?
I originally thought I could just wing it for a whole hour, but when playing back the rehearsals I felt the quality dropped-off after around 20-30 min. So I pre-planned a sort of common theme in terms of chord progressions and melody which I could adapt and transpose throughout the set, tying the whole jam together with variations on that theme without losing the spontaneity of improvisation (the part I like the best about jamming), and also without it sounding like the same song for 60min. So it’s still all improvised but I had a little roadmap in my head in case I got lost.
5. You have a very complete, full-sounding mix for a live performance- Are you doing any on-the-fly mixing/mastering techniques?
Mainly just some minor volume adjustments. There’s Ableton’s compressor on almost all of the channels which helps to even things out, but dynamic range doesn’t suffer since the amount of compression is minimal (in some cases it’s more of a gain boost than compression). If I play the drums lightly, it triggers the quiet samples, and hard hits on the pads will trigger the louder samples, so it takes a little bit of control. The separate low-pass filters on each instruments’ return channel will help give the illusion of lowering volume during the ambient sections, and opening up the filters will make things appear “louder” when the music picks up some steam.
I’ve made sure there’s enough breathing-room on each channel to allow for quiet sections and loud sections, but it’s definitely taken about 3 years of tweaking the Ableton template to get it that way. The levels on the drums probably get adjusted more than anything else during a jam, as I often find they are either too loud or not loud enough, more than any of the other parts.
6. Anything else insightful from making this video/performance that you want to share?
I enjoyed making this because it challenged myself in a lot of ways and forced me to learn new technologies, mainly with visuals and video. It took me months of attempts to get a 60min set I was comfortable with, and I would’ve had an easy time picking 15min from one take and 20min from another to create a solid hour of music, but I really wanted to stick to the “single take” aspect to make it an endurance challenge for myself, to see how long I could keep things under control.
Since I’m not in school anymore, it’s like I’m giving myself homework assignments to learn these things so I don’t fall behind on what everyone else is doing. I also learned follow-through is important. It’s good to set goals and put things out there on social media like “I’m going to post an unedited hour of live looping” but it’s another thing to actually deliver it. We need more follow-through out there!