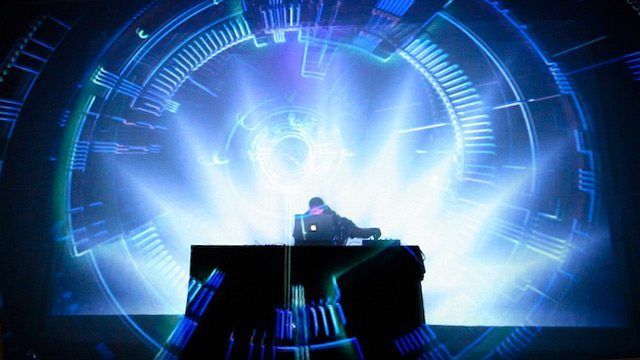
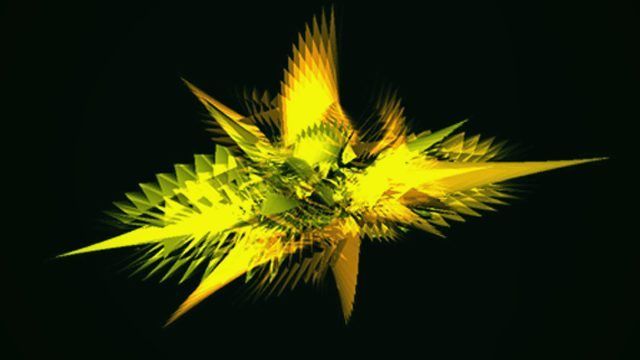
One of the most common questions we get from DJs nearly every week at DJTT has to do with adding an element of music visualization into performances. From house parties DJing next to 60″ TV screens to performing at local clubs with their own projection system, the ability to display video is rarely an issue, but finding a great, music-reactive source of visuals is more difficult! Today we’ve got a few DIY tools to get you started if you still haven’t made friends with a great VJ.
VIDEO KILLED THE DJ STAR
First and foremost, it’s important to point out that visuals, lighting, and VJing itself can be as much of an art as DJing. The process is similar, with much of the time in the art form being spent tracking down awesome material and preparing it for playing back in a live setting. In my experience, solid DJs are a dime a dozen and great VJs are relatively difficult to come by.
Sometimes the most important thing is having some cool-looking visuals to add atmosphere to a party or depth to a show – so here’s some audio-reactive tools to do just that, without any programming or visual preparation:
HIJACKING ITUNES’ VISUALIZER
Tools needed: Nicecast (or similar streaming software), iTunes
Difficulty: Significant tweaking required
Awesome Factor: Solid control, but comes with latency!
Most iTunes users are probably well aware of the epic built-in visualizer in iTunes, which has gone through a number of iterations in the many versions of the music player software. The current visualizer, Magnetosphere, is pretty impressive – and many DJs have likely watched the real-time patterns formed by the software and wondered “Why can’t this be behind me while I’m tearing up the dance floor?”
As a matter of fact, iTunes’ visualizer is almost* perfect for DJs – complete with a set of simple controls that allow you to manipulate different aspects of the visual feedback in real time. Here’s the complete list – yes, we’ll wait while you go tap the freeze mode every 4 measures:
- M: change the current mode
- P: change the color palette
- I: display track info
- C: toggle auto-cycle on and off (it’s on by default)
- F: toggle freeze mode,
- L: toggle the camera lock on and off
Here’s the caveat – iTunes doesn’t accept any external audio sources except for audio streams, so in order to get audio out of your DJ setup, you’ll need to stream the audio back into your computer. The fastest way to do this is to physically route your master audio back into your computer or soundcard input, activate a streaming server with a tool like Nicecast, and stream that input with the tool at the lowest quality (to keep your CPU load as minimal as possible).
In this configuration, iTunes will be about 1 – 4 seconds behind your actual DJ audio, meaning that the audio reactive visuals will be a bit late (but in our testing, still pretty solid as they’re consistently delayed without fluxuation). You’re still able to control the visualizer’s parameters in real time, which is pretty fun for a simple setup.
Need help getting this set up? Read how @JPARISHY streams his Spotify stream into iTunes visualizer.
MUSIC BEAM
 Tools Needed: Projector, Music Beam software (OSX, Windows, Linux)
Difficulty: Pretty simple
Awesome Factor: Cool, but really shines with fog!
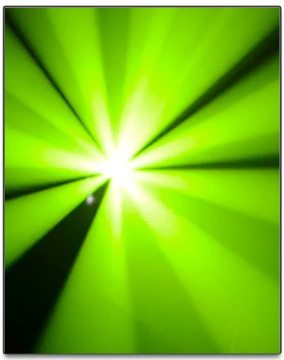
This visualizer software requires you to have a projector in your arsenal – and the brighter the better! Music Beam uses the actual light coming from the projector to create a light show, breaking up the projection beam into patterns that simulate various popular lighting effects. Familiar effects include Derby, Moonflower, Scanner, RGB Spots, Snowstorm, and more.
The Music Beam software is free, and takes control of your projector as the second display for your computer while still allowing you to manipulate the effects on your main screen.
Projectors generally are designed to project an image onto a screen, so using them as stage/effect lighting isn’t as effective as it could be – but apply a little bit of fog or haze to the room that you’re using Music Beam in and the wow factor gets way better.
Get a better sense of what the software is capable of in the below video:
MACROMEEZ VISUALS
 Tools Needed: Macromeez software, PS3 controller
Difficulty: Simple
Awesome Factor: Solid wireless control, very entertaining
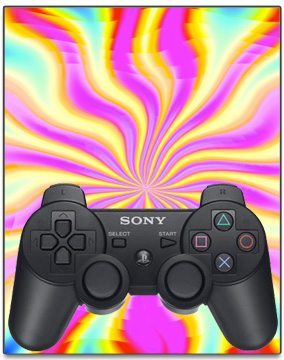
It’s pretty rare to find a visuals software that comes with a diverse set of controls that are pre-mapped to a very common wireless controller – and with Macromeez that’s just the case. I’ve used the software to control the onstage visuals behind a DJ from inside the audience, which is incredibly fun.
While eventually Macromeez’s array of included visuals will become repetitive, the amount of control over the visuals makes it pretty versatile and fun to play with, with “Freak Out” and “City Lights” modes as well as wobbling and feedback control. Macromeez hasn’t been updated in about a year, but it’s still a great tool for simple visuals with a Bluetooth PS3 controller.
Here’s a demo reel of the types of visuals possible with Macromeez:
MAKE FRIENDS WITH A VJ + FUTURE ARTICLES
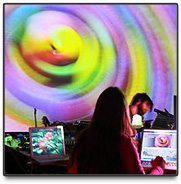 As we noted at the beginning of this article, the options presented here are no replacement for a real VJ. Having someone behind the “visual decks” is always the superior option, so we’ve reached out to an experienced VJ to give DJTT readers an introduction to the art of VJing, the technology behind it, and how to incorporate your DJ controllers into a VJ workflow. Keep an eye on the blog in the next few weeks to learn more – or follow us on Twitter, where we’re sure to make a stink about it.
Have other solutions that you use for simple audio-reactive visuals while you’re DJing? If you’ve got a great solution, let us know in the comments and we’ll add it to this article!


