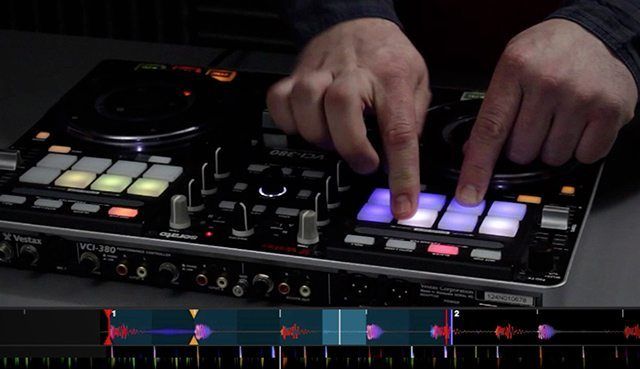
Being able to dynamically jump around within a playing track was a major innovation that Serato introduced back in ITCH. Now, every Serato user has access to the function in Serato DJ – but like many advanced features it takes a bit of work to figure out when to actually use it. Watch today’s tutorial for some great techniques on using the Slicer in a DJ mix.
HISTORY OF SLICER
In many ways, the Slicer mode found in Serato DJ (SDJ) serves to highlight both the strength and the weakness of Serato’s locked-down software platform.
First debuted in their older Itch software with the launch of Novation’s (at the time) innovative Twitch controller in 2011, it took a while for more Slicer capable all-in-one controllers to hit the market. Now the technology has been incorporated into SDJ, and the bulk of new native controllers include it as a standard feature.
The problem is, that like much else in SDJ, the slicer is not MIDI mappable – so unless you own a controller which supports it, you’re out of luck. When SDJ was ‘controller only’, that wasn’t too much of an issue, but with vast swathes of existing Scratch Live DVS users being transitioned to SDJ, many of them may find themselves disappointed that they have no way to incorporate Slicer into their existing setup without an extra hardware investment.
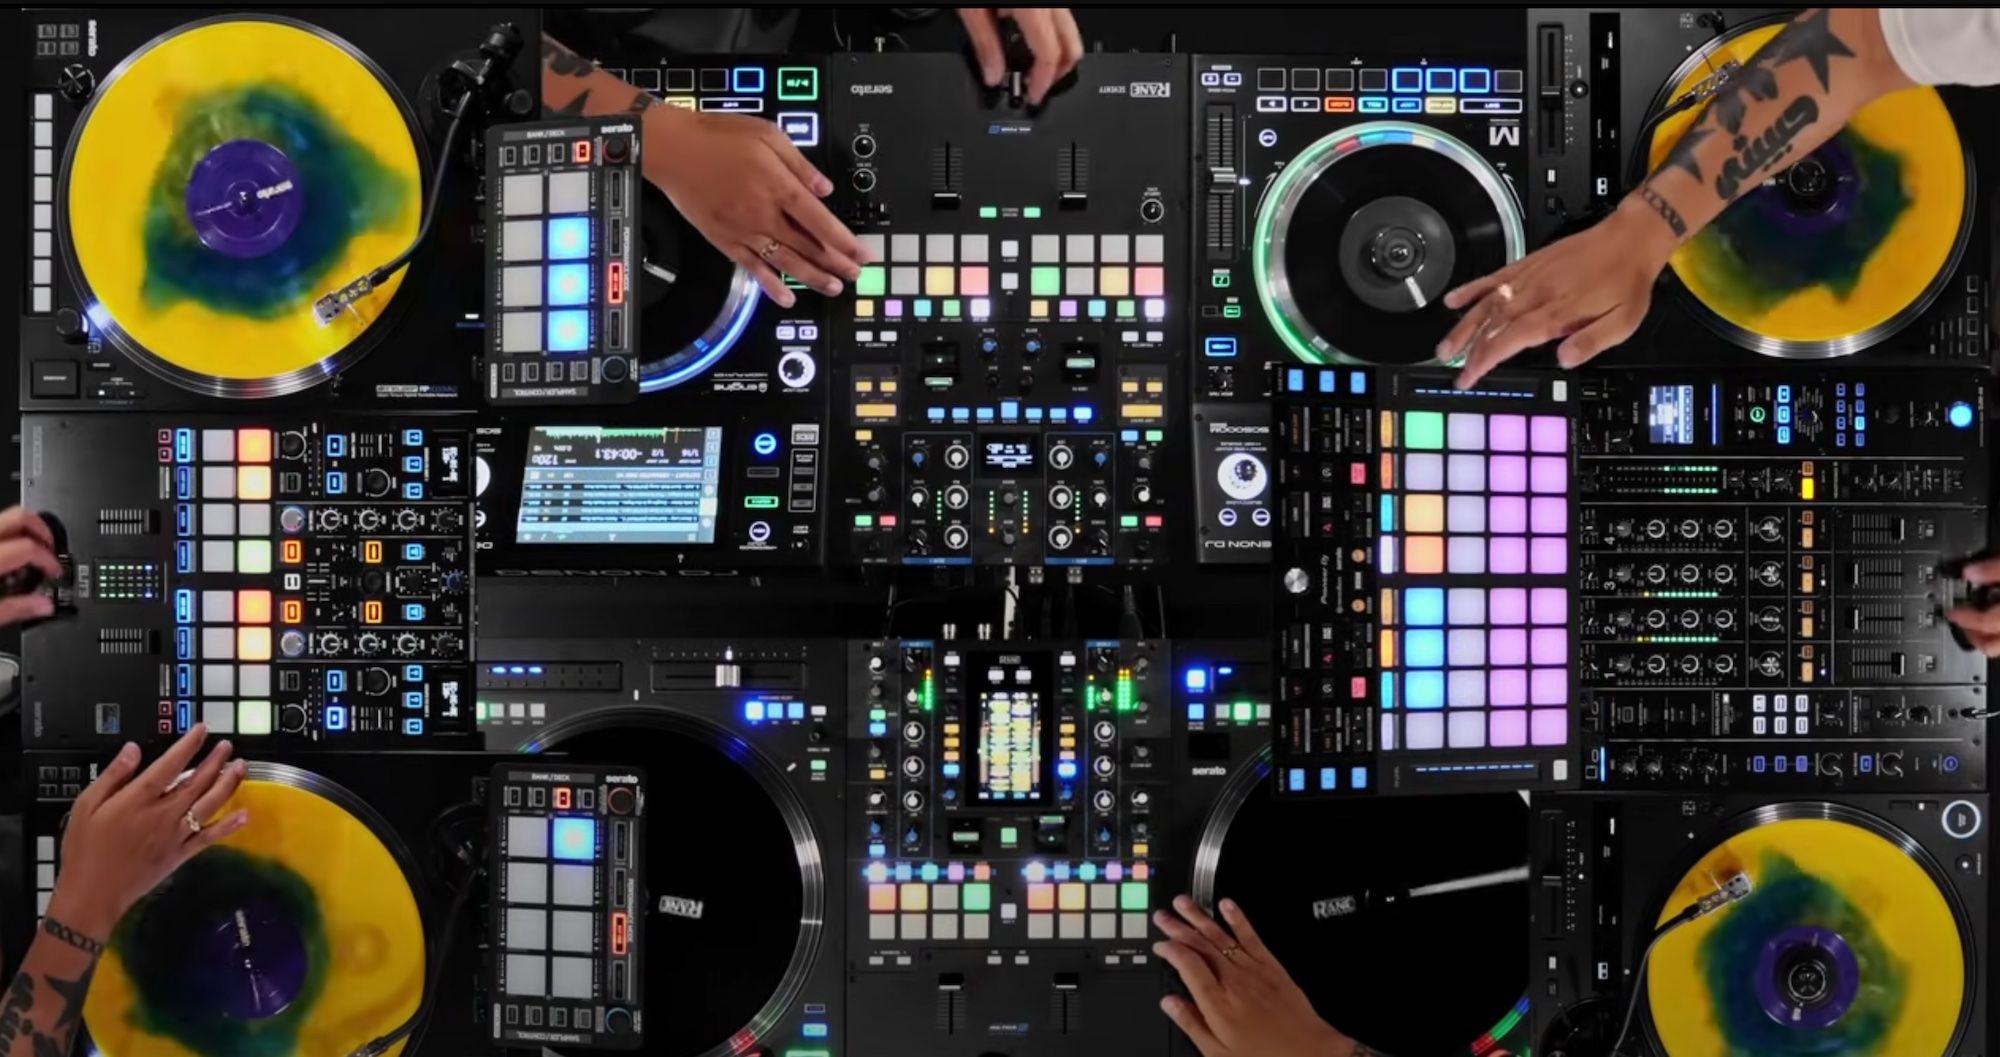
None of the Rane range of Serato native mixers support Slicer at all; even the Rane 64 which was designed to work solely with SDJ. Plus, Serato don’t allow the use of multiple native devices (those which include audio interfaces), so at this time the only way a DVS user can get their fingers on some Slicer pads is to purchase the Pioneer DDJ-SP1 (available in the DJTT Store here); no small investment, especially if you have other kit which already covers the rest of the features which that unit offers. Hopefully in the future we’ll see a wider choice of hardware designed to enable Slicer mode for DVS users, and at more affordable price points.
HOW THE SLICER WORKS
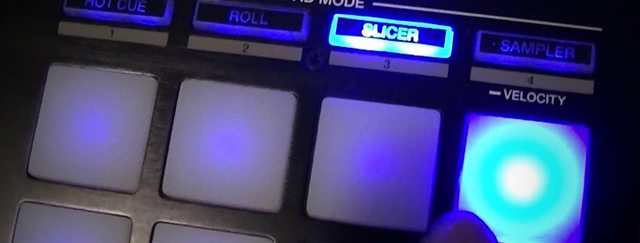
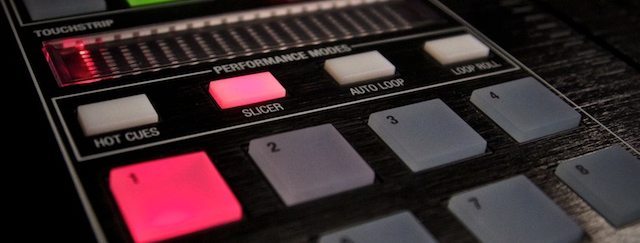
The basic premise of Slicer is that it separates a certain region of a playing track, be that 4, 8, or 16 beats, into 8 equal parts; the slices, which will loop when you press them. The length of those loops is an adjustable parameter.
On supported hardware, the pad which is currently playing is illuminated – you can see exactly where in the Slicer region your playhead is. Even with the massive waveforms on display in SDJ’s Extended view mode, it would be a real challenge to keep on top of that playhead location without that visual cue from the hardware.
With some seriously advanced MIDI mapping facilities in SDJ, it could be possible to make that illumination work with a non-supported controller, but any long-term Serato user knows that they shouldn’t hold their breath for ‘seriously advanced MIDI mapping facilities’ to show up anytime soon.
However, if you’re one of the lucky ones who does have access to Slicer in your setup, then it’s definitely worth experimenting with. The Slicer is a very powerful tool once you’ve got a handle on it. A combination of phrase sampler, loop rolling (that can loop parts of the track from the future!) and live sequencer, it’s a lot of fun to jam with.
Here’s a few quick tips to complement the ones in the video:
- Less is more: Like any ‘beat mashing’ style effect, over-use can eventually prove disconcerting to a dancefloor. People like to dance to steady beat, and if you’re chopping up entire tracks constantly with Slicer, you’ll most likely lose them. The most powerful use of Slicer can be in just adding occasional fills to a track every so often.
- Use Slicer on overlay tracks: In a similar vein, a great way to add choppy, slicey goodness to your set, without losing the flow, is to use it on tracks which sit on top of your main mix; be those acapellas, drum loops (breakbeats work really well with Slicer), or synth lines from breakdowns or intros. Those will allow you to get funky with your digits, but still have a solid, steady underpinning.
- Be careful about phrasing: Slicer has two modes; the first being where the playhead continues to move through the track, the second being a loop mode, where the same set of slices loops over and over. In the continuous mode, each time you reach the end of the Slicer range (the amount of beats is a tweakable parameter), it moves on to a whole new set of 8 slices… Unless you are holding down a pad when that moment arrives. That’s cool if you do it deliberately, but if it happens accidentally you could find your carefully timed breakdown-into-drop mix point has been compromised, thanks to an extra 8 beats now being involved that you weren’t previously expecting. So be aware of it.
- Beatgrids, beatgrids, beatgrids: Whether you use sync or not, if you want to use Slicer regularly, you’d better start getting familiar with SDJ’s beat gridding technique. Slicer not only relies on an accurate BPM to give you the correct number of slices, but it is also reliant on the downbeat being set properly, if you want your slices to work as they should (first slice on ‘the one’).
I’m very much into using acapellas with Slicer, but sometimes I’ll want to work with a looped section of that acapella which doesn’t start on the downbeat (as it would be when mixing it normally). A quick and dirty method to achieve that, without wrecking my regular grid, is to duplicate the original file and add the duplicate to your library. You’ve then got a second copy of the track which you can beatgrid to work perfectly with your slicing concept.
AUTHOR’S ADDITION: SERATO DJ 1.6.1 RELEASE
Alongside the release of Serato DJ 1.6.1, Slicer has also made it’s way to the Serato Remote iPad app. I’ve given it a try, and the implementation is surprisingly effective. As with anything else which relies on touchscreen input, the initial sensation is a little strange, leaving you feeling a little disconnected, compared to good old physical pads.
Once you’re over that, the Slicer works very nicely. Thanks to multi-touch on the iPad, all of the techniques in my video are perfectly achievable, including the quantized finger-drumming. In one respect, the Remote version actually offers a useful feature which isn’t found on the hardware I’ve used; a display allowing you to directly choose exactly which beat length or domain size is selected. On the VCI-380, for example, that’s all selected via the touchstrip, with no clear visual feedback.
The Remote version of Slicer also allows for some pretty cool FX and slicer combinations using an X-Y pad. If you’ve tried that interface with regular loop rolls in Remote, that should immediately get you pretty excited.
Have a favorite technique for Serato DJ’s slicer? Let us know in the comments below.


