Reverb is one of the most essential effects in your audio production toolbox. It adds space, air and life to the otherwise room-less tones of electronic music. But it’s easy to overlook the vastness of tone that lies beyond “hall” and “cathedral.” Today we go deep into the studio with Mad Zach to learn three creative sound design techniques for working with reverb.
Mad Zach’s Creative Ableton Reverb Techniques
Technique 1: Ring Mod Reverb
The first technique is to use a LFO to modulate the volume of the wet reverb signal. I use this trick to create what I call “cinematic bass flux” like you might hear when Optimus Prime begins to morph for battle. I’ve heard this type of sound a lot in movies lately, and in some heavyweight Drum and Bass productions like those of Noisia.
Originally I discovered the sound by feeding the reverb send on my mixer into the Moogerfooger’s ring mod. I was instantly blown away, because the modulation adds so much life and breath to the track.
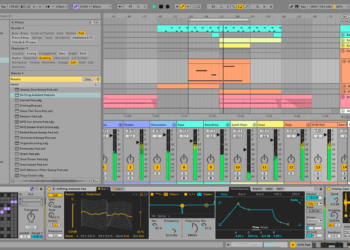
In Ableton, we can easily recreate the effect by grouping the reverb into an Audio Effects rack, creating one chain for the dry signal, one for the wet, and applying an Autopan to the reverb signal. Autopan is a device typically used for sweeping your sounds left and right in a trippy way, but here we move the phase to 0 and thus turn it into a slow-moving ring mod.
DEFINITIONS
Ring modulation is an audio effect which modulates the amplitude or volume of a sound, creating a tremolo effect which can be adjusted for mellow to extreme results depending on the speed of the modulating LFO. At high speeds, ring mod can result in futuristic robot voices, bell sounds, and a vast array of brain tickling vibrations – at low speeds ring modulation results in a general “beating” or pulsing of the sound (think Nancy Sinatra “Bang Bang” guitar tone, embedded below).
Technique 2: Compressed Reverb
With the second of the three reverb techniques, we continue to play with the dynamics of the reverb, but this time we use a compressor instead of a ring mod. I find this trick does a great job of gluing a signal together, and adding a controlled space to sounds. It’s great on voice, as well as short noises like plucks, domps, snares or claps.
The theory behind it is that by using a slow attack on the compressor, you let the bulk of the sound and its transient through, before compressing and thus dynamically affecting the reverb. The result is that the reverb tail begins to glue together with the dynamics of the sound you’re working on, making the sound tighter and more vitalic.
To implement this technique, we apply the reverb straight to our dry signal and pull the dry/wet to 20-30%. Next, add a compressor, making sure to turn off “makeup”. I like to adjust the attack to 30ms or so, and sweep the release anywhere from 500ms to 1.5sec. It’s important to put the ratio high but not too high, like 3 or 4/1. You’ll have to adjust the threshold to taste, I recommend just playing around with the threshold and release until it sounds how you want.
Technique 3: Resampling Reverb
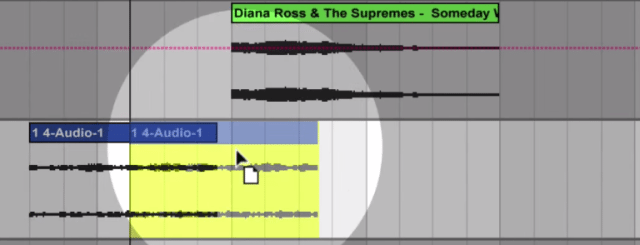
Using resampling is one a the classic reverb techniques that allows us to create atmospheric drones which match perfectly to the tone of the song. These reverberant, infinite space keeping atmospheres give us complete tactile control over the spacial dynamics of the song and are great for builds, sweeps, and spacial tales or lead-ins.
To make them, we first have to do a tiny bit of setup.
- Make a new audio track to hold the drone, and set the audio from to “resampling.”
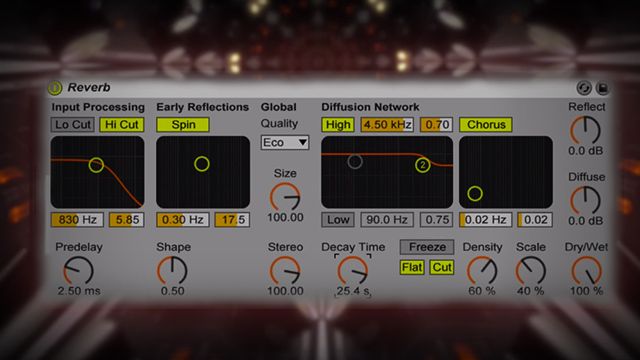
- Now load a reverb onto the track you want to use as the source for the drone, and put the dry/wet to 100% as well as the decay time up to a healthy 15 seconds.
- Make sure to SOLO the track with the crazy reverb, and arm the resampling track.
- Now, pick a place in the track we want to match the drone to, for example the first syllable of a singer’s hook or the first transient of a mid/high synth line. Move your start position there and hover your mouse over the reverb freeze button.
- When you’re ready, hit play and then freeze just a flash after. You have successfully frozen the reverb and it’s time to resample it.
- Move to a free spot in the project, and hit record. Because you have the frozen reverb soloed, you’ll be able to record just that sound. I usually grab 8 bars or so.
When you’re done recording, delete or turn off the reverb, unsolo the source track, and now you can use fades, automation curves, etc to apply your new audio clip ambient drone to create sweeps, etc.
Want more Mad Zach? Check out the links below and mention in the comments how much you dig these tutorials!


