You’ve just put together a killer re-mix and spent weeks making everything perfect but its still not bumping like the big club bangers. Don’t worry- You need professional quality mastering and we are here to try and help.
Last month we brought you Part I of our DJ mastering guide, Pump up the Jam, which discussed the concept of mastering with industry experts. This month, we will take you through the process detailing what to look for in each step along the road to mastering perfection.
Finally, as if that was not enough, read on for a chance to win 2 of the top mastering plug-ins out there. A free copy of The Glue and T-RackS 3 mastering plug-ins!
Before you start.
Never underestimate how important it is to get your mix as sonically correct as possible and to know what sort of overall sound you are trying to achieve before you start mastering. After all, if you don’t know where you’re headed you are quite simply never going to get there! The mastering process cannot make a rough and nasty mix sound great. It can, however, add that certain sparkle and impact to an already great track.
It is perhaps useful to think of the mastering process as analogous to a food condiment, namely salt. Salt is a flavor enhancer, it brings out the taste in food, it can’t however make rancid fodder taste divine and too much of it can give you a heart attack! Mastering is the same. If your ingredients are of high quality and carefully balanced, the mastering will enhance them; but, if you have a weak, badly EQed kick drum or sloppy bass line there’s nothing the process can do.
Ready to begin.
When the track is mixed and you have gone through the “happy period,” leave it alone for a couple of days. Return to your studio and, at low to moderate level, listen to a few current commercial tunes that are in a similar style. Listen super-critically to these hit tracks and familiarize yourself with how it sounds in your room and what elements you wish to reproduce.
Open a fresh project on your DAW and import the stereo mix of one of these successful tracks that you think is closest sonically to what you want to achieve. Leave this plug-in free with a direct out to a separate master. You do not want the plug-ins you are adding to affect this signal chain. Also, if you have run the output of your mix through some kind of limiter or exciter, remove it and bounce down an untreated mix; there should be as little processing as possible on your file for master.
Now import your mix to another track and check you have enough headroom for your mastering. Do this by playing back the track at its loudest point and check the maximum level on your master output. Note where it peaks on the meters. If it is hovering around 0dB the whole time and smashing into the red, REDUCE IT! This does not mean pulling the channel fader down; take the gain out of the signal by 3–4dB at least. You need room to work and you don’t want to be overloading any of the plug-ins.
Bus compress:
Strapping a compressor across the entire mix output is called bus compression and the purpose is to ensure the dynamics across the track’s duration are as uniform as possible. It tends to “glue” the elements together, whilst retaining the original feel of the track.
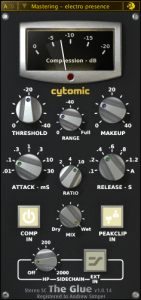
Set up the compressor with a ratio of 2 or 3:1, set the attack at about ¼ and the release about the same or auto. You should now adjust the input gain, or threshold, until you are getting a maximum of 3–4dB on your gain reduction meter at the peaks in your track. The trick here is NOT big compression but simply merging some of the frequencies in a musical way. Longer attack times with low ratios are the name of the game here to preserve as much transparency as possible. The compressor should be recovering from the dips quite quickly, but inaudibly, whilst never clipping more than that 3–4dB from the track. Adjust the output gain so that the volume with the processing is the same as when the plug-in is bypass.
EQ cuts:
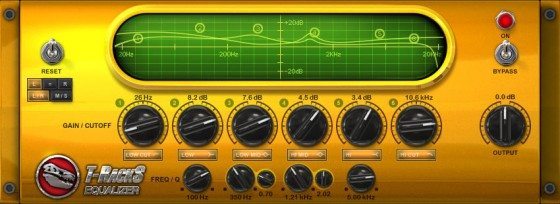
Next call up the multi-band EQ and, if plug-in doesn’t have one, a Hi-pass/Lo-cut filter. Set the filter to about 30Hz and take out everything below here—you will be surprised how much this actually tightens up the bottom end! (You can try placing the filter before the bus compressor if the gain reduction is pulling too much energy out).
Now cut other troublesome frequencies by comparing your mix with your chosen reference track at similar audio levels (move the channel fader on the other track as necessary, do not change your track’s level!). You will have to sweep about with the frequency center points and concentrate on one area at a time. For example, in the bass department, is yours muddy compared to theirs? Cut by a little at 250 Hz and see if it improves. Use narrow bandwidths to start with and find the center point of the trouble, then widen the notch as much as you need. Do the same for the mid-range and mid-highs.
On to boosting:
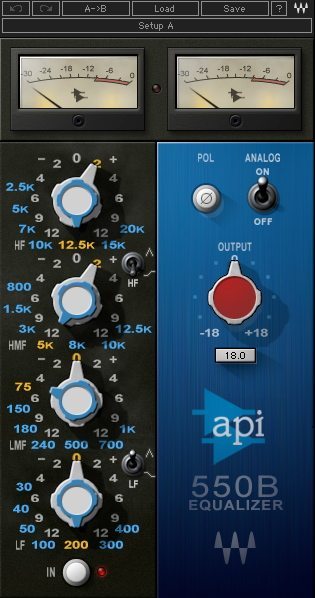
When you are happy with the equalization cuts you can start bringing things back in. Try to use a linear phase EQ, as these plug-ins are more transparent and add fewer unpleasant artifacts to the mix.
Perhaps your kick needs to come out more…
- Try a center frequency around 80–100Hz
- Use a very narrow bandwidth and be cautious of the boost amount—you don’t want to be adding more than 2–3dB, or something was wrong with the mix in the first place. Remember on the parametric keep the Q points low!
Next for the top end. You might need to add some mid-hi and possibly a hi shelf with a boost from about 8–10kHz to add some sparkle and presence if it’s lacking.
Cool… take a break and come back to assess the results with fresh ears. Sound good? Great! If not persevere with the EQing. Now all happy? Let’s give it a bit of radio treatment…
Make it LOUD!
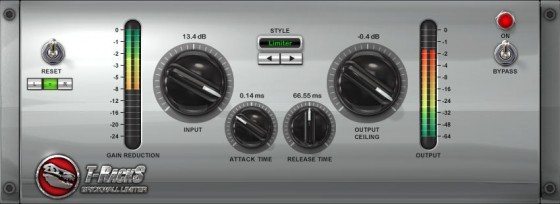
You don’t make tracks louder by turning the monitors up, but by adding a peak limiter. Initially, you may be more comfortable leaving the attack and release times at their default, as incorrect settings can easily leave you with an over crushed or lifeless mix. Simply set the output clamp between -0.5dB to -0.1dB (use the lower values if you want to be really safe or are going to export to an mp3) and wind down the threshold, or input, with the music playing. You will see the meters climbing up as well as hearing it sound more exciting.
Now is the time to compare the metering from your benchmark track. You want yours and theirs to be looking similar (a spectrum analyzer plug in is of great use here, if you have one). If there is not much movement it could be an indication you are strangling the guts out of your mix, not good… unless of course, that is what you are going for. It is very easy to get carried away here and overcook it! Err on the side of caution and good taste!
Enjoy it, don’t rush it.
If you are doing all this yourself the most important thing is to take time and breaks. It’s amazing how quickly our ears can deceive us; we quickly become accustomed and start to hear what we expect to hear instead of what is actually there. Referencing on other systems is also a must. Compare your track against others on the stereo in the kitchen, the car and the living room. One of the things about good mixing and mastering is making sure it translates as well as possible to any speakers. After all, you worked hard enough creating your art you want it to sound good everywhere – that extra time spent at the mastering and referencing stage will pay long-term dividends.
One last thing… As we discussed in the previous article, if a label likes your work and wants to release it, find out if they are going to master it. If they are, remember to send them the original mix file for mastering not this new one. Any mastering engineer is likely to curse you and have serious problems working with a file that has already been mastered!
Here are some audio examples of tracks before and after mastering. There are 3 different dance styles to show the effect on a variety of music programs:
Weekend Army un-mastered Weekend Army mastered
I Don’t Need to Know unmastered I Don’t Need to Know mastered
Mastering Competition:
Answer the following for your chance to win a copy of Cytomic’s The Glue or IK Multimedia’s T-RackS:
How does a Peak Limiter make a track louder?
E-mail your answer and contact info to philip@djtechtools.com with the subject “Mastering Competition”. The winner will be drawn from among the correct answers on Friday July 16 at 4PM PST and announced here.


