For the past several years, we’ve seen Ableton Live establish itself as a popular and powerful DJ tool, with many top DJs routinely using the software in clubs and stages around the world. While the switch to Live may be daunting for those accustomed to traditional DJ paradigms, the advanced performance capabilities offered can be very worthwhile. In this series, we explore how DJs new to Ableton can use Live 8 to unlock greater creativity in the booth, starting with an overview of Session View and a lesson on how to easily warp dance music for sets.
Why Live? A Different Kind of DJ
Live stands apart from other DAWs in that it has always been as much about performance as it is about production. The software was from the onset designed to be used on stage, with forward-thinking users taking advantage of Live’s noted clip launching and timestretching facilities to suit the particular needs of DJs.
Some of the benefits of Live for DJs:
- Songs stay perfectly in sync without manual beatmatching with track warping
- Song tempo can be changed without affecting pitch
- On-the-fly remixes and mashups
- Top notch built-in effects
- Unparalleled flexibility: set up your Live DJ template any way you want it
- Unlimited number of virtual “decks”
- Option to use third-party VST and AU plug-ins and Max For Live devices in sets
- Optional integration with Serato via The Bridge, as well as VST-based DVS systems like Deckadance and Ms. Pinky
- Combination DJ/live PA performances
Of course, DJs have their complaints about Live as well. Users have bemoaned the lack of a multiple waveform display like those in dedicated DJ software like Traktor and Serato for years now. DJs making the move to Live will also have to get used to the lack of independent tempo control for tracks, as all warped songs lock to the project tempo- a significant adjustment for those who play with large, frequent variations in tempo between tracks. A certain learning curve and a fair amount of setup is required as well, and so those who like working on a traditional DJ user interface might want to look elsewhere.
But for DJs who want to break from tradition or are looking for a fresh dose of inspiration, Live may be the thing that will help create those electrifying dancefloor moments that we all strive for.
For a deeper look into the pros and cons of DJing with Ableton vs traditional DJ software check our last article on the subject.
A LOOK AT LIVE’S SESSION VIEW
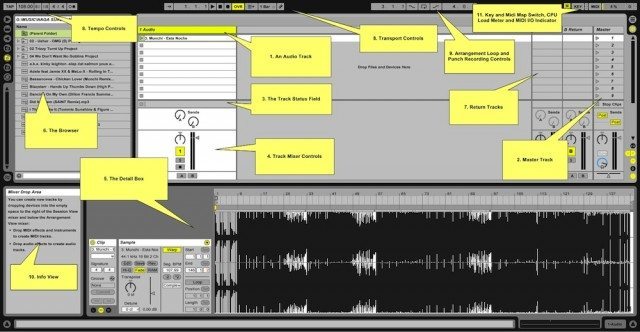
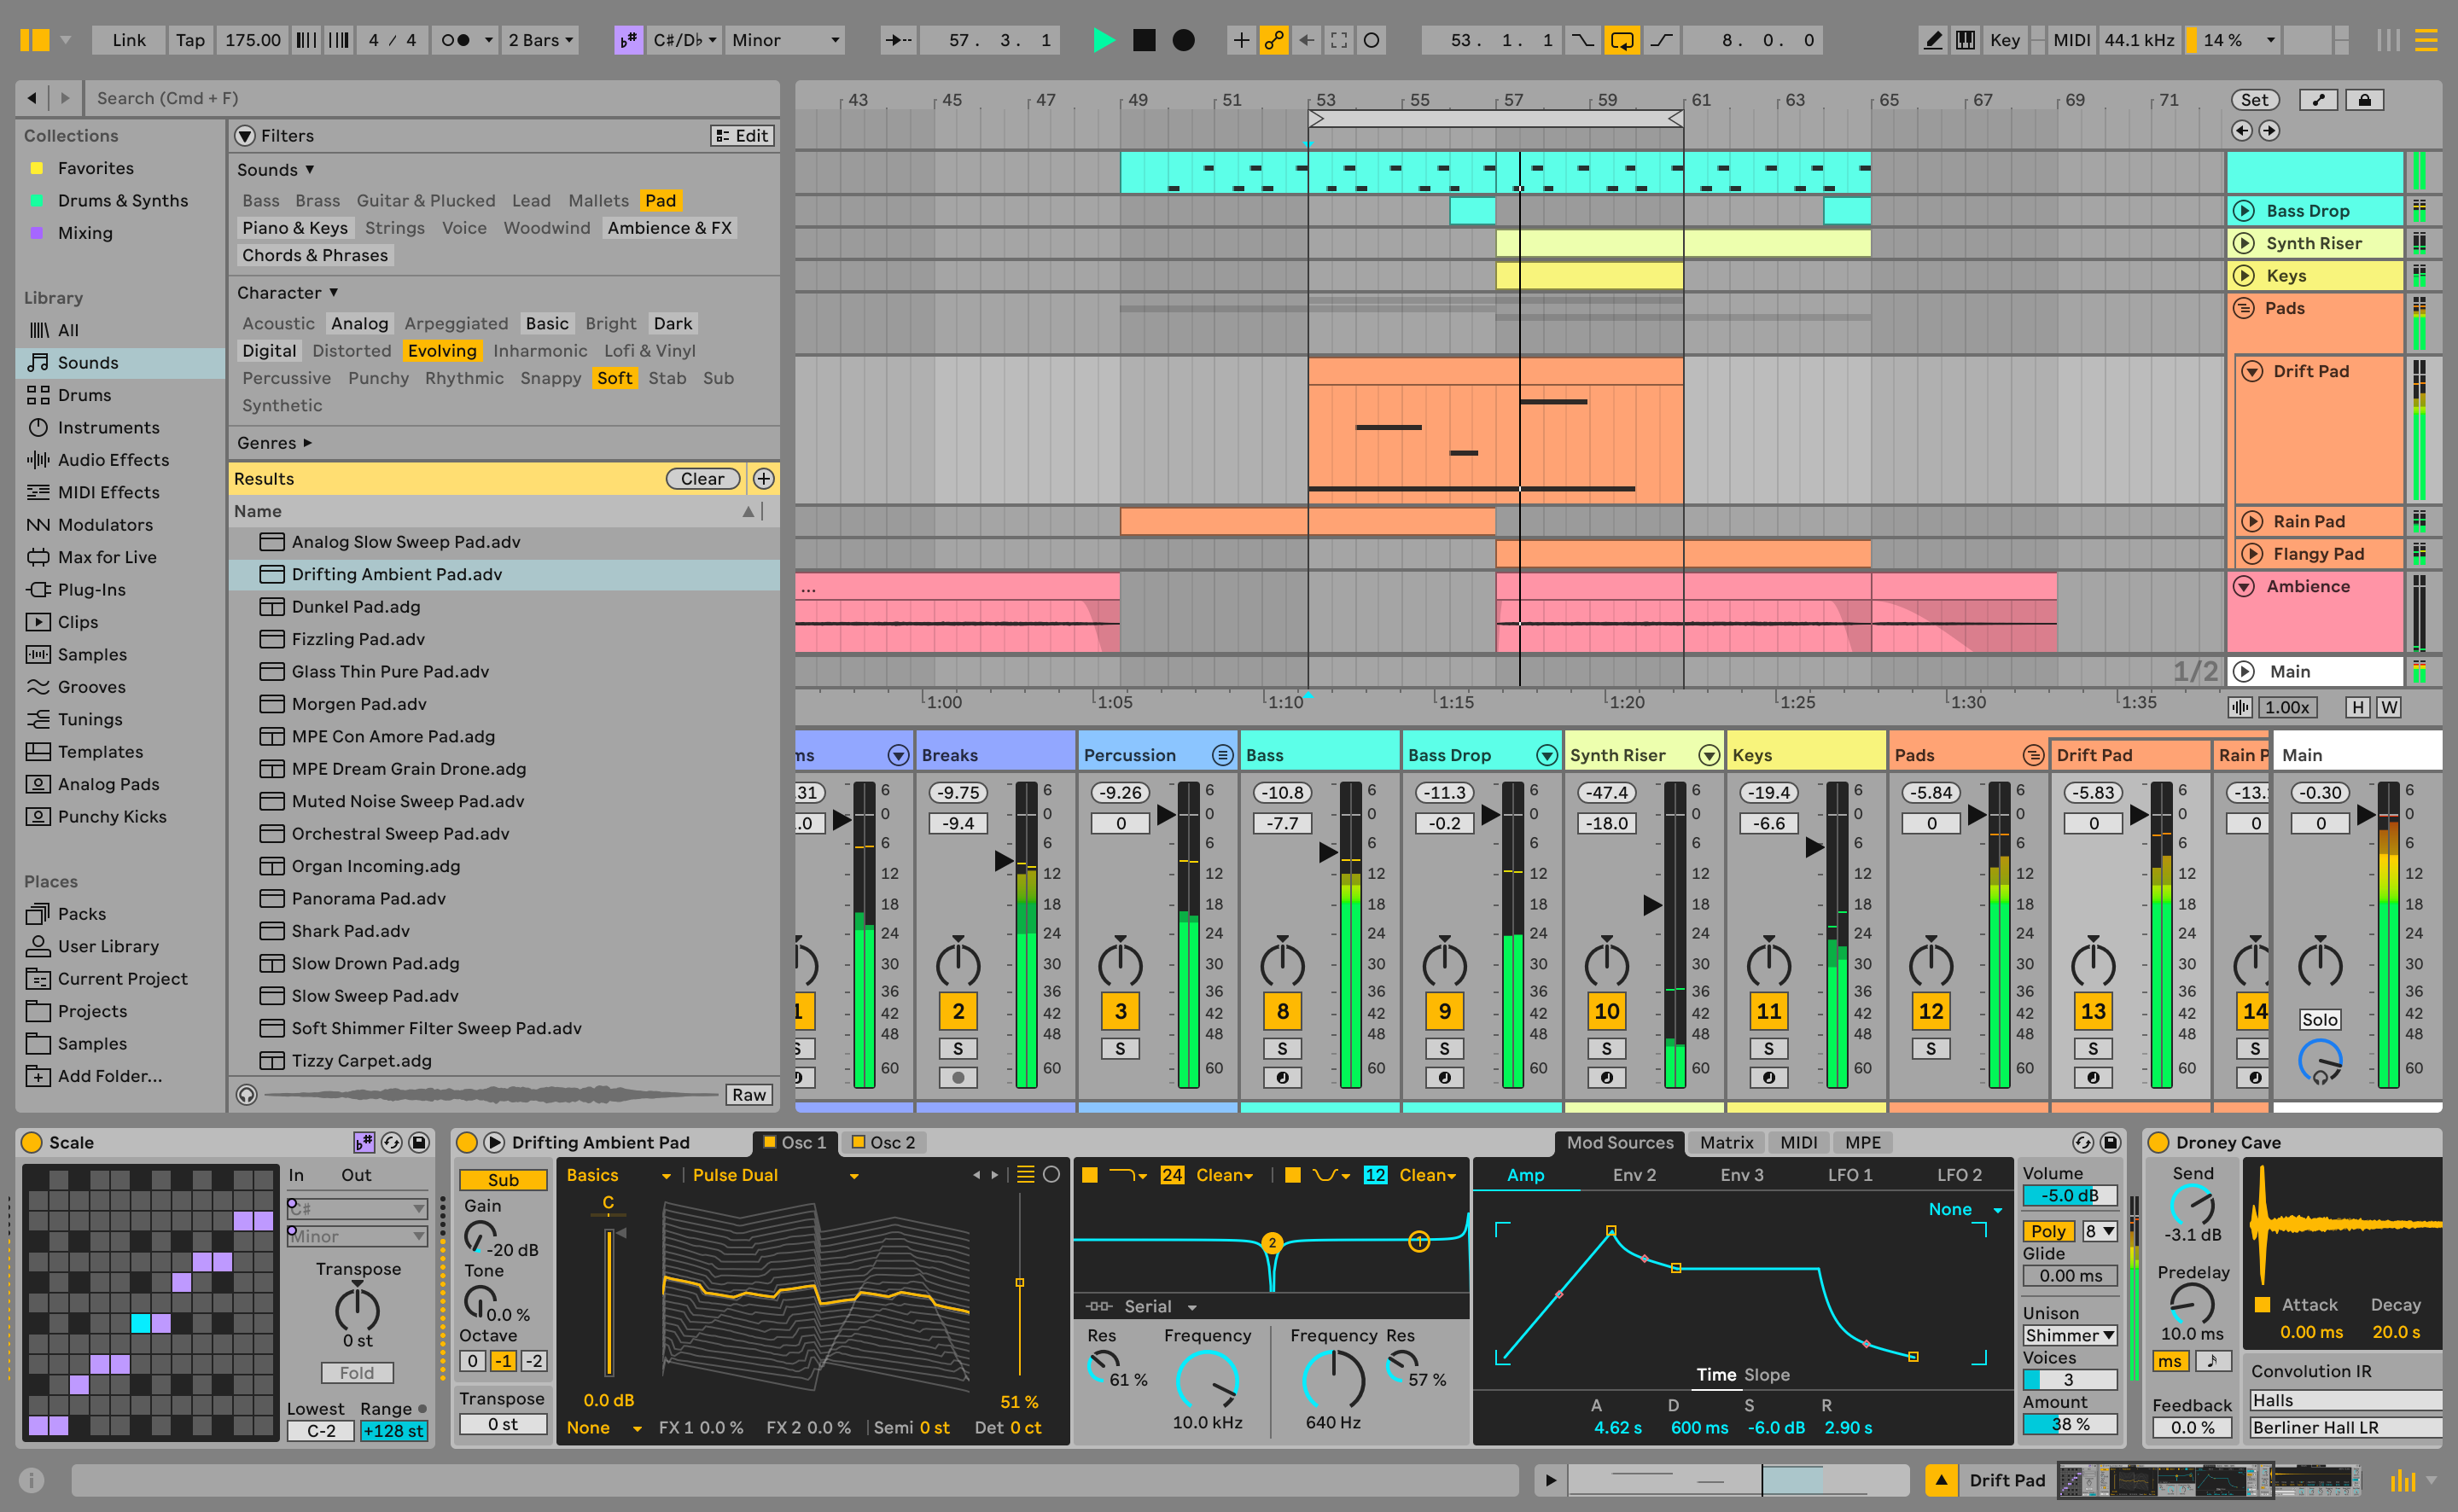
Live offers two “environments” in which to create and perform music: Session View and Arrangement View.
Arrangement View is most similar to a traditional DAW layout, which horizontally arranges recorded audio, musical samples and MIDI notes (collectively referred to in Live as “clips”) along the current project’s musical timeline, and is suited for production work. DJs will be more interested in playing tracks in Session View, which essentially is a grid from which to control and launch clips on-the-fly.
Audio Tracks
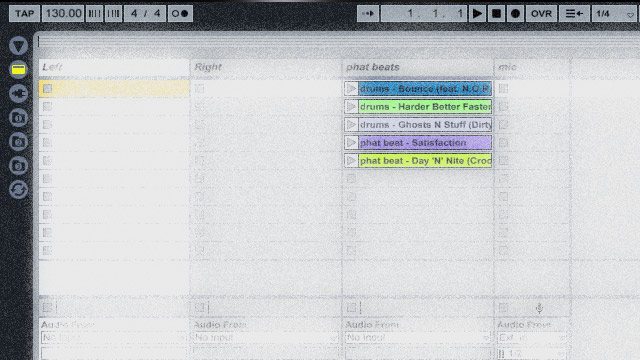
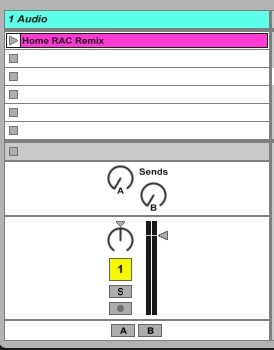
Session View presents audio (and MIDI) tracks as vertical columns, each of which can be renamed and which contain an unlimited number of clip slots. Each clip slot can hold one piece of audio, and each track can play only one clip at a time. Think of the audio tracks as your virtual decks.
DJs will want to have at least two audio tracks in their Live template, which gives you two “decks” or one audio track for each song you’ll want to play simultaneously with each other. DJs will normally only use audio tracks, so delete any MIDI tracks from Session View for now.
Track Status Field
![]()
Below the clip slots in each track is the Track Status Field. Tracks with a non-looping clip will have a bar displaying the remaining play time in the clip in minutes:seconds. Tracks with looping clips will have a pie chart displaying the current progress of the loop. The number to the right of the pie measures the length of the loop in beats, while the number on the left tells you how many times the loop has already played.
Browser
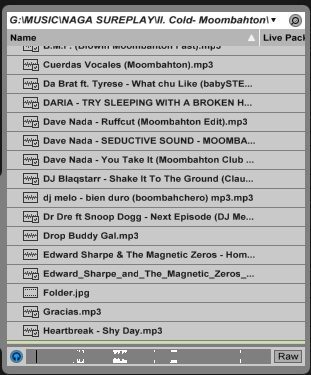
To the left of the audio tracks is the Browser, which is used to organize audio and MIDI files, Live devices and installed plug-ins. The File Browser is your virtual crate. You can find and drag songs you want to play from the Browser into audio tracks, though it might be easier to just use Windows Explorer or Finder (or iTunes) to organize and bring songs into Session View. One advantage offered by the File Browser is that it lets you preview songs through your headphones, though I’ve found searching for specific songs to be more efficient outside of Live. You can cue up songs using audio tracks anyway.
Return Tracks
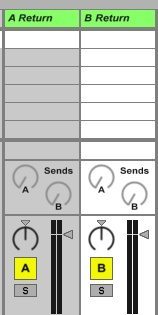
To the left of the Master are the return tracks, which receive audio via the track sends. These can be useful in DJ sets, but are not necessary for warping and basic mixing, and can be deleted or simply ignored for now. More on these in a later lesson.
Tempo and Transport Controls
Finally, the tempo and transport controls are found above the tracks and Browser. Alongside the transport controls is the global quantization tab, which you’ll want to pay attention to. The upper-left section contains the master tempo, tap tempo, budge buttons and metronome switch, all of which will be frequently used by Live DJs.
Warping Songs
Now that we’re familiarized on different elements of Session View, we can look into preparing tracks for DJ sets in Live. The most important aspect of Live for DJ performances is warping, which is what Ableton calls its timestretching function. Warping is used to tell Live where the beats in a track fall relative to the project’s timeline, allowing DJs to lock audio tracks to the master tempo and keep everything perfectly synced and beatmatched. It also allows DJs to speed up or slow down tracks without affecting pitch, if so desired. A good analogy for how warping works would be to think of your tracks as rubber bands that you can pin down (using Warp Markers) and stretch along a ruler (the musical timeline).
Live’s Warp Modes
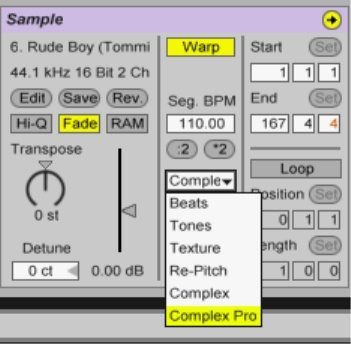
Live offers six different Warp Modes, each designed for different kinds of sounds. For example, Beats Mode is best used with strong rhythmic sounds like drums, while Tones Mode is recommended for monophonic sources like bass or vocals.
For playing back whole songs, the Complex Pro and Re-Pitch Warp Modes are the best options. Re-Pitch Mode works in the same way as a turntable’s pitch control, pitching tracks up or down as the playback speed is changed. This offers the best overall sound quality, without the artifacts one gets using the other warp modes.
If you want to change tempo without affecting pitch, Complex Pro is the best option, as it is designed to work well with sources combining the kinds of sounds covered by the other warp modes. Complex Pro, like its predecessor, Complex Mode, requires over ten times more CPU resources than other Warp Modes, but most current laptops set up for DJ performance should be able to handle this CPU hit without any problems.
Similar to how Traktor users beatgrid tracks prior to performances, Ableton DJs will want to have their tracks warped beforehand. Live can be set to automatically warp tracks for you, and while it generally does a good job at this, it is always best to correct this warping manually. This warping information can be saved in an .asd file that is automatically associated with each of your tracks, so you will only need to warp tracks once.
The Fundamentals of Warping

There are different ways to approach warping, and over time, you will develop a method that works most efficiently for you. But whatever the method, the basic tools of warping remain constant. Here are the elements from the above screenshot you’ve got to be familiar with to start warping:
1. The Time Ruler: The Time Ruler appears above the waveform in the Sample Display. With Warping on, the Ruler divides musical samples into bars and aligns these with the project timeline.
2. Warp Markers: Returning to the earlier rubber band analogy, Warp Markers are the pins that are used to lock segments of your track to the musical ruler. Warp Markers are created by double-clicking within the sample, and appear as yellow tabs along the ruler. They can then be moved around by dragging or using the arrow keys.
3. Pseudo Warp Markers or Transient Markers: Live automatically analyzes audio files when you first drag them into Session View and locates the transients in the sample. Transients are the spikes in volume at the point where notes or beats begin. These are marked out by Live in the Sample Display using Pseudo Warp Markers, which are gray instead of yellow, and come into view when the cursor is moved over transients along the musical timeline.
Transient detection in Live is often very accurate, and should be used as a guide when placing Warp Markers. Pseudo Warp Markers can be converted into Warp Markers by double-clicking on the gray tabs.
4. The Sample Box: This is where you control the different clip-specific settings such as Warp Mode, clip BPM, sample start-end points, and loop points. You will want to have Warping engaged, and either Re-Pitch or Complex Pro set as your warp mode. The Seg. BPM box tells you the analyzed BPM of the track. This will typically reflect a whole number for properly warped tracks.
The 1-minute Warp
Now that you know the basic elements of Ableton, you can warp your first track. Most current electronically-produced music, from the steady four-on-the-floor beats of house and electro to the broken beats favored in dubstep and contemporary hip-hop, will have a constant tempo throughout an entire song. These tracks are very easy to warp, and most of the time, you will only have to place about 2-4 Warp Markers to get songs in perfect sync.
With practice, you will be able to warp such songs in under a minute, and even be able to warp tracks in the middle of a DJ set. Here’s my approach on how to do it (turn on captions in the video above for simple step-by-step instructions):
1. Bring Your Track Into Session View
Drag your track (use one with a steady, constant tempo from start to finish- no old Motown songs with live human drummers for now) from the browser into an empty clip slot in Session View. If this is your first time bringing the track Live will automatically analyze and warp your track, and create an analysis file (.als), which will take several seconds.
Here’s a quick tip: it is generally a good idea to have the Master Tempo set in the same neighborhood as the BPM of the track you are bringing in for warping, as this will help Live more accurately “guess” the clip BPM.
2. Clean Up Automatic Warp Markers
Delete the Warp Markers that were automatically inserted by Live. To do so, click on one of the Warp Markers, select all (ctrl+A on Windows, cmd+A on Mac), and hit delete. You can also fix this permanently by turning off warping in the Ableton preferences, as seen below:
3. Look For First Downbeat
Locate the first beat in the song by moving the mouse cursor near the start of the waveform, over the bar numbers. The cursor should change into a magnifying glass. Hold down on this area with the mouse and drag down to zoom into the waveform. Drag left or right to scroll through the waveform. The downbeats, typically the kick drum hits, can be easily spotted in the waveform as these will usually have the largest transient spikes.
4. Drop Your First Warp Marker
Look for the Pseudo Warp Marker on the first downbeat of the track. Double-click on this Pseudo Warp Marker to turn it into a Warp Marker.
5. Set Start Of Track
Right-click on the Warp Marker you just created and then click on “Set 1.1.1 here” so that the track starts at this point when launched. Then click on “Warp From Here (Straight).” This Warping method will work well since the track has a constant tempo all throughout.
6. End-of-track Warp Marker
Zoom back out and look for a numbered bar at the end of the track. Zoom in close to look for the Pseudo Warp Marker at the transient of the downbeat at the start of the bar, and double-click to turn this into a Warp Marker. Drag this Warp Marker so it lines up with the bar number. There should be one right by it if the track you are warping is of a constant tempo.
7. Tidy Up
Most of the time, this is all you will need to do to have a properly warped clip that lines up perfectly with other warped tracks. In some cases though, the Pseudo Warp Markers in the middle of the song might have drifted away from the bar numbers. Drifting of a small distance will generally not be a problem when DJing. But if you wish to correct this and tighten up the warping, simply zoom into 1-2 bars in the middle of the waveform, look for the transient, and repeat what you at the end of the track: double-click on the Pseudo Warp Marker to turn it into a Warp Marker and drag it to the nearest bar number.
8. Save The Warp
Click on “Save” in the Sample Box to save the warping and other clip information in the track’s associated .als file. If you did all these steps correctly, the “Seg. BPM” number in the Sample Box should be a whole number (like 126), or very close to a whole number (like 125.98). Some DJs like to type in the closest whole number before hitting “Save”.
9. Have A Listen
Make sure that global quantization is set to 1 Bar and that the metronome is on. This ensures that your song starts playing at the start of the next bar. Launch the clip and listen if the beats are in time with the metronome. If the beats all fall in time with the metronome throughout the track, then it is properly warped.
This is the first in a series of lessons for newcomers to the world of Ableton Live DJing. Check back soon for Part 2!


