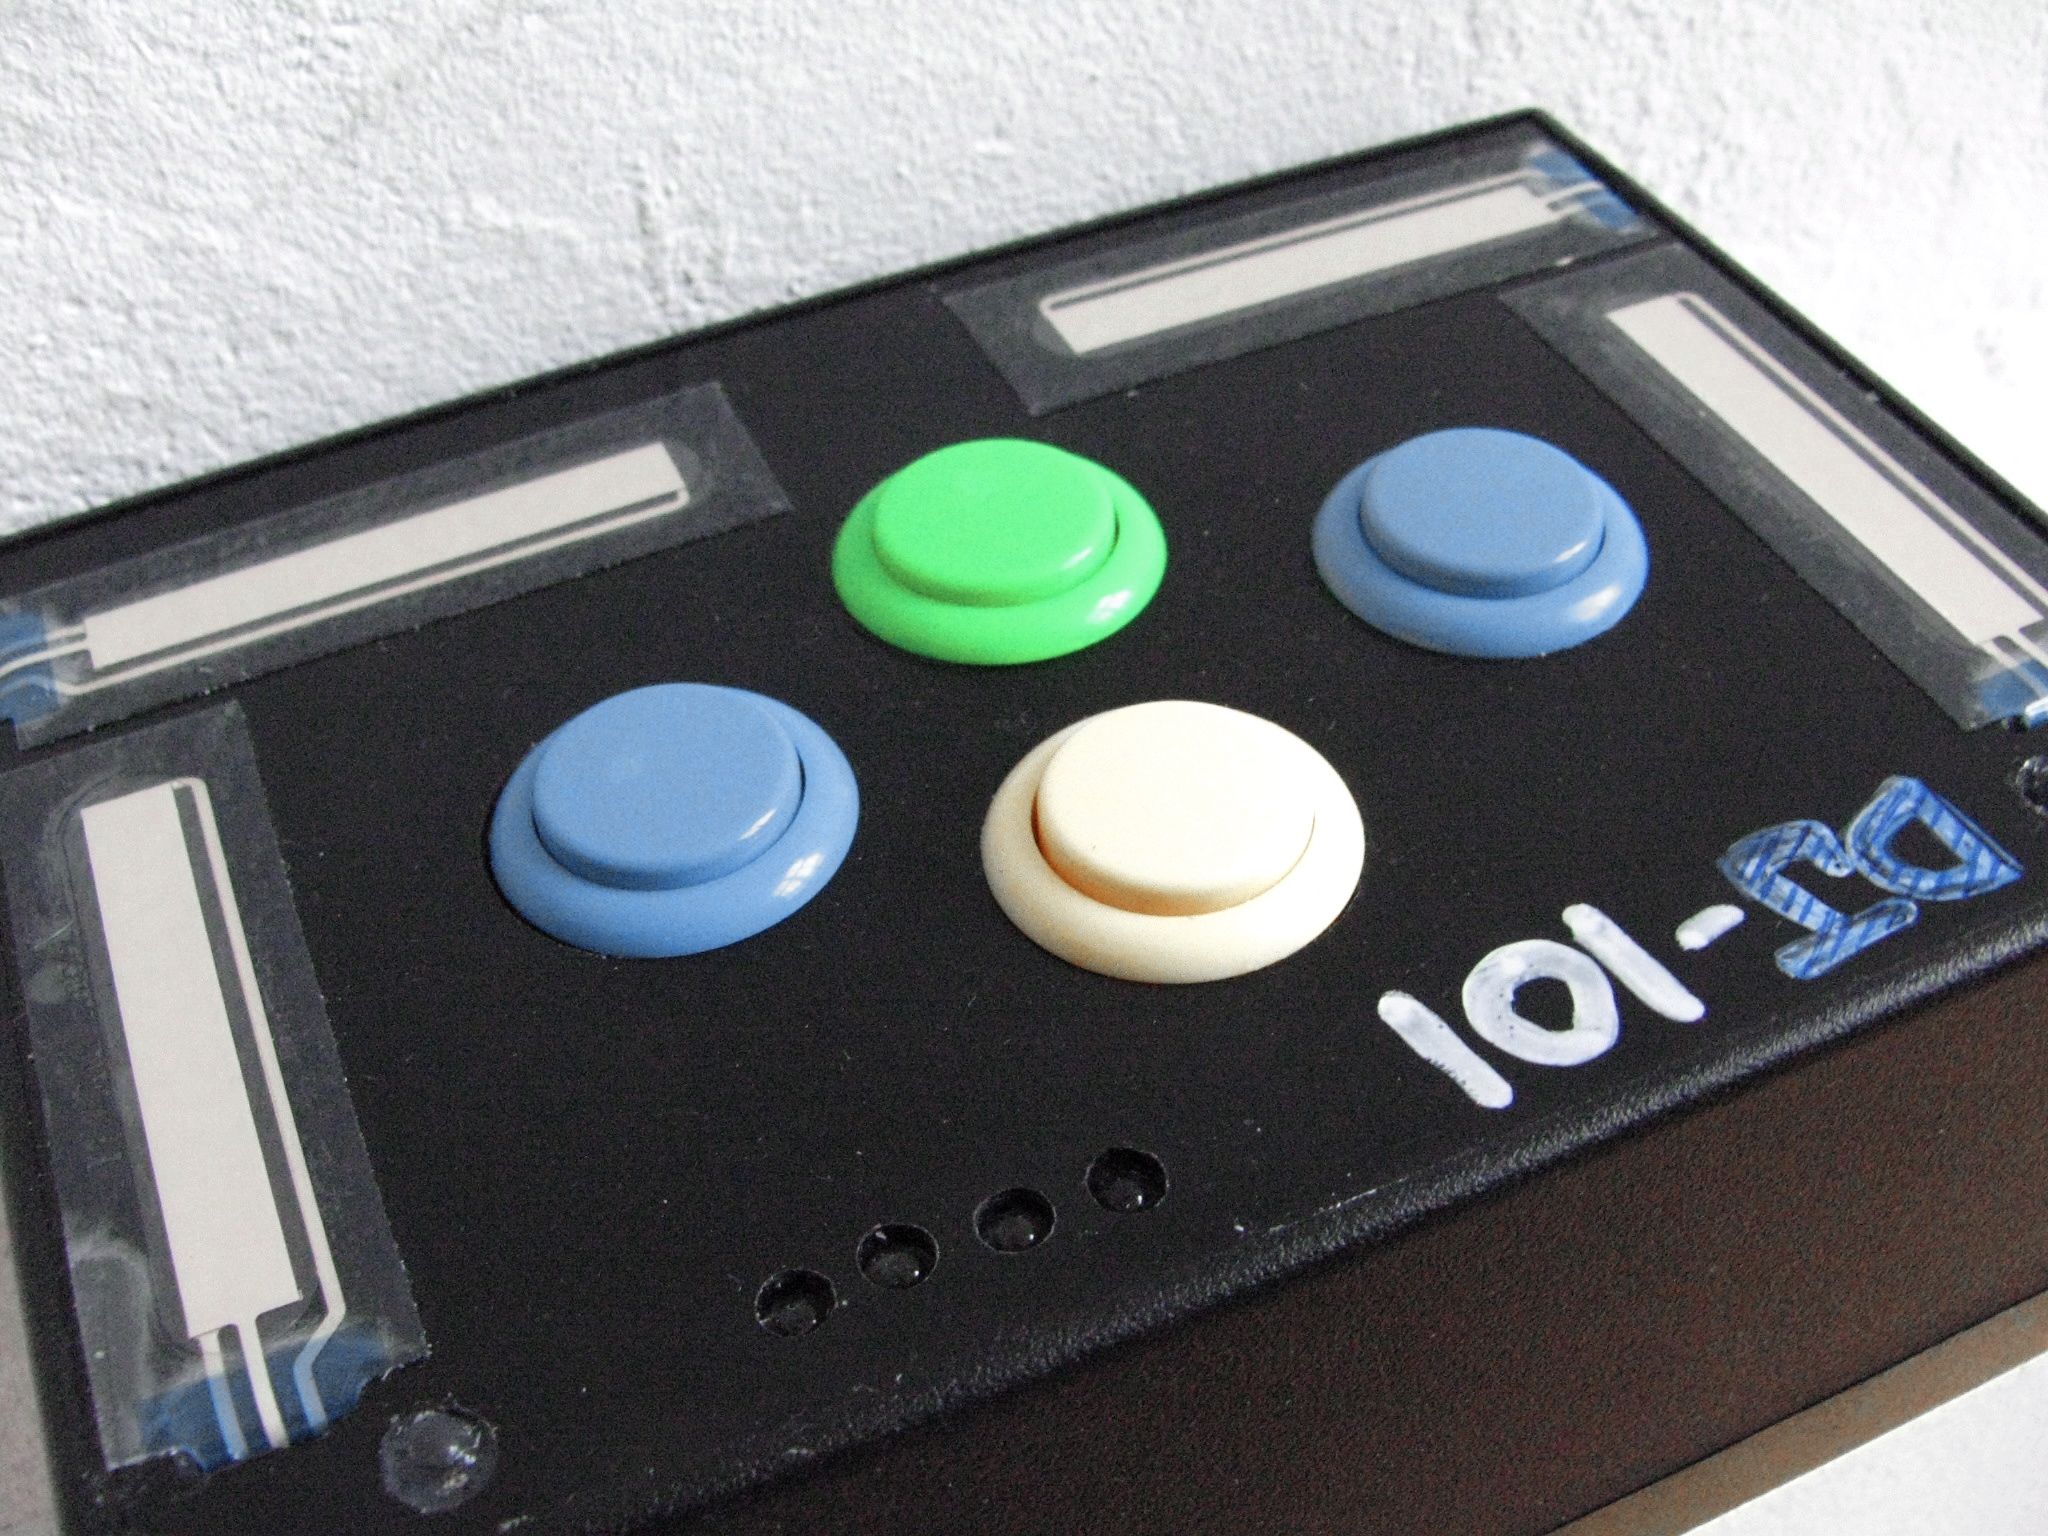
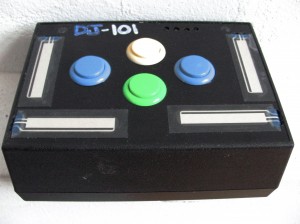
Do you need just a few more controls? Perhaps your wondering how hard it is to make your own controller? Then follow the steps in this 2 part series and build your first midi controller in about an hour for very little cash. Using only 8 electronics parts, a pre-made case and a DIY midi interface that is USB powered- you can build a controller and it wont require a degree in electrical engineering.
First, you need to get some controls. While any other electronics parts, like knobs and more buttons will work (and will actually cost a lot less). The following are the parts I used for the dj-101.
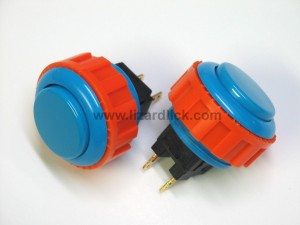
4 ARCADE BUTTONS
these can be found at the following websites:
and these are the buttons we use in our current Midi Fighter controllers:
Sanwa Arcade Buttons, available now in the DJTT Store!
total cost of 4 buttons: about $8
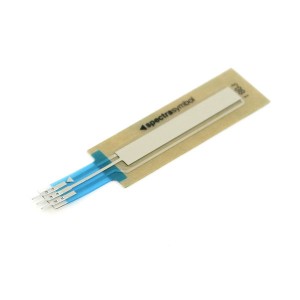
TOUCH SENSITIVE STRIPS
While its cool that these can be used as button triggers and sliders, I might have preferred to use sliders instead. These handy, but slightly expensive strips can be found allong with lots of other interesting electronics parts at:
total cost of 4 x 50mm sliders: $51.80
REGULAR KNOBS
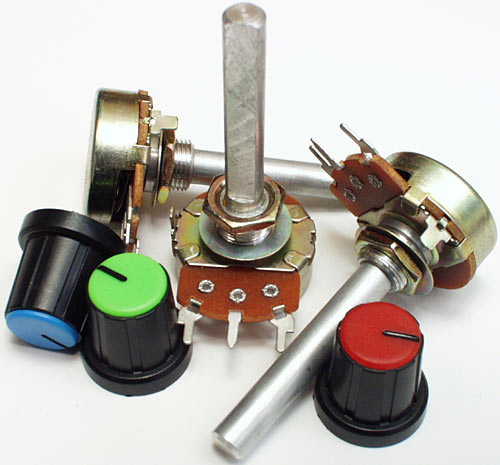
Even though touch sensitive sliders are sexy and cool- I could not get them to work for the life of me. Regular knobs give more precision + a tactile feel and cost significantly less. The only downside? They cant be used as drum triggers and knobs like the touch strips can. The knobs offered more breathing room for the arcade buttons too- which are meant to be played without any concern for accidentally hitting anything.
Any linear panel mount pots from Mouser will work.
total cost of 4 pots: $8
THE CASE
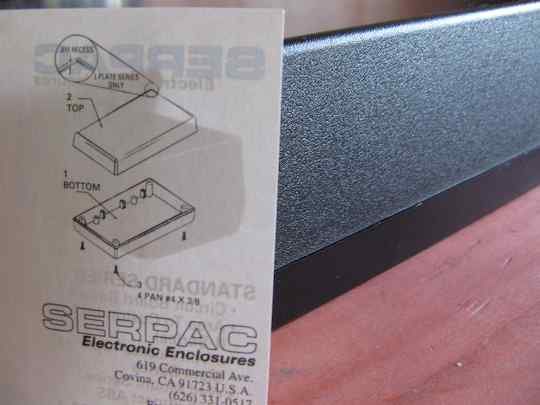
There are an insane amount of cases of all different varietys that you can purchase pre made for very little money. I chose a plastic case because its easier to make the cut outs and abs plastic has that quintessential Atari look. You can buy this one and about 10,000 others at:
Total cost: $13.80
THE BRAIN
While there are several DIY midi options out there my criteria was quite narrow.
- Plug and Play connection via USB
- bellow $100
- easy to connect
so that only left me with 2 choices.
Leo Bodnard HID
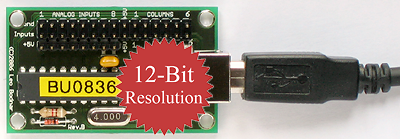
This guy runs a tiny operation, most likely out of his living room, somewhere in england where he makes HID chips designed for computer racing enthusiasts. They are small, inexpensive, high resolution and universally compatible. There is one catch, you will have to convert the HID to keystrokes or MIDI to get the signals working with your dj program.
A word of warning, I don’t think Leo is interested in helping out djs. He failed to return a single email and customer service is not in his vocabulary. So buy at your own risk.
Leo Bodnard
Cost: $34.99
U-HID
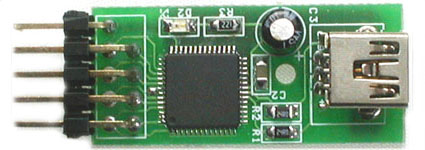
This outfit has 2 excellent HID interfaces. This one fits our criteria and comes in at a very reasonable $29. For more inputs and LED support try this one.
I-CubeX
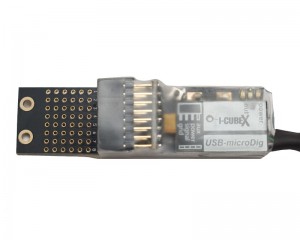
I-CubeX is a small Canadian outfit that specializes in creating out of this world sensors for really experimental midi projects and proto-typing. Unfortunately their sensors and kits also have out of this world prices. The small usb micro dig however, has a more reasonable $99 price tag. Its plug and play, self powered and easy to solder. The only downside? A limit of 8 analogue inputs. They advertise that you can use 8 inputs and 8 outputs (which is not true- its one or the other)
Another word of warning, there is precious little documentation from these guys on how to use the device. Drivers are hard to find as well, and the site is not terribly dj friendly. Then again their service team, including the owner- Axel mulder, were much more helpful over email- always answering questions when they came up.
Editors Note: After trying for weeks to get this product to work I simply gave up and went with the reliable HID interfaces bellow. The drivers, editors and documentation are scarce, scattered and hard to follow. If you have the patience- its the best value out there for a direct USB midi interface but I cant promise it will work.
Total Cost $99
TOTAL PROJECT PARTS COST:
$58.80 (with knobs and U-HID)
Read part 2 of this tutorial here


