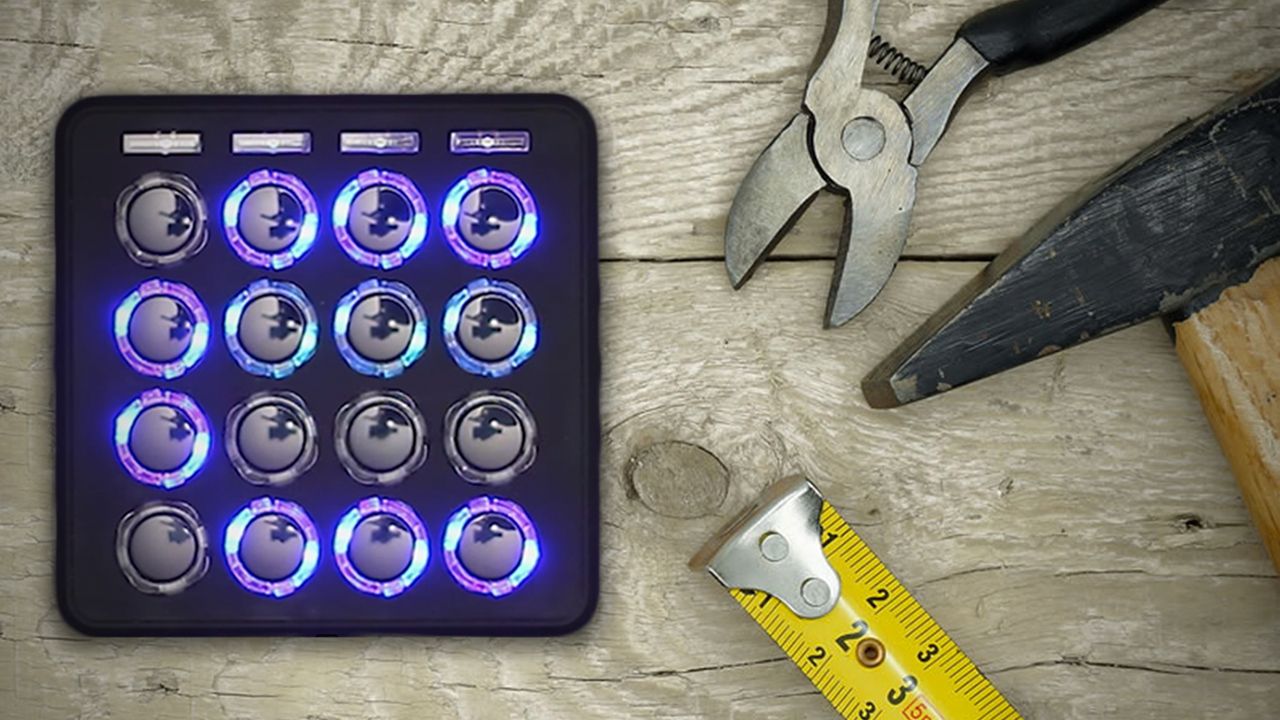
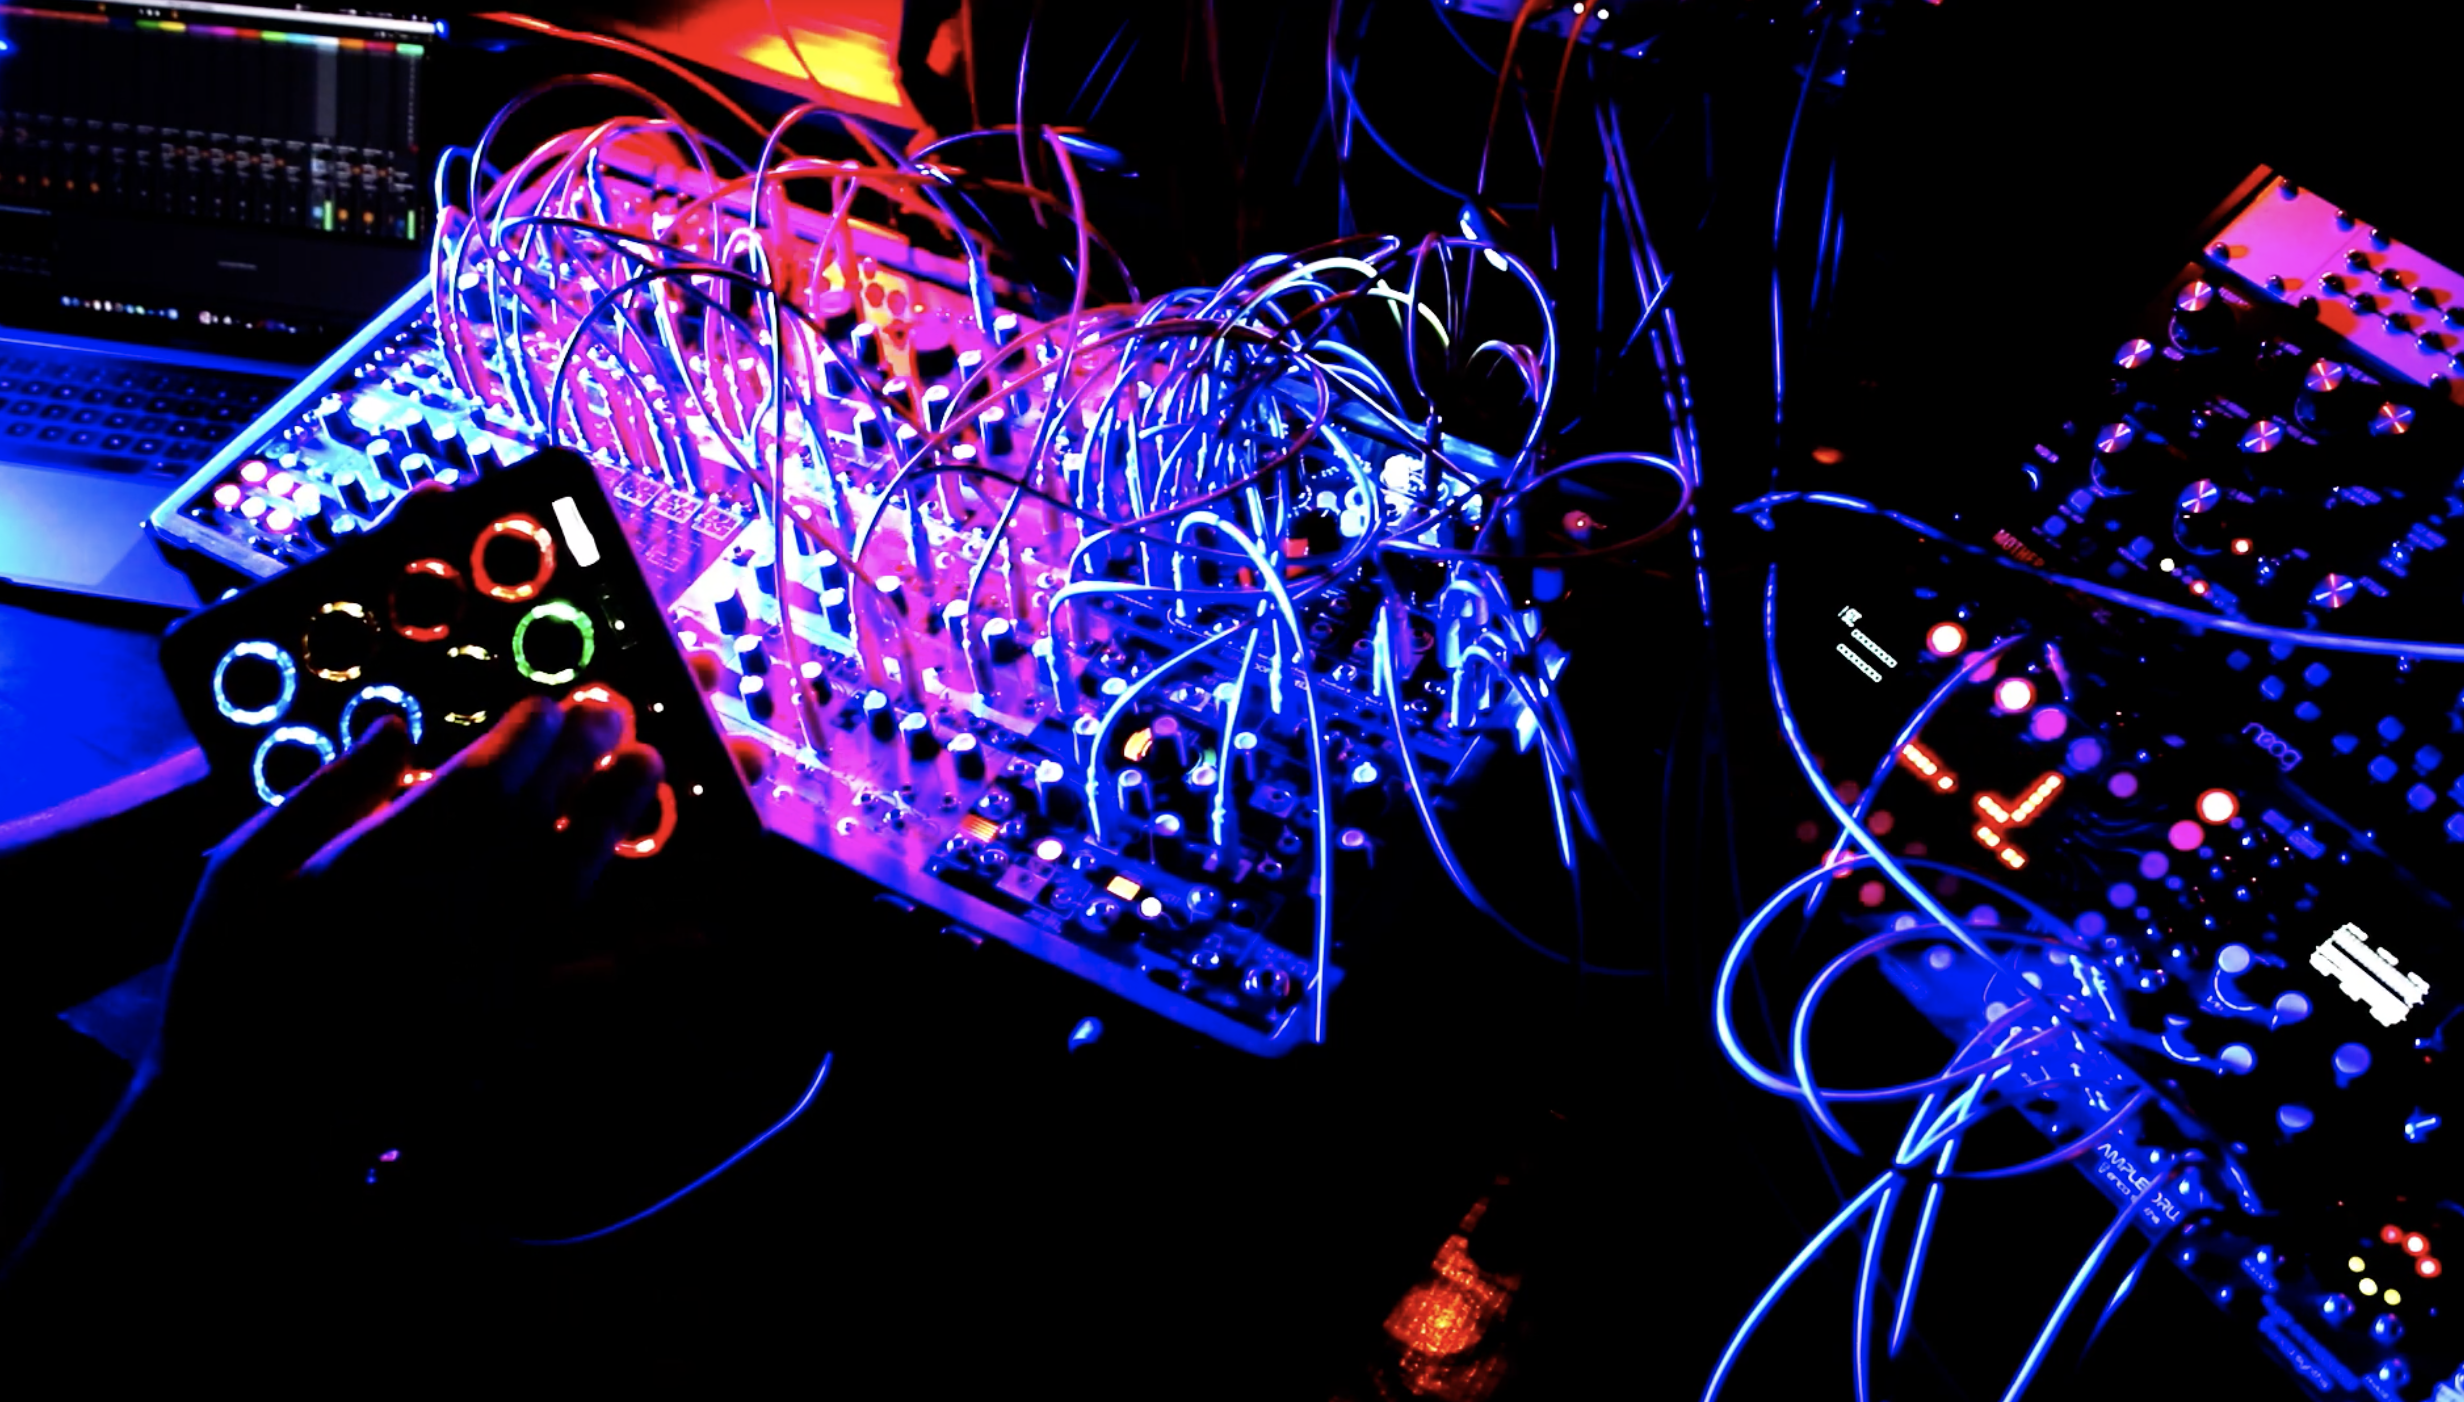
Choke has put out some amazing finger drumming soundpack videos recently – including the new “Kubrik” video (below). Find out the secrets behind his compelling soundpacks in today’s tutorial. Get these exclusive tips directly from Choke in today’s article.
Choke’s “Kubrick” Finger Drumming Soundpack
Download the Kubrik soundpack | Get A Midi Fighter 3D
Choke’s performances are all full of techniques that make them sonically captivating. We asked him to share some of the secrets that he uses when creating the packs in Ableton Live – and here’s the three he shared in return:
1. Add A Sidechain Return = Instant Soundpack Clarity
Sidechaining is an essential tool for making finger drumming soundpacks loud and clear. Think of sidechaining as a frying pan if you want to eat eggs for breakfast. You could eat a raw egg, but a frying pan is key to making your breakfast delicious. Sidechains make your soundpacks sizzle due to the boost in clarity they provides.
Ableton offers the ability to create advanced sidechain returns within the Drum Rack. This rack is also the best tool to to build soundpacks.
How is this different from normal sidechain compression? A sidechain return lets you to send multiple sources to act as the sidechain trigger. Instead of just the kick triggering the sidechain, you can have the kick and snare be the trigger. Here’s the steps:

- Decide what you want to trigger the sidechain (we suggest starting with kick & snare). Click show/hide chain list (second hidden circle button to left of the drum rack)
- Show the Send/Return
- Add a Utility device to the return channel
- Send the audio signals of the kick and snare to the return channel at 100% volume
- Mute the volume on the return channel (source bus) so it effectively becomes a (silent) audio trigger
- Add sidechain compressor on your synth sound and set the sidechain input to listen to the “Source Bus” (utility from step 3)
- Adjust the compressor settings to your liking (reduce the threshold, attack, and release). You should now hear that the kick and snare will both duck the volume of the synth sound.

Bonus Tip: For live sets, I usually create 3 Return Chains within the Drum Rack; One for reverb, one for delay and one for sidechaining things. This helps save CPU power and prevent audio dropouts
2. Using Arpeggiator To Improve Hi-Hat Timing
MIDI effects are the most underrated tools in Ableton. I’ve always hated playing with a Metronome in my ear so I wanted to find another way to keep the tempo tight. To do this, I use arpeggiators with my hi-hats. Using “free rate” instead of “sync” allows for slightly out of time hats creating a subtle groove.
- Drag an arpeggiator on your hat sound.
- Use a delay calculator to figure out the Milliseconds you need to sync your hats to your song’s tempo – for instance, 16th notes.
- Make sure you use the arpeggiator in the “Free Rate” mode and use this web calculator or this Max for Live calculator for best results. Trap producers will also find arpeggiators useful to keep hi-hats dancing.
3. MIDI Random
The MIDI Random device can be used in a several ways within a drum rack. The first and easiest way is to put a random device before an instrument rack with several samples. I usually do this to get a slightly different hi-hat sound each time a hi-hat is triggered to make things sound more human, but this works great for any sample.

This can be a little tricky so follow these steps:
- Pick 3 audio samples
- Drag all 3 into an instrument rack within the drum rack (hold down “command” and drag sample onto same drum pad
- Open to the Key tab (within the drum rack) set a different note for each sample, say C3, C#3, D3
- Put a Random device between the drum rack’s hit and the instrument rack. Turn the chance dial to 100%, the choice dial to the number of samples you used, and the mode to “rnd”
- Play and experience randomness.
Bonus Tip: The second way to use the random device is not so random. When I play the Midi Fighter 3D I sometimes want to play more than 16 samples in one bank. There is a way to do that and create buttons that go between samples.
For instance, I could use the “alt” mode to switch between two main chords of a soundpack. This saves a lot of space. The only difference from before is that you need to switch the “rnd” mode to “alt” mode.
If you enjoyed this, checkout Choke on Facebook or Instagram.


