Sometimes you’ll see it lying next to the mixer, unused and neglected. At some gigs you won’t see it at all. But with the right approach, you can use a mic to add character, flavor, and even an extra layer of musicality to your set. In this article I’ll cover the basics of mic set-up, techniques to get a better sound (and eliminate dreaded feedback), and dive into some tips and advanced uses for creative mic action.
FREE YOUR VOICE
Your job, above all, is to rock the crowd with good music. So why bother with a mic? Here are just a few reasons:
- It gives you another option to interact with the crowd and get them fired up.
- You can give shout-outs; props to the other performers, the promoter, club owner, and even bartenders might be a good idea
- If you’re running a marathon megaset, a la Danny Tanaglia, you can check in with the crowd as you take them on your aural journey.
- If there’s an MC at the show, you can have him (or her!) throw down live vox over a few tracks, adding another element to your set.
- Add your own vocals, or have an actual singer rock the house.
For most performers, a mic won’t make or break the night. But with the right approach, it can spice up your set, energize the crowd, and help you stand out from the pack. You might even want to consider buying one to take to every gig. The only problem is that most djs don’t actually know how to use a mic properly.
BYOM (Bring Your Own MIC) 
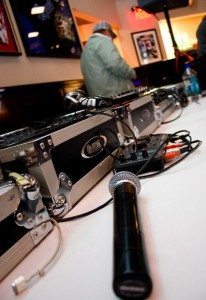
Think of a microphone as a cheap and versatile instrument – a solid investment for your rig. By bringing your own mic to gigs, you won’t have to rely on whatever the venue happens to have. Even if you don’t plan to use it at every show, you’ll have the flexibility if the need arises.
The hands-down, industry standard mic for live performance is the Shure SM58. It’s affordable (around $90-$100), sounds great, and is incredibly durable. I’ve seen singers treat this thing like a medieval weapon, slinging it around and slamming it on the floor, and it keeps ticking. The only “accessory” you’ll need is an XLR cable, which will run anywhere from $10-$30 depending on the length you need. For most clubs (i.e. a DJ booth or small stage), 10-15 feet is plenty.
So what are you gonna connect that mic to? The most obvious solution is to use the mic input on the club’s mixer. These are usually designed to take an XLR cable, although you’ll sometimes find 1/4-inch inputs. If this is the case, you can bridge the gap with a female XLR – male 1/4 adapter, which should set you back about five bucks. Simply plug in, dial in the volume you want, and you’re ready to get started.
Your other option is to run into a sound interface, assuming it has a mic input. This is a good choice if you have a laptop set-up and want to get creative with reverb, delay, vocoders, and other effects.
DIALING IN THE RIGHT SOUND
The most common and frustrating problem with using a mic is feedback. We’ve all been there at some point; it’s annoying and makes you look amateur. But with some simple steps, you can nip that screeching bitch right in the bud.
To avoid feedback…
– Step away from the monitors and any other nearby speakers.
Because most live vocal mics have a unidirectional “pickup pattern,” feedback is most likely when the mic is aiming directly at a speaker. Keep it out of the path of the sound, and you’ll be in much better shape.
– Eat the mic!
Well, not literally, but it’s good practice to hold the mic just a few inches away from your mouth. If you’re not used to a mic, your instinct will probably be to hold it several inches away. This invites feedback. Instead, hold the mic close to your mouth, facing up and toward your chin. Another feedback-fighting tactic is to speak louder (hey, you’re at a show, you can be as loud as you want), and turn down the gain.
– Turn off the mic when it isn’t in use.
This is a recipe for instant feedback – and even if it isn’t screeching away, a live mic can add maddening noise to your mix. Trust me on this one, it really sucks. So make it a point to always turn off the input when you’re not using it. Even if you aren’t using a mic, it’s a good idea to check that nobody has left a mic on before your set.
– Use the mixer’s EQ
Live sound engineers use a technique called “ringing out” to zero in on the specific frequencies that are feeding back. However, they usually have the luxury of a 30-band graphic EQ. While you’re limited to just 3 (or 2) bands on a typical DJ mixer, you can still use the knobs to control feedback.
On a 3-band EQ, gradually turn up the mic channel’s volume to the point where the feedback is just starting. Then turn the mid knob up slightly. If the feedback gets worse, drop the mids to a slightly negative setting. If there’s no impact from tweaking the mids, switch over to the highs, and repeat the process. On a 2-band EQ, slowly dial down the highs until the feedback goes away. In any case, try to cut out the bare minimum you need to get rid of the feedback; if you overdo it, you’ll wind up with a vocal sound that’s thin or hallow.
– Try in-ear monitors.
It isn’t the cheapest solution, but if you’re serious about live vox, this may be the way to go. This recent DJT post covered some of the best in-ear options for a DJ’ing environment.
– Don’t use compression. Compressors are great for vocals in the studio, but when you’re playing live they can make feedback much more likely. Very light compression can work in certain situations, but unless you’re working with a singer, it’s best to not bother at all.
ADVANCED EQ TECHNIQUES
– Use an EQ to remove some of the low end. Vocals have a way of getting boomy at gigs. This will also help the bass in your tunes come through clearer. On a mixer, a cut of a few dB on the low knob should do the trick.
– Use an EQ to reign in any piercing frequencies. When it comes to piercing vocals, the offending frequencies tend to live in the 2-3.5 KHz range. Try tweaking the mid and high knobs on the mixer’s mic strip
– For better clarity, use the mixer’s talkover function. When you talk, the sound is ducked. This is great if you’re hyping the crowd or having an MC rock over your set. If the mixer doesn’t have a talkover button, you can try manually tweaking the master volume, turning it down slightly and then turning it back up when the vocal part is finished.
ROCK THE MIC

Don’t let all this talk about feedback and sound quality stress you out or dissuade you from using a mic. At many gigs you’ll find that you won’t have to tweak anything at all, and even if your vocal sound winds up being less-than-perfect, the crowd (who’s there to dance and party) won’t really notice.
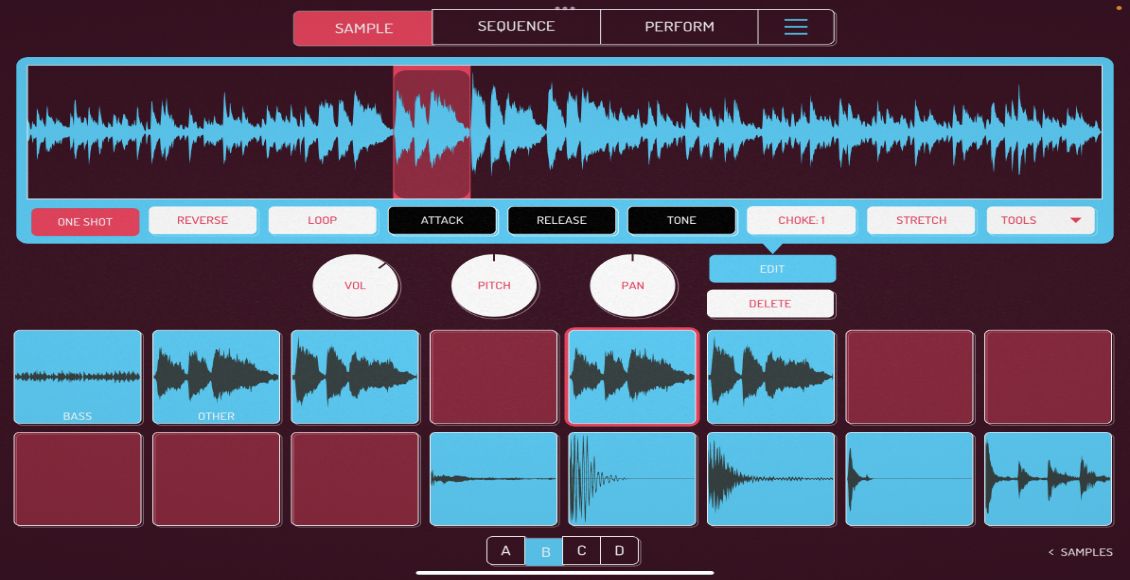
Running through your laptop isn’t quite as intuitive as plugging into a mixer, but it gives you loads of flexibility. My vox strip in Ableton is pretty straightforward, with a utility knob for volume control (the mute button also acts as an on/off switch), an EQ rolling off the low end, and a gate to get rid of background noise. Effects-wise, I’ve got dedicated reverb and delay on the channel (along with running a verb and delay on sends), along with a bitcrusher for grittiness and a dynamic tube to add some warmth or distortion. It’s amazing how badass even a simple phrase can sound when it’s running through a few FX. I try to dial in those FX very slowly, though, since they can make feedback more likely.
Combining a mic with your DAW opens the door to creative awesomeness. If someone is singing or MC’ing over your set, you can “play” their voice, adding effects and mangling the vocals in time with the music. The Ableton route gives also gives you the ability to loop your vox, much like Kid Beyond. Cacheflowe, another live PA artist, uses custom-designed audio mangling routines to get glitchy, non-clichéd robot vox. The possibilities are endless.
As a special bonus, download the Ableton Live patch above right here. It has been specifically designed as a mic preset for djs.
About the Author: Kent Barton is a Denver-based live electronica artist. He produces and performs as SEVEN7H WAVE.


