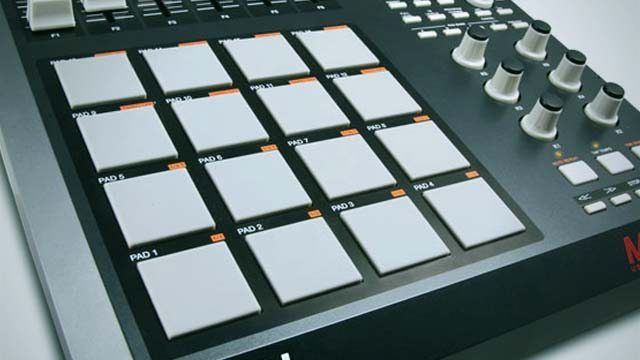
Aftertouch is an increasingly common addition to MIDI controllers’ feature sets, but it’s also one of the most misunderstood – and thus ignored – features on the controllers that support it.
Our Soft Step review, posted earlier this week, shows how cool a controller that has aftertouch capable controls can be. It can sometimes be difficult to tell whether a controller has the goods or not though; one of the biggest stumbling blocks when it comes to aftertouch is the confusing way in which more than one function stakes claim to the name. You’ll see different sources use different terminology but to the best of my understanding the most ‘correct’ is that aftertouch is synonymous with ‘polyphonic pressure’. Polyphonic (poly) pressure is a message that is sent alongside each MIDI note, and between the note on and note off data a message is sent out every time pressure is varied on the key/pad/other-note-generating-instrument. There is, however, an additional pressure message in the MIDI standard: channel pressure. Channel pressure affects every note on a single MIDI channel and is therefore good for replicating the behaviour of a piano foot pedal, for instance. Poly pressure is the ‘true’ aftertouch, but manufacturers have sometimes called channel pressure functionality aftertouch in a truth stretching effort to make their controllers sound more capable than they are.
Nomenclature aside, the bottom line is that controls with some form of aftertouch are capable of measuring varying pressure on them; the ability to use a pad press to perform one function and then modulate something else whilst it is held down is something that we can use to great creative effect. At least, in theory.
SUPPORT
Unfortunately, the aftertouch message isn’t very well supported in DJ software. None of the big softwares recognise it – Ableton Live only sees it for the purposes of note data recording, not its global mapping system. This isn’t the end of the world though, because it’s the physical capability we care about and there’s always a way around the limitations of the software.
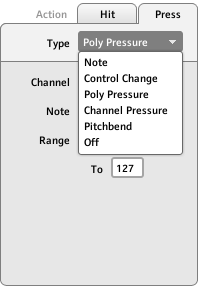
The first place to look is in your software’s controller editor. Some controllers treat the pressure sensitivity of pads and keys as any other function and allow assignment just as freely; NI’s Maschine and M-Audio’s Trigger Finger pads can be set to send CC messages, so you can solve the problem simply.
If you’re not so lucky, then you’ll have to call on the help of our old friends Bome’s Midi Translator, MidiPipe (OSX) or MidiOX (Win). Using one of these pieces of software, we can grab the aftertouch messages as they’re sent from the controller and turn them into CC messages before they get to the software. Bome’s Midi Translator is my preferred tool for this job, as it allows simple reassignment of each note’s poly pressure to a CC whereas MidiPipe requires a new pipe with a key mapper to be set up for each note (as the message reassignment page doesn’t distinguish what key a poly pressure message belongs to, just that it is a generic poly pressure message).
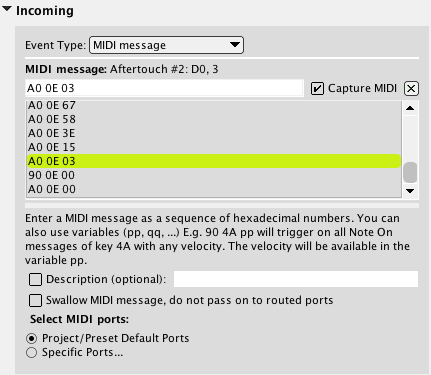
In Midi Translator (after setting up your MIDI ins and outs in the settings, often done automatically), select Capture MIDI and activate your poly pressure control. Select it from the list of messages that come up (it won’t be the last one or the first but one of the middle ones).
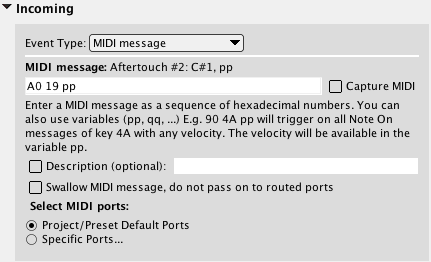
The last two digits refer specifically to a single value for the aftertouch. If we switch that for the ‘pp’ wildcard Midi Translator will pick up all aftertouch messages.
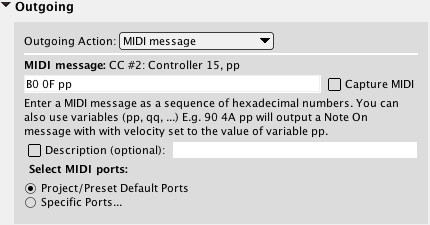
We can then route the output to CC messages. To get the correct CCs we either need to look up the corresponding hex command or temporarily assign the CC to another control on our controller through and use Capture MIDI again. Once again, switching the last two digits to ‘pp’ will signify ‘any’ messages that controller can produce, and thus the value from the input will be routed straight over.
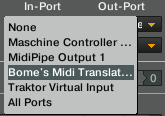
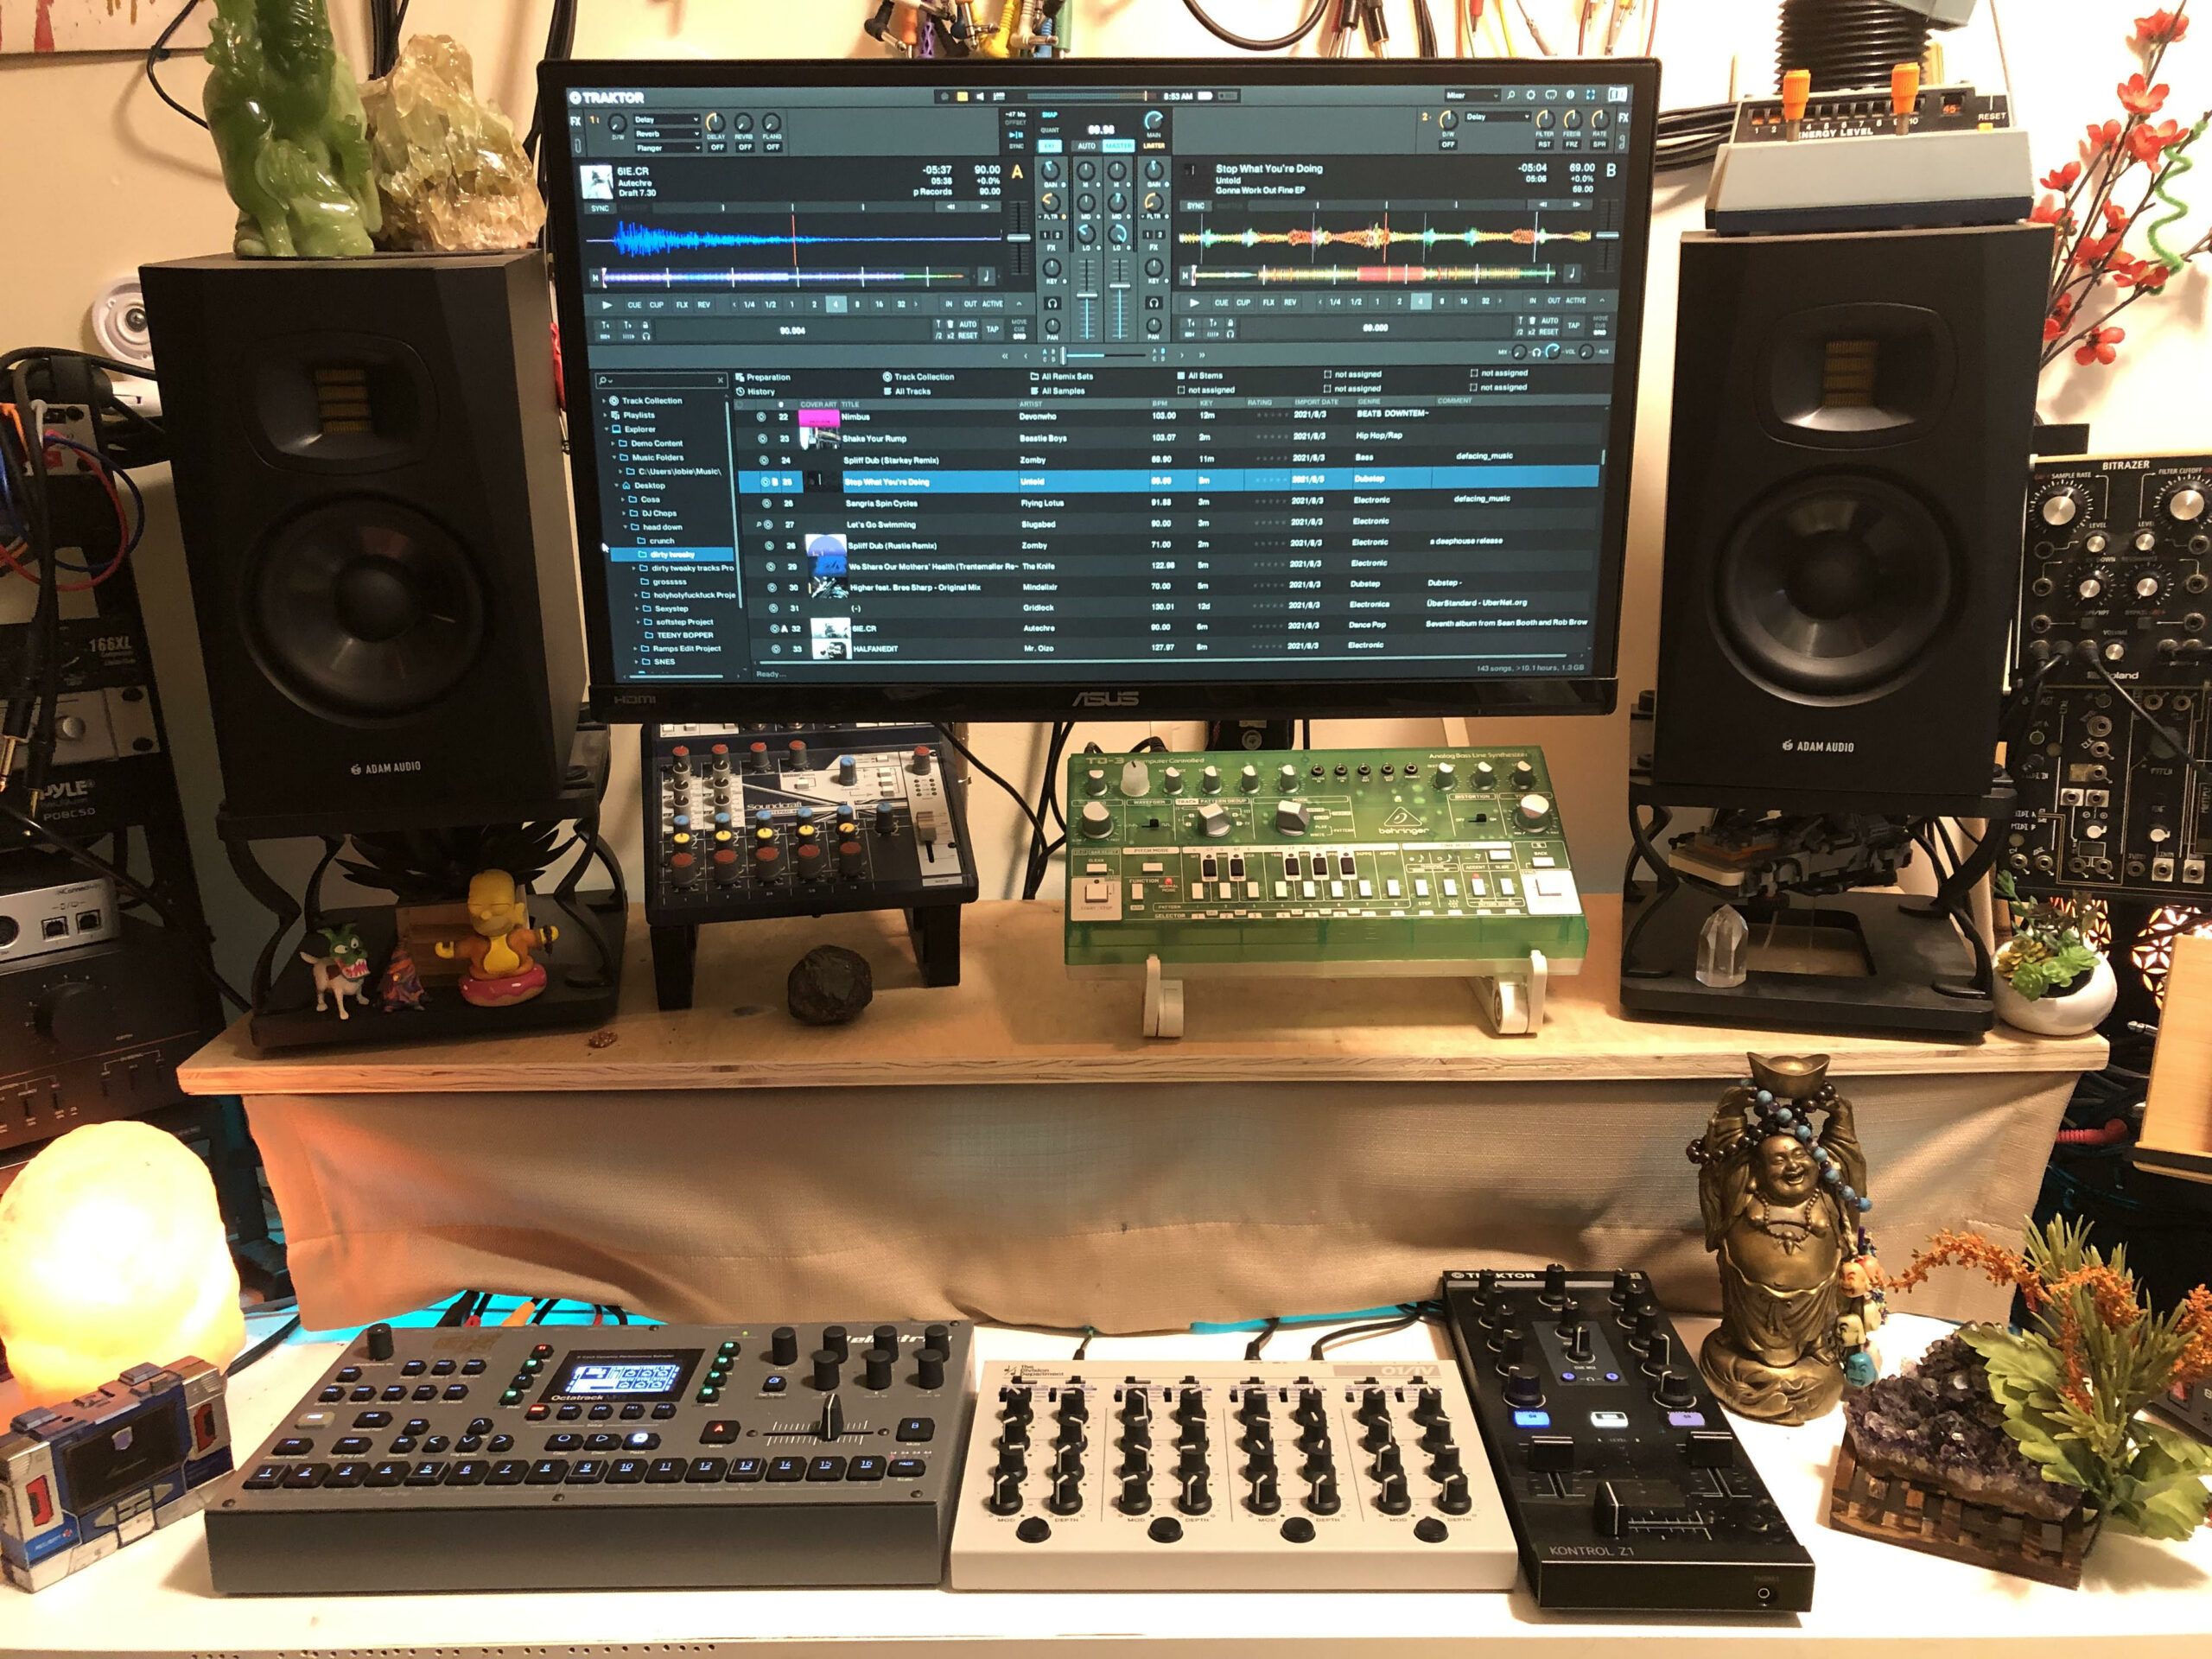
Next set up your software to receive from the MIDI port you sent the Midi Translator messages to. Here I’ve set Traktor to receive from the virtual input I set up in Midi Translator.
If your controller has channel pressure, not poly pressure, then you can use as many commands as your controller has separate ‘zones’ for use (up to 16, ie. one per channel) by selecting a different channel for each of your keys/pads. For instance, M-Audio Axiom controllers support channel pressure on the keys instead of full poly pressure, but the keys can be set to three different channel zones, each with independent pressure messages.
One more thing: when you map controls using MIDI learn, you might need to get crafty with when you press and release the learn button in your software. Because of the way that some software only registers one message before disengaging learn, and other will leave learn engaged and catch the most recent message until it’s turned off, it might be necessary to hold down the key/pad you’re using and reach over to turn learn on/off to catch the aftertouch messages and not the note on and off messages either side of them.
USES
Once you’ve got everything set up, it’s time for the fun part: assigning your new controls! The biggest advantage that aftertouch controls have over others is the fact that it’s easy to trigger more than two at a time, because rather than needing to grip something to twist or slide it – which requires an entire hand – moderating pressure from a single finger is all you need. How about the following ideas:
- Pressing the note to engage beatmasher, and aftertouch modulates the settings
- Pressing the note to engage tape delay, with aftertouch modulating a filter
- Pressing the note to engage a reverb and phaser combo, and when pushing really hard a freeze gets engaged on the reverb
Think of the possibilities as a combination between our fader effects and super combo concepts, and consider how the unique visual aspects of the technique will not only look cool but also give the audience the opportunity to keep up with the different things you’re doing even better. Most importantly, have fun!


