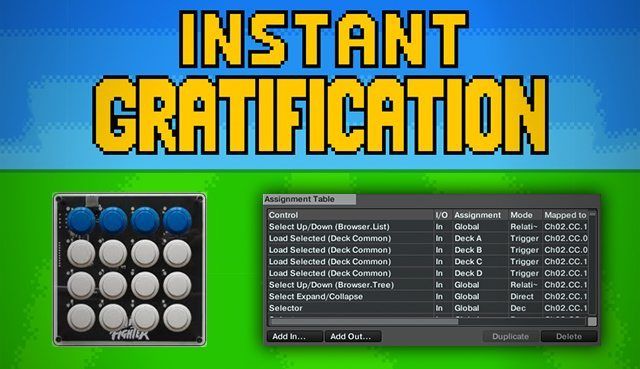
Today we are going to demystify the popular Instant Gratification mapping, a one press = many effects concept that made big effects fills crazy easy. A while back I explained how to MIDI-map your own super-combos, but that was the gravy to the Gratification’s mashed potatoes. Here we’ll dive into the core concept of that mapping, which was intuitive, fun, and (most importantly) consistent-sounding. Read on to learn how to MIDI-map these button-friendly effects and also a sneaky trick to play a row of effect buttons musically. While the instant grat mapping was easy to play and seemed simple at a first glance, for each button press there are at least seven Traktor mapping commands The mapping commands required to get familiar with in order to produce the end result of “one press = always amazing” are:
- Button 1/2/3 or Unit On (Effect On)
- Effect 1/2/3 Selector
- Knob 1/2/3 (Effect Parameter)
- Dry/Wet Adjust (FX Unit)
- FX Unit 1/2/3 On (Routing On desired deck and Off others)
- FX Unit Mode Selector
WHY ALL THE BONUS COMMANDS?
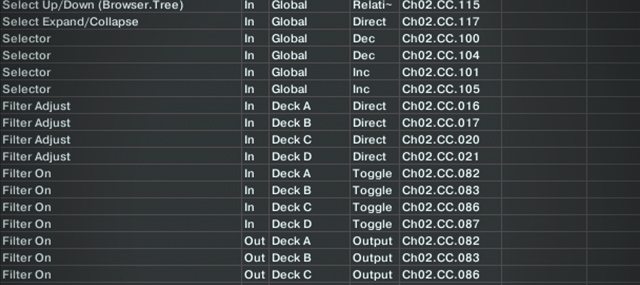
Some of these commands may seem superfluous at first, but they will come in handy, especially if you are using a mapping in tandem with others or ever use the mouse to control the software. In short, it’s important that one magic button always work and that every possibility is accounted for. Each button press on your controller does all the following steps:
- Sets the effect you want (ex: beatmasher or delay?)
- Sets the exact effect speed (ex: fast or slow?)
- Sets the effect bank dry/wet to a mix level
- Turns on the FX routing and turns off any unwanted FX routing
- Sets the FX bank to the proper mode (ex: group or single?)
Once you combine all of these elements, you have one-push instant gratification-style button effects, customized just how you want them.
BEHIND THE BEATMASHER: PLAYING FX MUSICALLY

So now that you know the format for how to make instant gratification-style effects, we can move on to one important principle:
How to press a lot of “super” buttons at the same time?
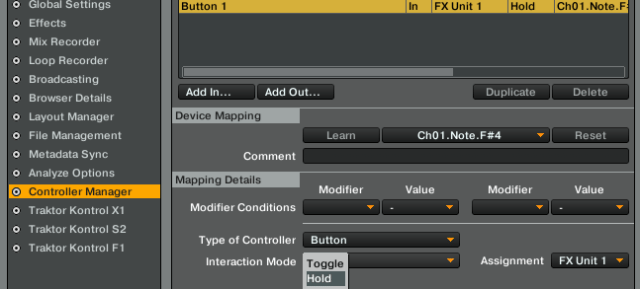
All of the Beatmasher buttons on that mapping (there are 4) are turned on using the “Hold” mode seen bellow. They turn on the effect when you hold down any of the buttons and turn the effect off whenever you release any of the buttons.
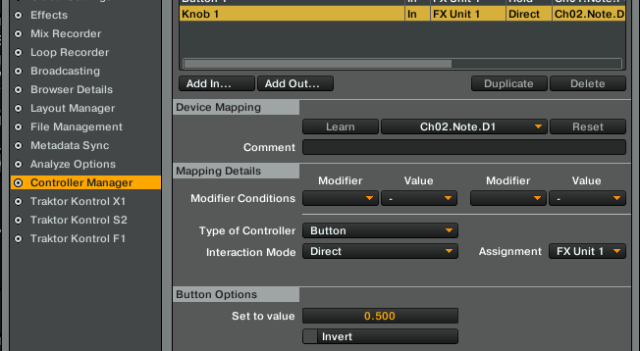
Each button also moves a single beat masher knob to different rates (1/4 note, 1/8th note, 1/2 note ect..) allowing you to play the repeats in a musical way. Very handy!
The problem is this, if you are going back and forth between the buttons and ever have two fingers on two at the same time, the effect turns off. This may not seem like a huge issue, but musically – it is. The result is effects gaps and silence. The solution is to use a simple modifier trick to keep track of how many buttons are being held down at one time and using those modifiers to turn off the effects.
The simplest way to achieve this is to use a single modifier and have each button (of this group of the same effects) to increment the modifier when the button is held down and to decrement the modifier when the button is released (also known as the invert command – the command is applied on the MIDI Off signal from the button rather than the MIDI On signal). As shown in the video above, the modifier you select will be at 0 with no buttons held and go up sequentially to 1, 2, 3, and finally to 4 when all four buttons are held down. With the same logic, as you release each button the modifier value goes down by 1 until going back to its original state of 0 when none of the buttons are being held down.
If for some reason you can’t get invert commands to work on your controller, you can also do the same process with four different modifiers that each just “hold” directly to 1 when each corresponding button is pressed down and then will automatically go back to 0 when released.
TRACK YOUR BUTTON PRESSES

Now that we know how to set up some modifier commands to track how many buttons are being held down, we need to add some modifier conditions to our existing effect/button on commands so that they work when you are holding one button down. To do this, we are going to go to each effect/button on command and add a modifier condition of whatever modifier you used to track the button presses (M2 as shown in the example video) and set it to 0. This will turn the effect on when you don’t have any buttons held. We are also going to need to duplicate all of these effect/button On commands and make another with the modifier condition equal to 1. This condition is for the case when you only have one button left held and release it to turn off the effect.
Pretty cool, huh? That very well could have been something that you never realized was going on in these mappings but it definitely has a profound effect on being able to play the effects musically, the way your brain and hands naturally intend to. Remember, this concept isn’t specific to the Midi Fighter and can be applied to any MIDI controller with 2 to 7 buttons – in the event you wanted to play that many different rates/styles of one selected effect. Why is seven the limit? Because Traktor MIDI modifiers only have integer values ranging from 0 to 7, remember?
FREE ONE DECK INSTANT GRAT-STYLE MAPPING

It’s time to take this knowledge and put it to good MIDI-mapping use! While you may conceptually understand this and follow along with the video fine, the work to set up a mapping with this many commands can be daunting. With that all in mind, I’ve made a free one-deck Instant Gratification-style mapping that will work seamlessly with any Midi Fighter, and can be re-mapped to work with any other 16-button MIDI controller. The bottom two rows control one effect (like the beatmasher), while the top two rows control eight other one-push Instant Gratification-style effects.
This mapping is only for Deck A, so you’ll need to duplicate it, make FX-routing tweaks, and remap the controls if you want it to work for Decks A and B—or even all four. As an extra help, each command in the mapping has a button number (going from 1 in the bottom left to 16 in the top right, going across and up) so you can sort by buttons and understand the mapping.


