In dance music, it’s all about how a song hits in the club, so often DJ’s will play their creations in progress during a set or give early versions to friends. Early on, new tracks don’t have the polish or mastering you expect from a finished track. In order for the demo to stand a chance, it needs to hit hard and sound nearly complete. So, to make your demo’s rock – you need a good mastering chain in your DAW, and in today’s article a serious engineer will show us how.
Mastering is a complex process, especially for DJ’s that may have just started to make the transition into production. For more helpful mastering tips and tutorials, check out these articles from the DJTT archive:
- DIY – Taking Your Tracks from the Studio to the Club
- Schmastering: Rapid Fire Mastering with Mad Zach
- Acoustics + Feng Shui for your Project Studio
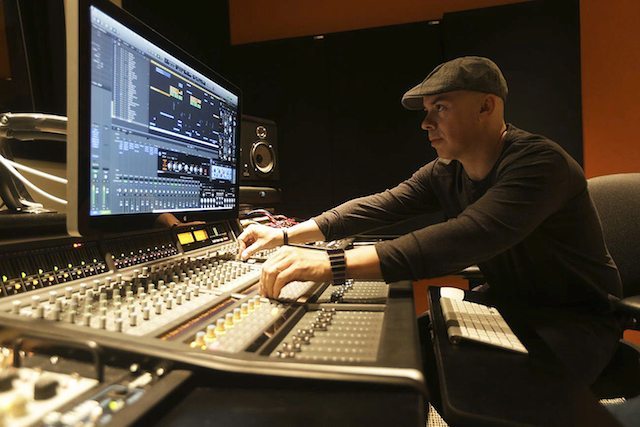
Luca Pretolesi is a very accomplished mixing and mastering engineer that specializes in dance floor hits, including the massive EDM single “Turn Down For What” amongst many others. I recently hosted a workshop with him in Las Vegas on mastering and the following are tips he taught the audience on how to set up a seriously awesome mastering chain. First an important word of warning:
“If you master your own mixes, don’t try to fix the mix in the mastering chain. It’s better to go back into the mix and make any corrections in the mixing stage. The mastering process is to enhance the mix. – Luca”
What is a Mastering Chain?
Just to get us all on the same page, this is a special chain of plugins in a very specific order that you will place on your master bus. It’s a group that should be saved and re-used time and time again. Normally, you would not write and mix with the light mastering plug-ins on but instead activate them when it’s time to send the track out for demo!
Step One – Get Your Song Ready For Mastering

Before we start building the chain, it’s time to set the stage for success with two simple, but very important rules:
1) Take a break for 48 hours if possible.
There is a good chance you have listened to this song 679 times straight, and perspective is totally lost. Reset your ears by not listening to the song for a while and then come back with a fresh take.
2) Reduce levels of your tracks.
It’s very common for each individual track (kick, snare, hat) to be maxing out, or even clipping. When all of these are added together your master meters are usually clipping as well. This provides ZERO room for a good mastering chain to do it’s job.
The only solution is to turn down all your individual tracks using a utility (Ableton has a simple one) or by moving the faders down. 6 to 9dB per part is the usual range and the goal is to have 6dB of headroom on the master bus.
Don’t worry – it will sound quiet for now – but that will soon change.
Working with Ableton? Check out these 5 tips to revolutionize your workflow
Step Two – Build Your Chain
In the following section I have listed each of the slots Luca recommends you should have in the master bus chain. In total there are 6 types of plug-ins and each one is described by it’s purpose with a few examples of appropriate plug-ins for that stage.
THE PUNCH
Purpose: Shape the transients and add some punch to the mix
Preferred VST: UAD SSL Bus compressor (or SSL Bus Compressors)
Affordable alternative: Ableton’s Glue
Rough Setting: Slow Attack (10/30mS), Fast Release (.1/.3), Ratio (4:1), Don’t go over 1.5dB compression but with the makeup gain bring the 1.5dB back.
ADD SOME COLOR
Purpose: This is usually analogue emulation EQ, something with character that will add some sizzle – not a surgical EQ.
Preferred VST: Maag EQ 4 (air band) or BAX EQ from UAD
Affordable Alternative: Stock Ableton EQ (be careful not to push more than 1 or 2 dB)
Rough Settings: (EQ4) – Give air (10-20Khz based on source) 2-3dB air bend. Provides air on top end after compression. Compressor will suck a little low end and give back 0.5dB at 160Hz.
INCREASE YOUR RMS LEVEL
Purpose: This is your multi-band compressor stage which will allow the multiband compressor to work at double of the sample rate for more accuracy.
Preferred VST: Fab Filter Pro-MB
Affordable Alternative: Ableton’s multi band is fine
Rough Settings: Use on Linear Phase mode – Oversampling – Think to divide in 4 bands (Sub frequencies, Mid-lows, Mid-highs, Highs). Compress a little bit (2-3dB) the mid frequencies in order to bring the RMS level up. Medium/Slow Attack, Fast release, ratio around 3:1. Make sure to give back what is missing with makeup gain. “Expand” the low and high end but settings are based on a track-by-track basis.
Process Note: At this point your master bus should be just a few dB under 0 but not fully up.
CONTROLLING LIMITER
Purpose: This limiter will keep the headroom in check. It should be transparent and not doing much compression.
Preferred VST: Fab Filter limiter or Pro L, UAD maximizer, Izotope 5
Affordable Alternative: Wave L2. However, avoid the Ableton limiter and spend your $ here – it will really show.
Rough Settings: 1 to dB max, Slow Attack, Fast Release
CENTER THE LOW END
Purpose: The low end needs to be centered, strong, and up-front instead of wide in the stereo feed.
Preferred VST: Izotope Ozone 5
Affordable alternative: Brainworx BX Digital V2 (UAD or Plugin Alliance)
General Settings: 200 hertz and under is mono, 4-5k – narrow, 10k up is wider
FINAL LIMITER
Purpose: This is the final limiter that will raise the song to max volume without adding any color.
Preferred VST: Fab filter PRO L, Izotope Limiter.
Affordable Alternative: Invisible limiter ($40 alternative)
Rough Settings: 1 to dB max, Slow Attack, Fast Release
If you don’t have any VST’s or plugins there are lots of great free options.
Step Three – Compare and Bounce

Finally, you will want to bring in a comparable song that will provide some context. The best way to pick your comp is by asking:
“What song would I play before or after my song”
Really listen to the sonic characteristics, level of compression and loudness of your demo vs. the comparison track and tune as needed.
Most importantly, this is a guide and may not work for all tracks. This mastering chain is for in the box use. When mixing and mastering Luca Pretolesi uses a wide variety of plugins and analog gear that give him his “sound”. One very important detail, Luca recommends for your final bounce:
“Make sure when bouncing the final master at -0.3dB because the conversion to MP3 will bring the level up. If not it will bring up the conversion 0.3dB and could cause distortion.”
The preceding system of building a mastering chain is completely designed by Luca Pretolesi, you can learn more about him here. I have put it in my words for clarity and to help convey his ideas in the clearest way possible. In no way is this the definitive method, please experiment and research all styles of mastering in order to find the one that suits your music!
What plugins or hardware do you regularly use for Mastering? Let us know in the comments below!