About a month ago we featured the first tutorial from mixing engineer Hannes Bieger on how to clean up the high end of a mix. Today we’ve got a follow up piece in which he shares his techniques on basic drum compression. This is critical for almost every production, and often it’s way too easy to apply way too much compression. Learn how to do it right (by setting your attack and release correctly) and why punchy drums matter in this tutorial.
Drum Compression Basics
We recommend using good headphones on this video to hear the examples he demonstrates and A/B testing of compression.
In order to get great sounding compression on the transients of your drum grooves requires two key elements:
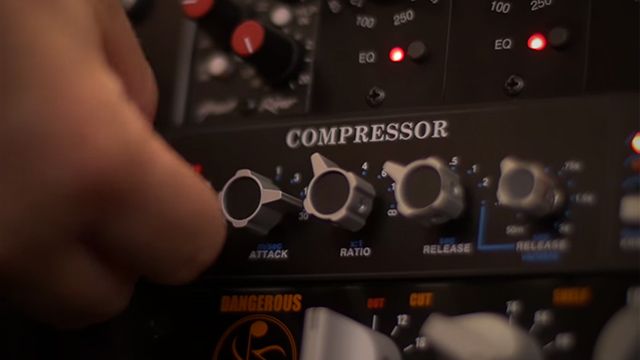
- long attack time that allows the transients to pass before the compressor starts (as long as possible – Hannes uses 30ms in this video on his API 2500 compressor)
- short release so that the compressor is back before the the next kick triggers it
Learn more about Hannes Beiger on his website here or follow him on Facebook here.
Want more drum-related production tips? Learn how to make a great kick drum sound or snare drum sound in Ableton Live.


